3.31 Accessing Recruitment
Analyzing the job requirements, reviewing applications, screening, shortlisting and selecting the right candidate is a tedious task. The Recruitment process in CrewGo makes it easy for user to hire candidates in a breeze.
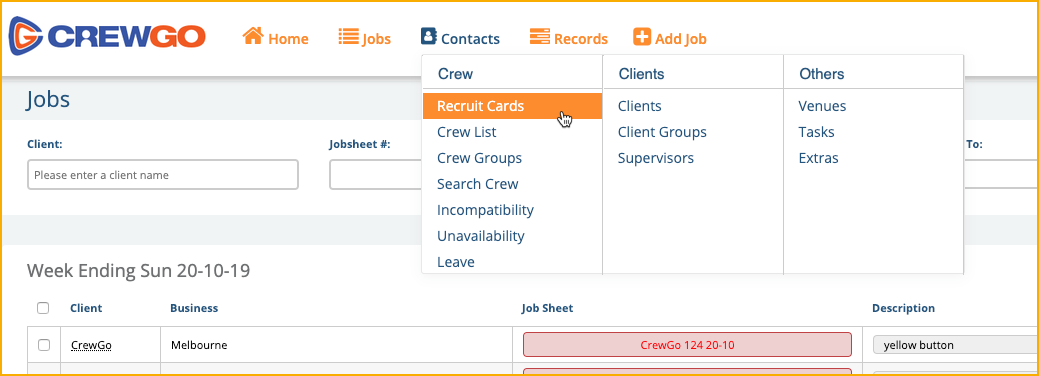
To access Recruits, go to Contacts and select Recruit Cards. The page will display recruit cards of potential crew member for your company.
3.31.1 Getting Started with Recruitment
There are two ways to get started with Recruitment:
– Add Recruit
– Crew Sign Up
3.31.2 Add Recruit
Follow these steps to add recruit for your company.
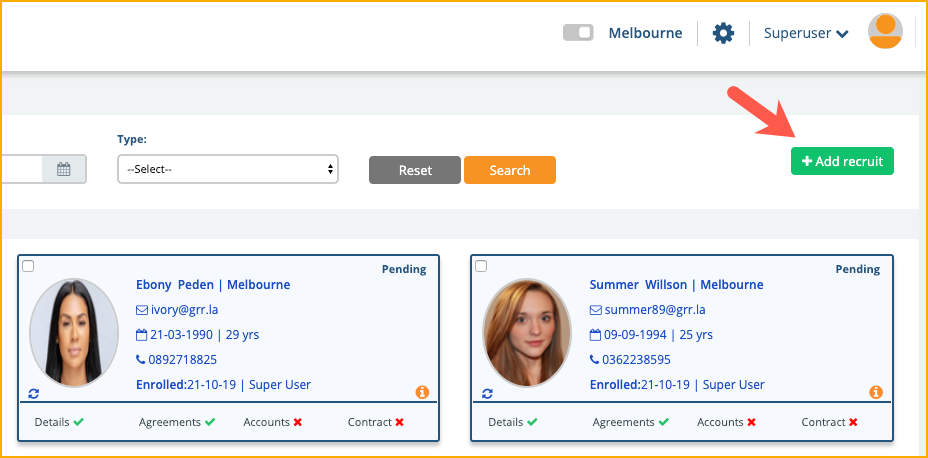
1. Click Add Recruit
2. The Add New Recruit window will pop-up. Enter the following details.
– First Name
– Last Name
– Email
– Mobile
– Select Business Location from the dropdown menu
3. Click Save

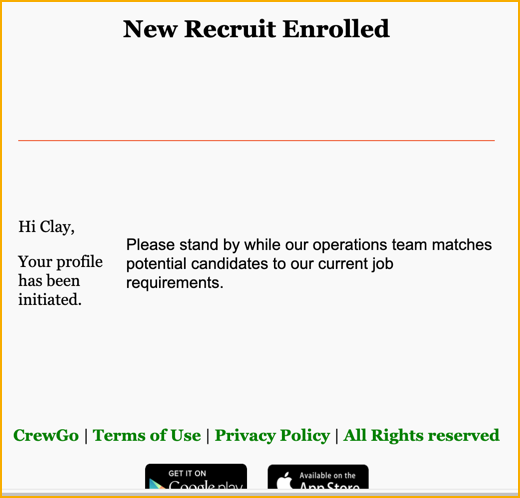
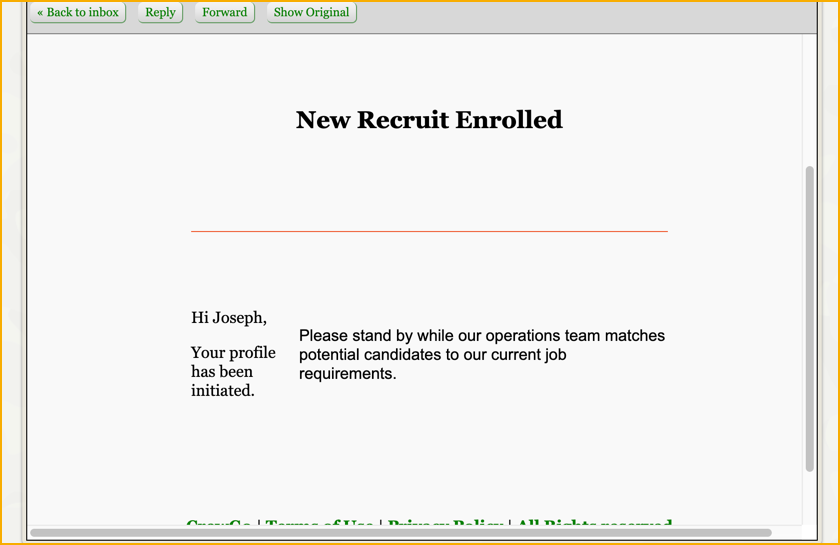
4. After you click Save, you will be redirected to a page where you can see the different Recruitment tabs and the recruit will receive an email of enrollment.
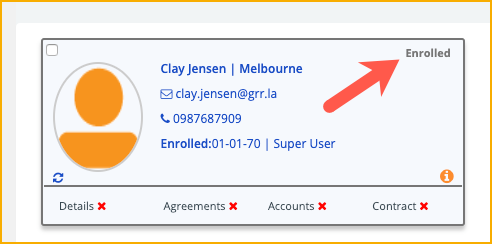
In the Recruit Card, the status of the recruit is tagged as Enrolled.
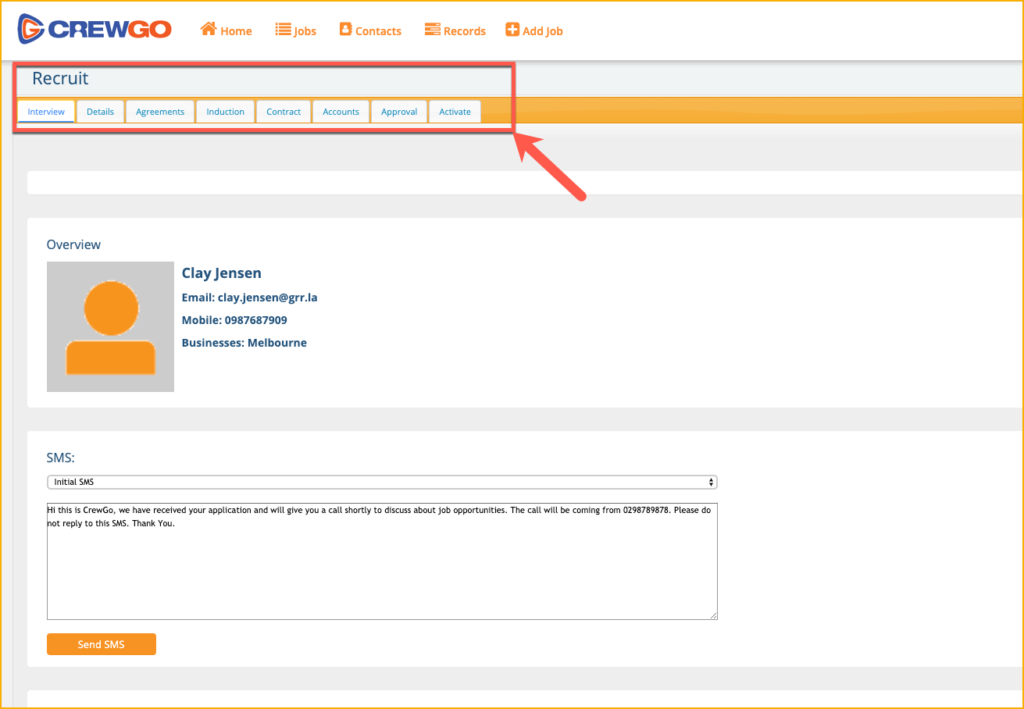
3.31.3 Admin Recruitment Tabs
The Recruit page is divided into 8 tabs:
– Interview
– Details
– Agreements
– Induction
– Contract
– Accounts
– Approval
– Activate
This is the sample e-mail received by the Recruit.
INTERVIEW
The Interview tab is divided into different sections.
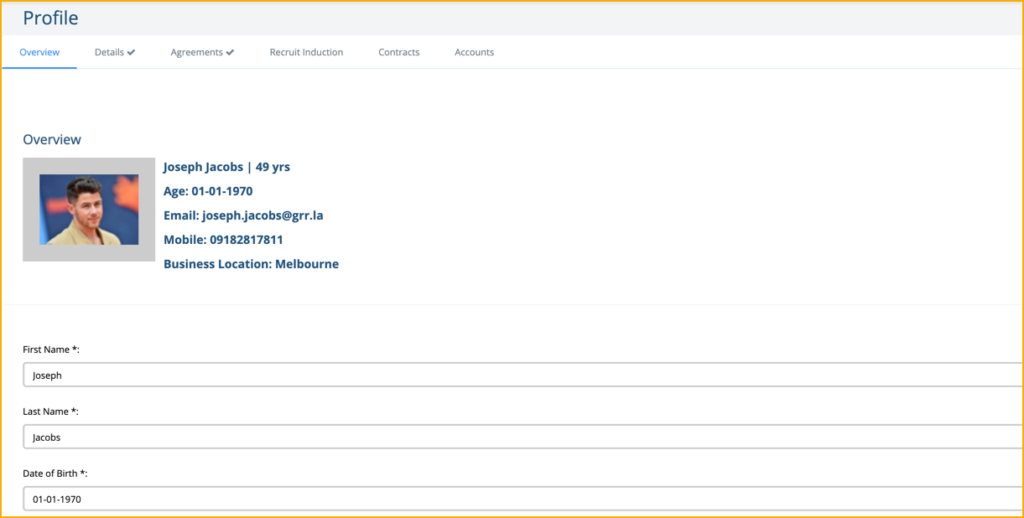
Overview
In the Overview, it will display the initial information that you entered when you added the Recruit.

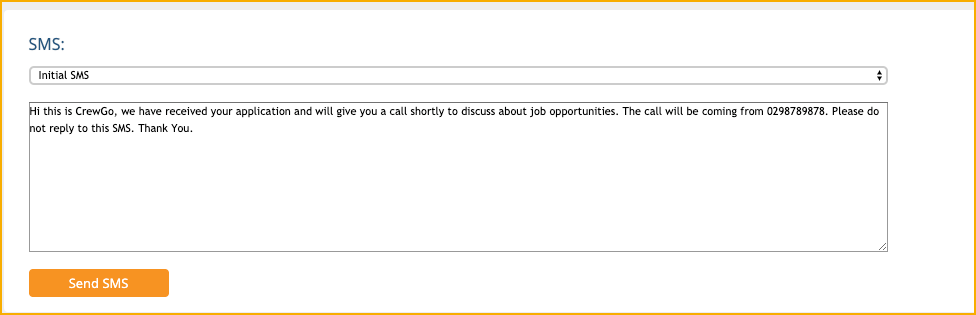
SMS
You can send an SMS to recruit after you have invited them. From the dropdown, you can select what type of SMS to send.
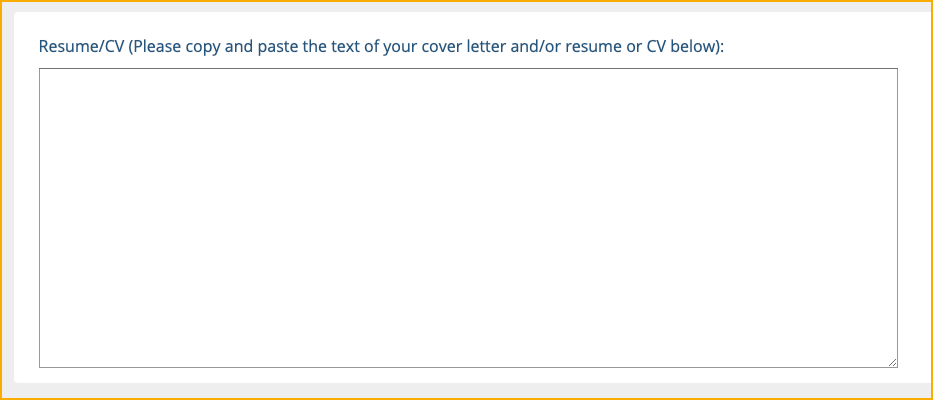
Resume
This section will be filled out by the Recruit.
Admin Notes
You enter important notes of your recruit in this section.
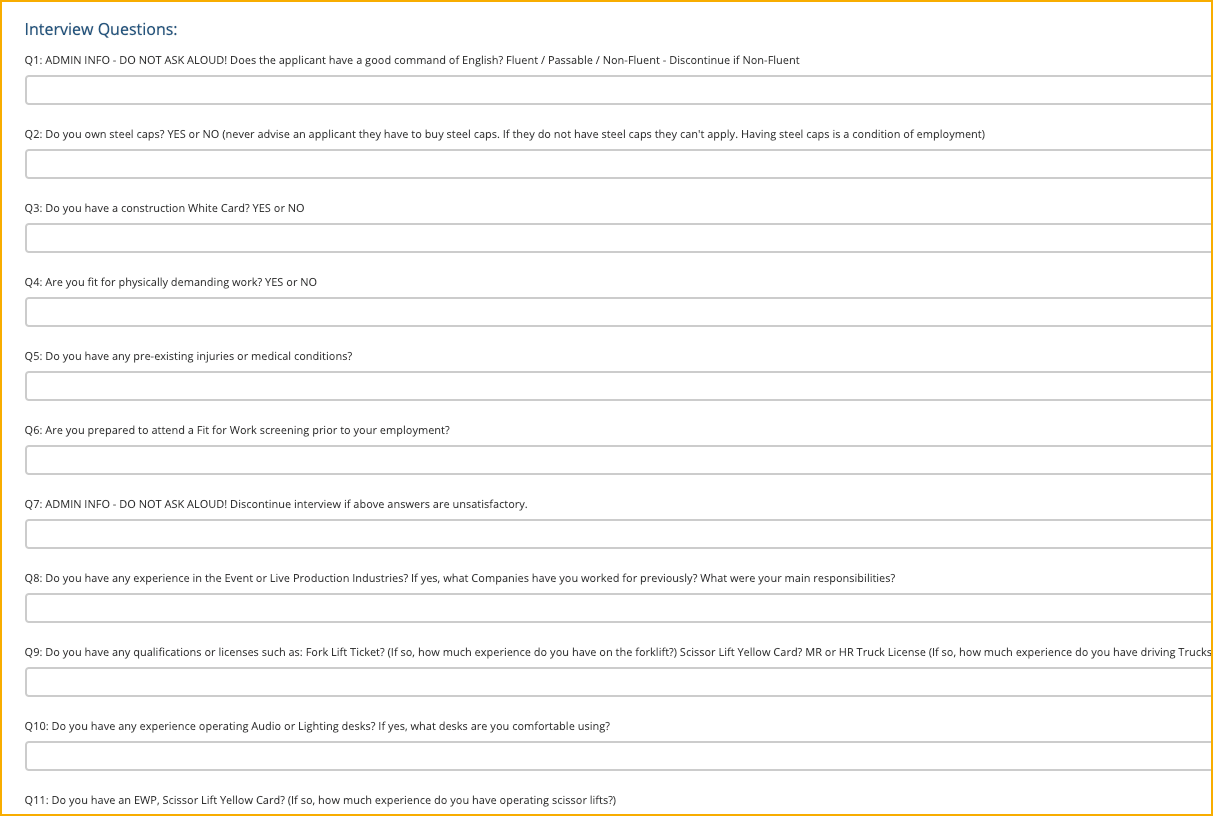
Interview Questions
These are the questions that you can ask your recruit. These set of questions can be modified in the Recruit Settings.
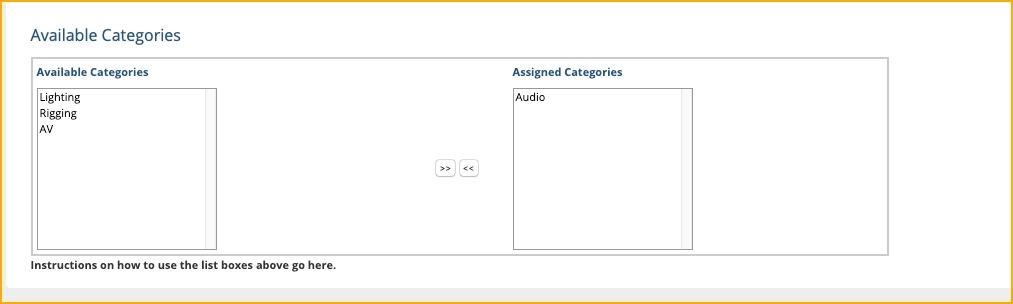
Available Categories
Select the category of the Recruit.
Available Activities
Select the activity of the Recruit.
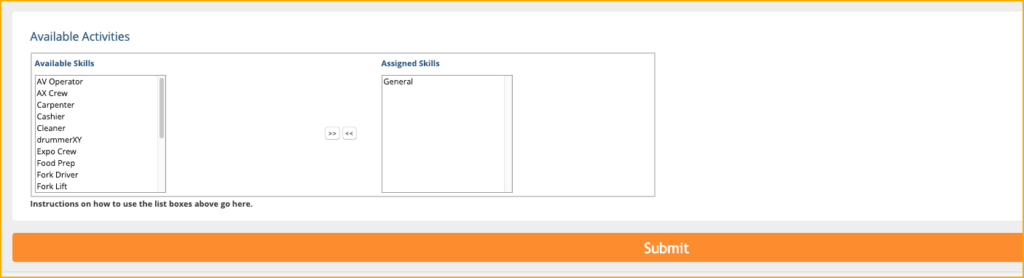
Click Submit once you are finished.
DETAILS
The next tab is called Details divided into eight sections namely:
– Your Details
– Emergency Contact (next of kin)
– Address
– Skills
– Other Skills
– Experience
– Medical Conditions
These eight sections should be filled out by the Recruit. As a Recruiter you can also fill out the details of this field for the Recruit. You can also send a link to the Recruit, so they will be the one to fill out the fields for Section Details.
Your Details
Emergency Contact (next of kin)
Address
Skills

Other Skills
Experience
Medical Conditions
AGREEMENTS
The Agreements tab contains the policies and contract that a Recruit should read and understand. The contents of the Agreements tab can be configured in the Recruitment Settings.
Citizenship Status

Activity Details

Policies and Information
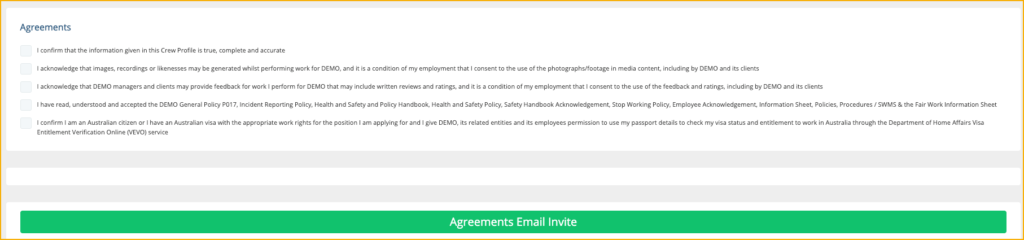
Agreements
Click Agreements Email Invite to send the link to the Recruit so he can fill out the Agreements tab. Once a link has been sent to the Recruit, he will also have access to the other tabs on the Recruit page where he can also fill out the information.
INDUCTION
In this tab, the Recruit will have to answer the questions for Recruit Induction
CONTRACT
This tab will show the Contract that the recruit with have to read and understand.
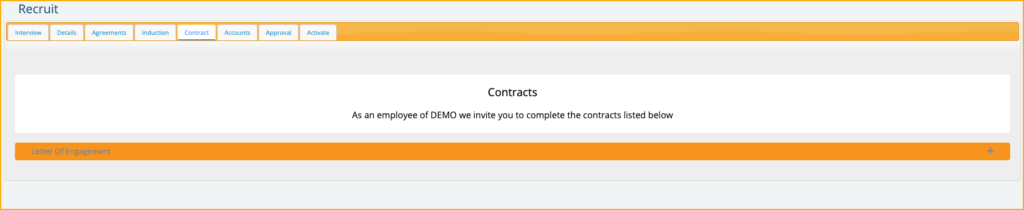
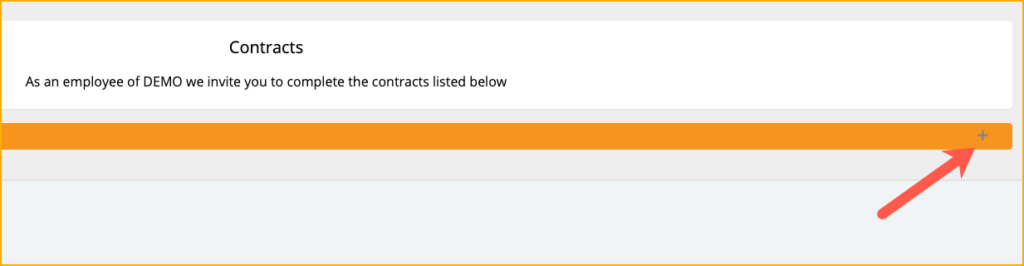
Click the “+” icon to display the full content of the Contract.
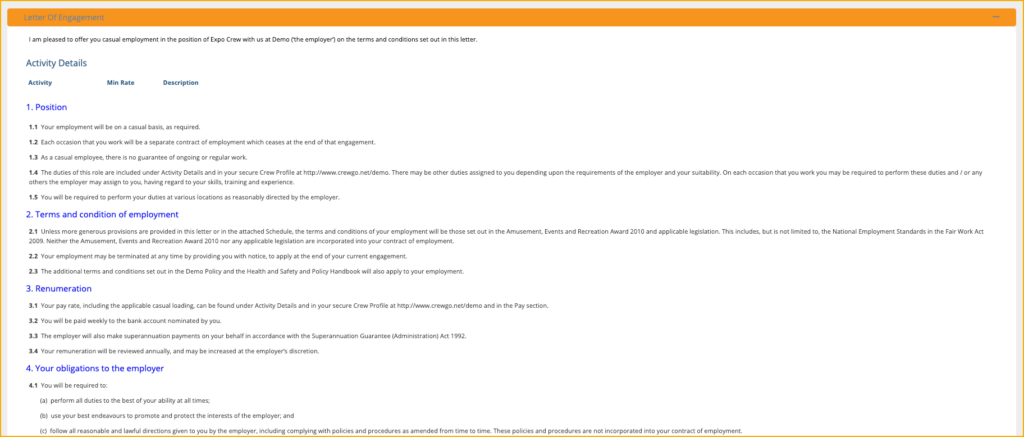
Note that Contracts can be customized in the Recruitment Settings and Contract Settings in Settings.
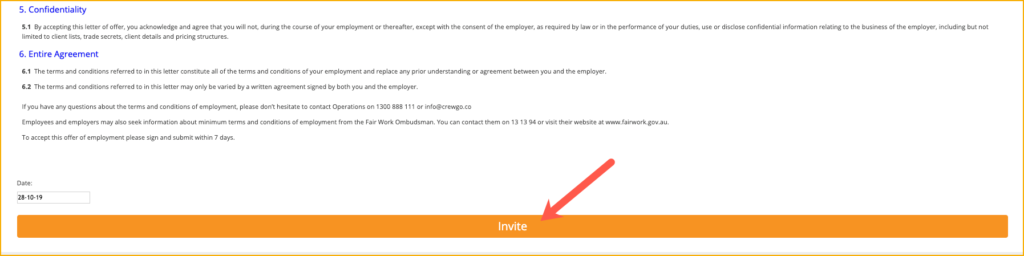
Click Invite to send the Contract to the Recruit.
ACCOUNTS
The next tab in the recruitment is Accounts. This is for the bank details, TFND, and Superannuation.
Banking Details
Super Details
TFN Related Questions
You can click on Account Details E-mail Invite that will send an email link to the Recruit. The Recruit will then have access to the Accounts tab (and other Recruitment tabs) where he can fill out the details of his accounts.

3.31.4 Crew Recruitment Tabs
When a Recruiter adds a Recruit in the system, an email notification will be sent to the Recruit similar to this one:
The Recruiter will start the interview to the Recruit. If a Recruit will move on to the next step, he will be sent with an invite where theRecruit can enter his details and also upload documents like ID’s, licenses, tickets, and other important documents.
Admin can send Invite links to Recruits to complete their profile, create accounts, etc.
For example, when Admin clicks on the Agreements Invite Email, the Recruit will receive this link on his email:
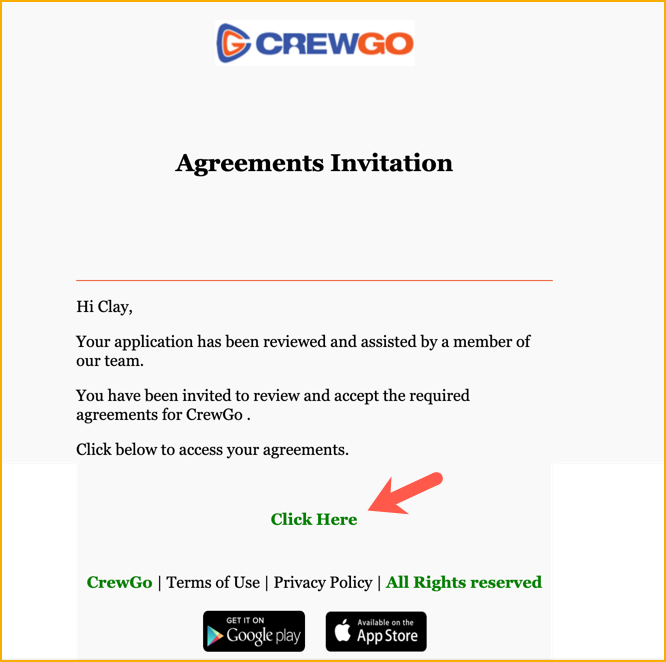
Recruit will have to click Click Here and he will be redirected to Your Details page where he will need to enter his information.
The Your Details page is divided into the following:
– Your Details
– Resume
– Emergency Contact (next of kin)
– Address
– Skills
– Other Skills
– Medical Conditions
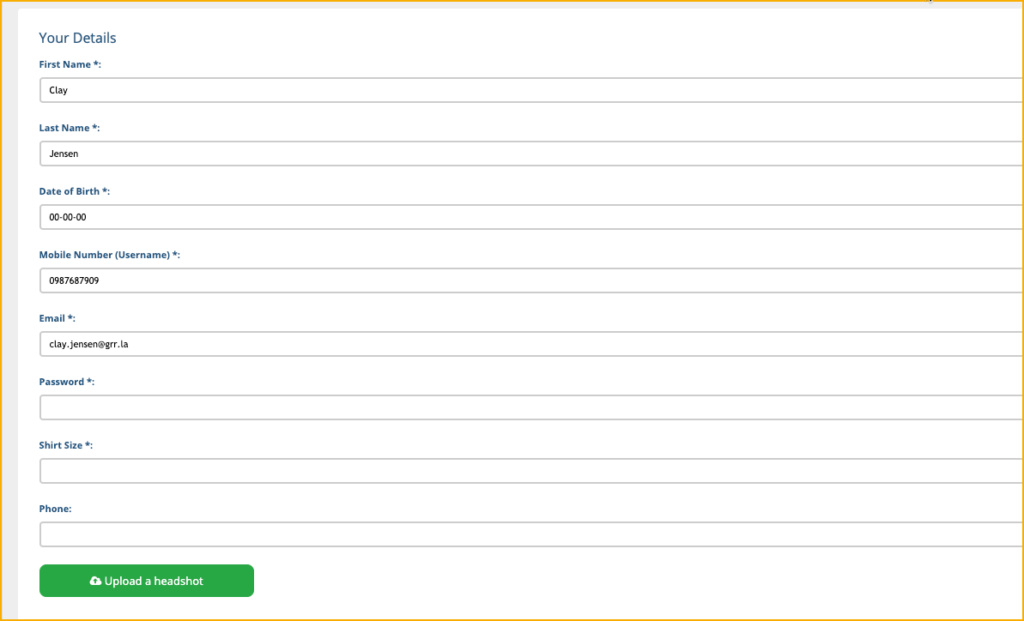
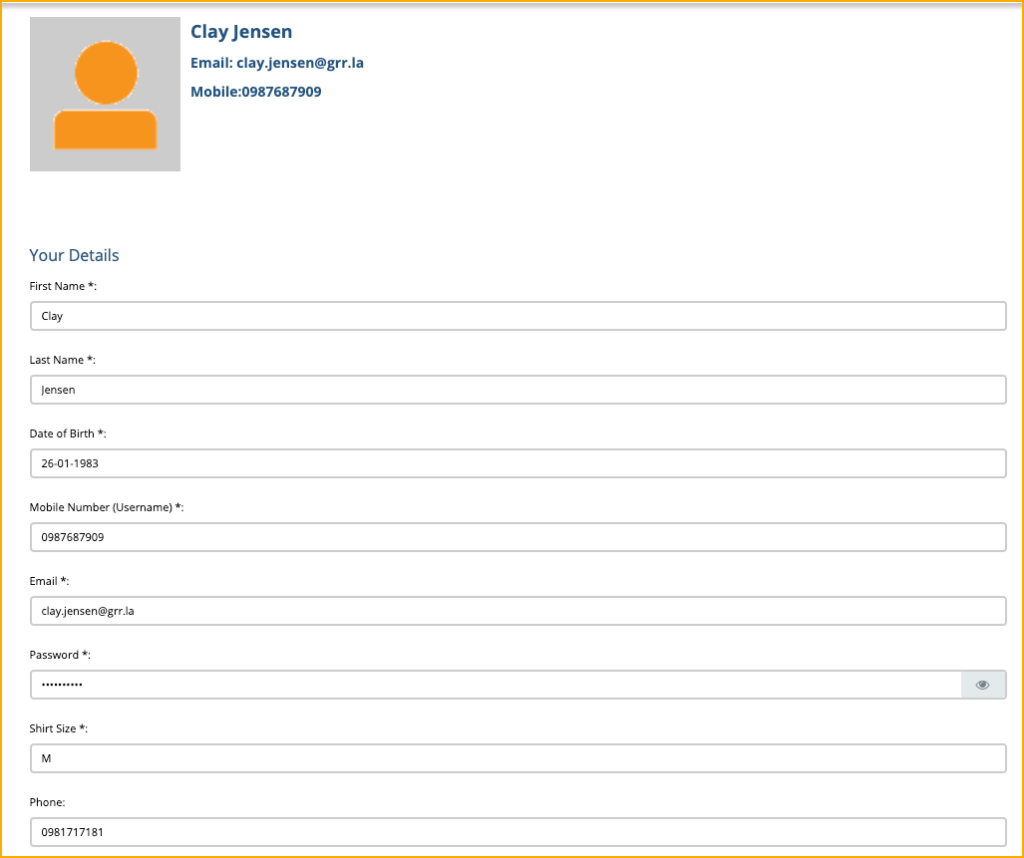
YOUR DETAILS
The Recruit will have to fill out the following fields:
– First name
– Last name
– Date of Birth
– Mobile Number
– Email (this is the email used when the Recruit was added or when the Recruit signed up) is pre-filled
– Password
– Shirt Size
– Phone
All fields with asterisk are mandatory fields.
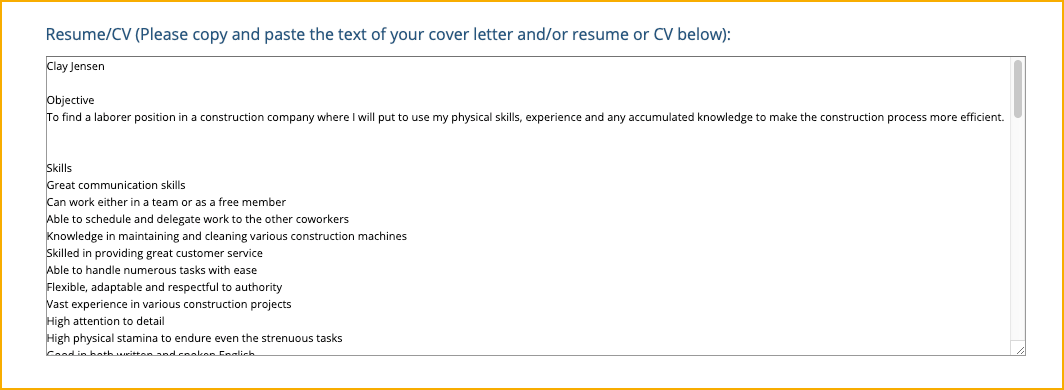
Resume/CV
The Recruit should paste his/her resume on this field:
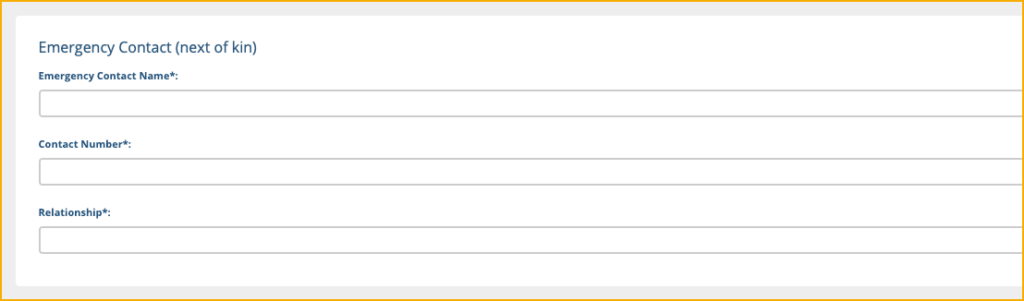
Emergency Contact (next of kin)
Enter the details of the emergency contact in these fields:

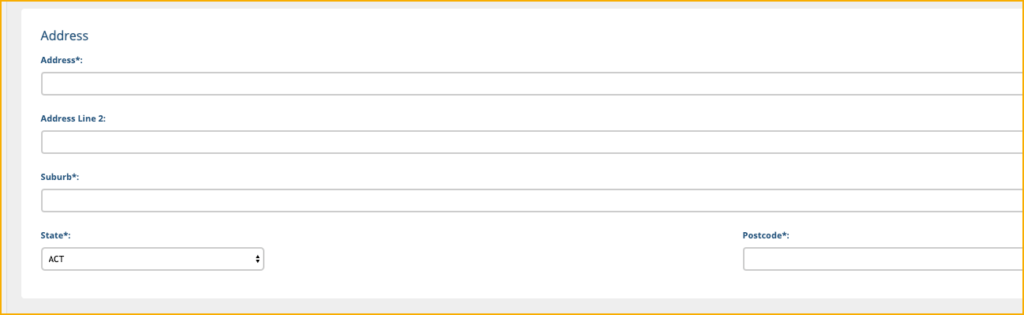
Address
Enter the details of your address in these fields:
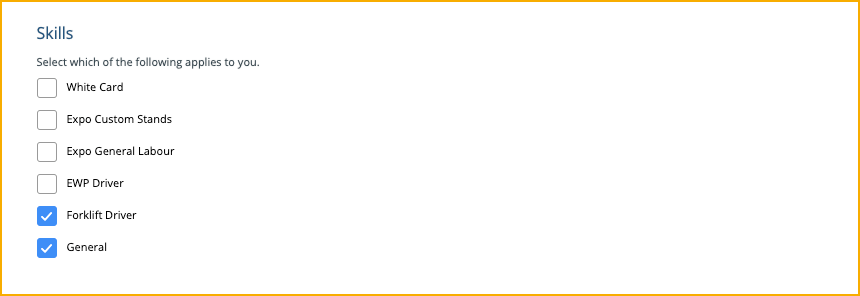
Skills
Select the skills that applies to you buy putting a check mark on the boxes:
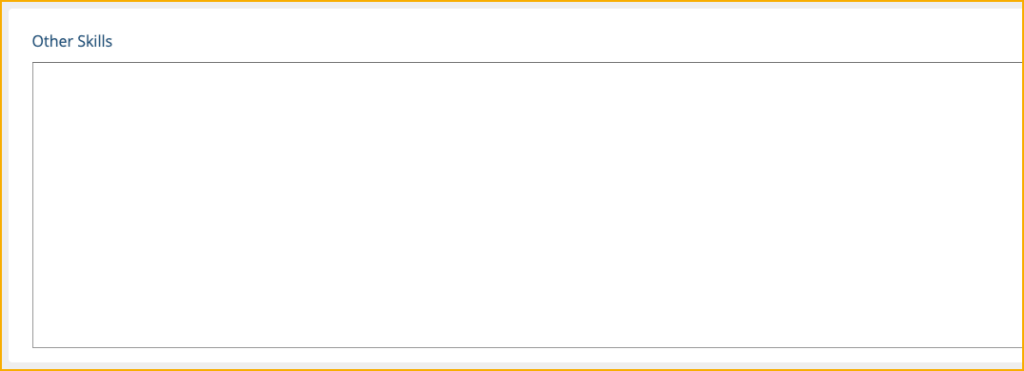
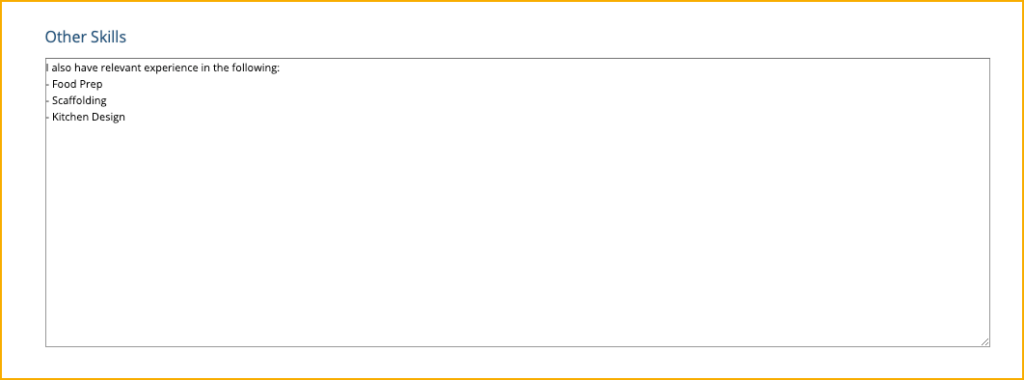
Other Skills
If you have other skills you enter it on this field.
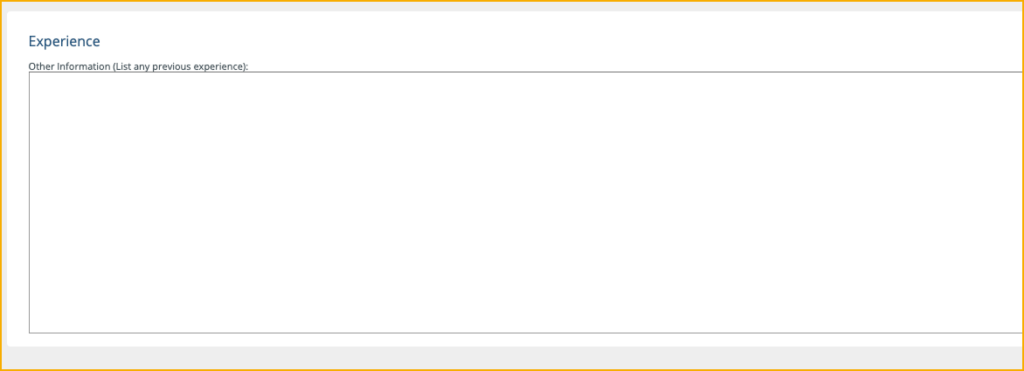
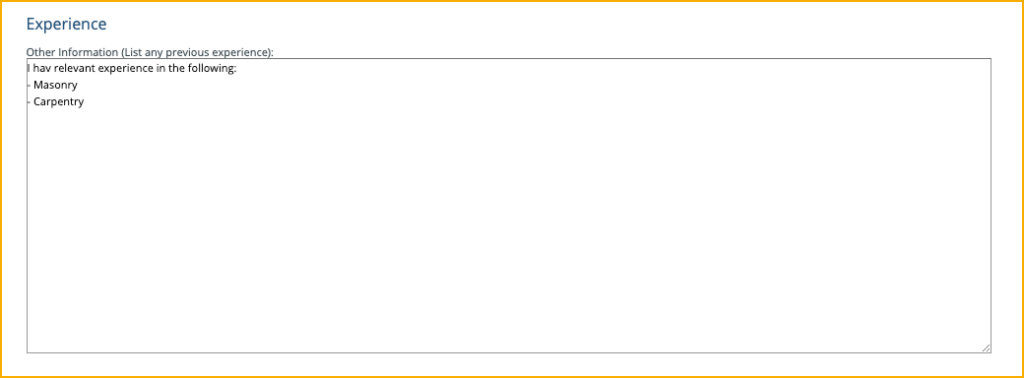
Experience
If you have other information or experience that will help you with your application, enter it here:
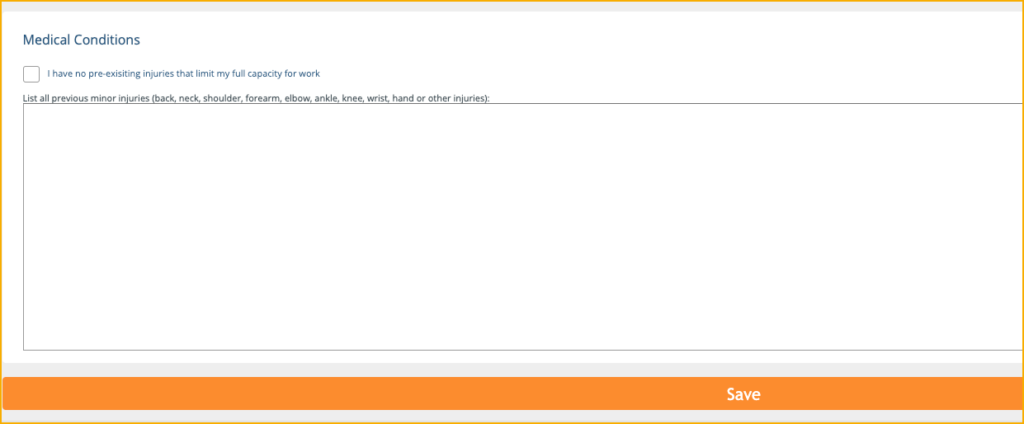
Medical Conditions
Put a check on the box if you do not have any pre-existing condition and injury.
You can also list all previous minor injuries on the field provided.
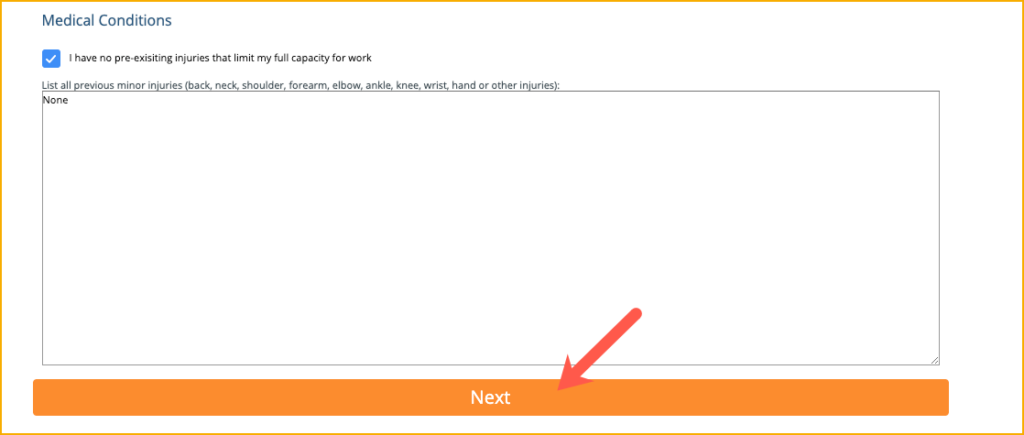
If you are finished with the Your Details page, you can click on Next.
After clicking Next, Recruit is redirected to the Employment Agreements page.
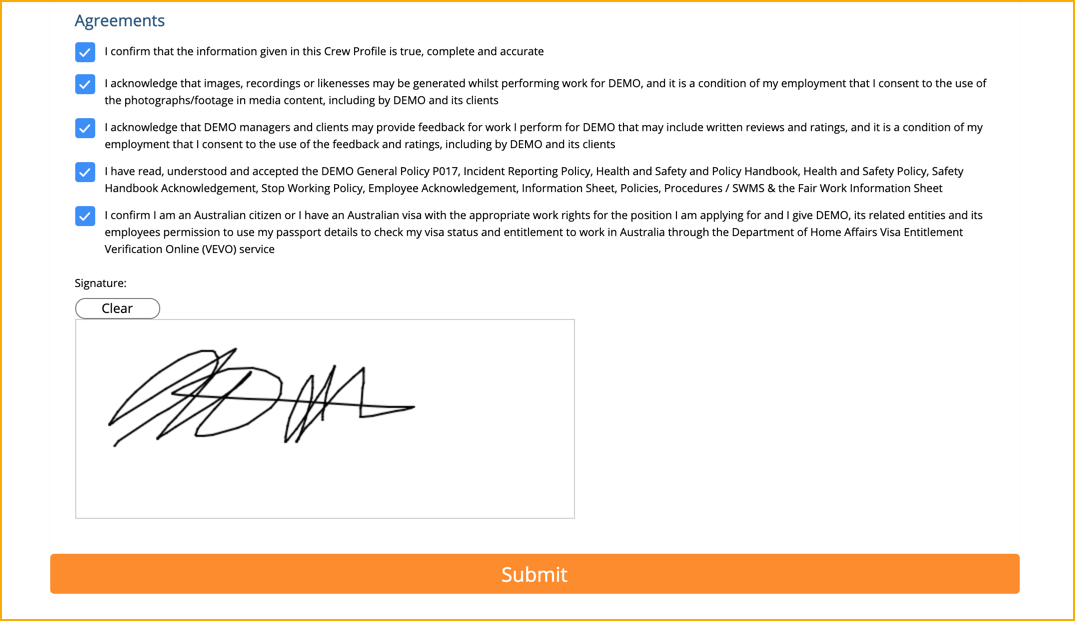
EMPLOYMENT AGREEMENTS
These are the agreements that the Recruit will have to read, understand and sign.
Citizenship
Select Citizenship from the dropdown menu.
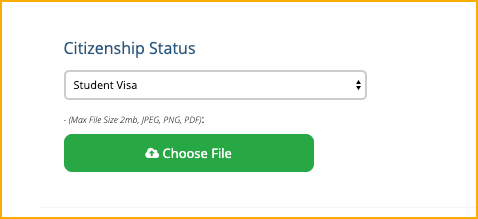
Depending on the selected type, you will be required yo upload the supporting document.

Headshot
Upload a headshot by clicking the button.

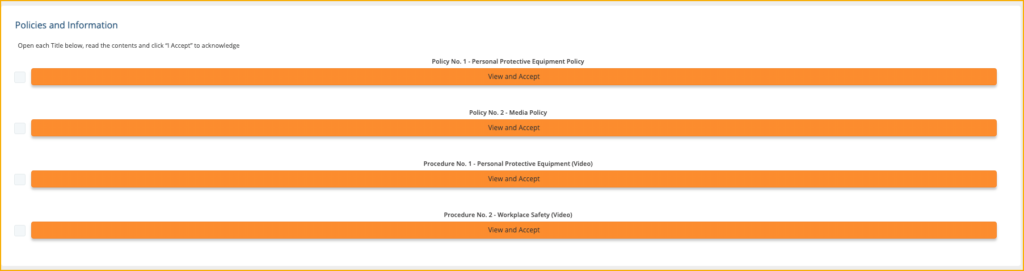
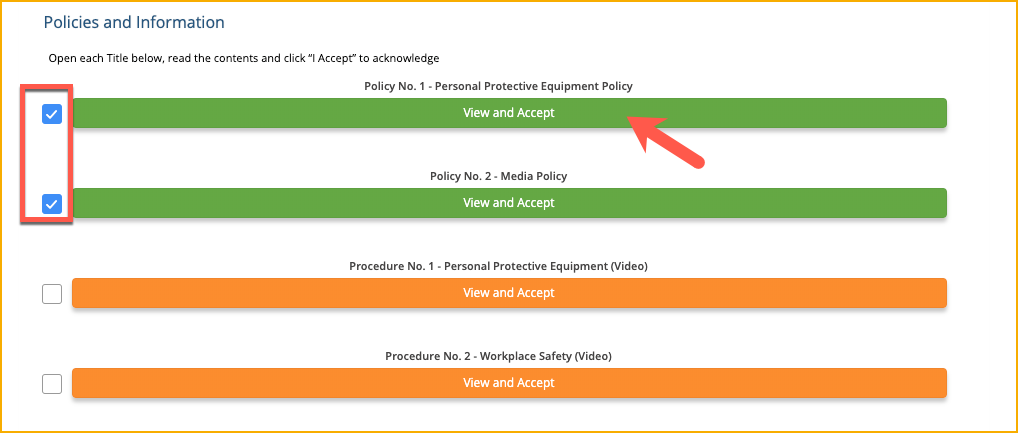
Policies and Information
Open each Title below, read the contents and click “I Accept” to acknowledge.
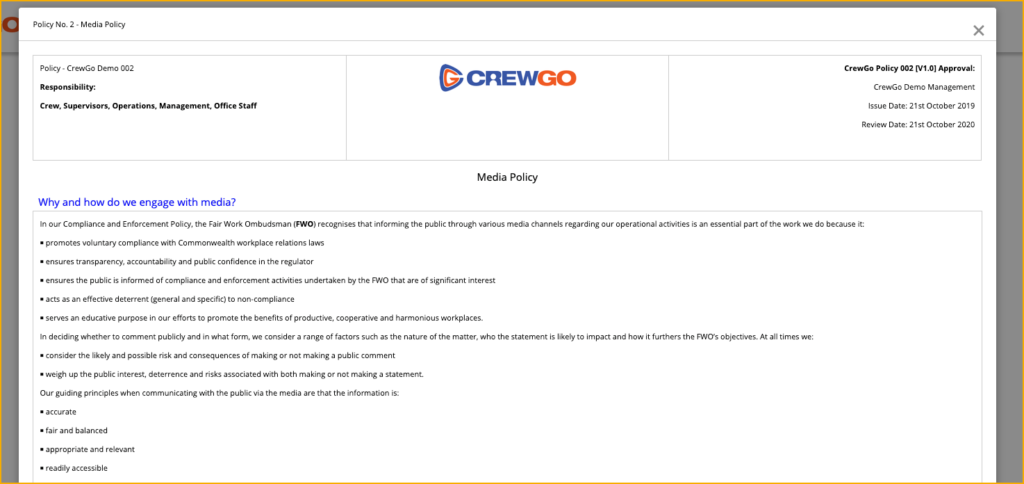
Click View and Accept.
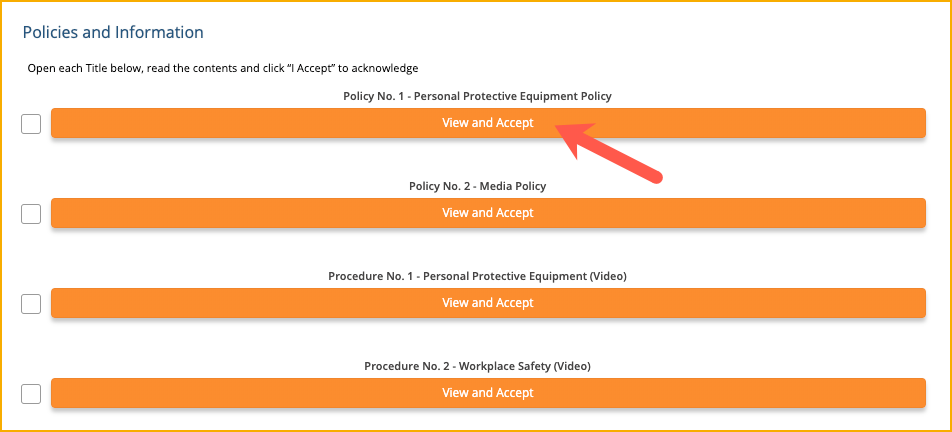
The full policy will open for you to read and understand.
At the bottom of the policy, click I Accept.
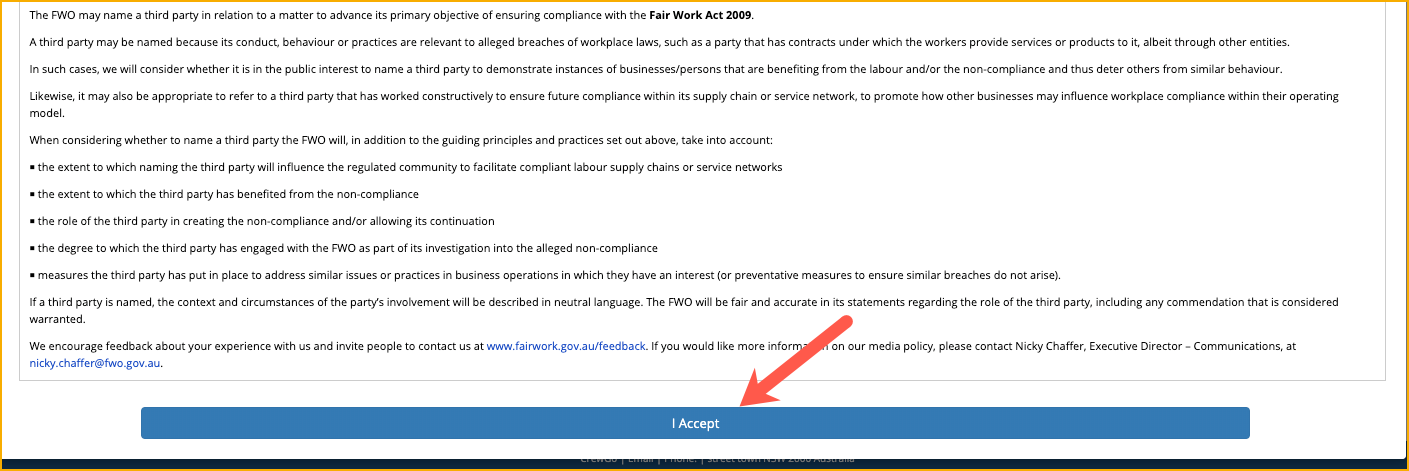
Once you have read and accepted the policy, the checkbox will have a check and the bar will changed color to green.
It is mandatory for Recruits to read all the policies and procedures in the Agreements tab.
Depending on the Recruitment Setting, the checkboxes may be set mandatory. If they are mandatory fields, then the Recruit will have to tick the box.
The Signature is a mandatory field. After reading the agreements, Recruit will have to affix his/her signature on this field and click Submit.
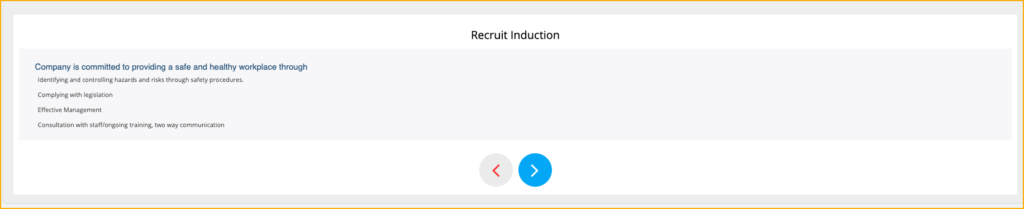
RECRUIT INDUCTION
The next tab in the Recruitment is the Recruit Induction.
Note: The Recruit Induction is set and configured in the Recruitment Settings. This Recruit Induction can be customize there.
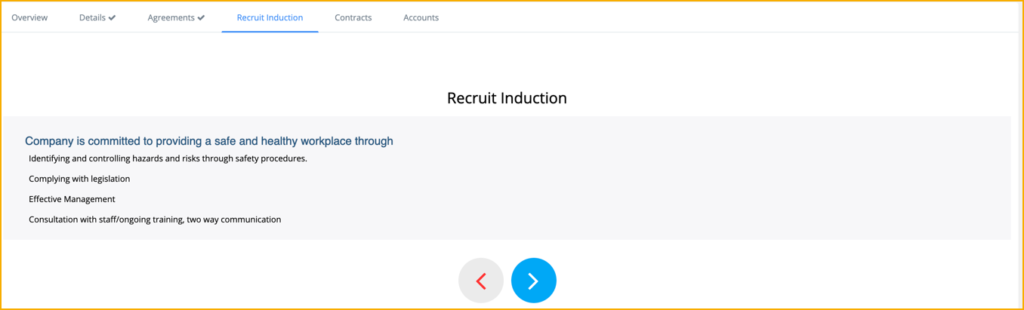
The Recruit should answer a series of questions similar to this one:

ACCOUNTS
The next tab is Accounts with the following sections:
– Banking Details
– Super Details
– Tax File Declaration
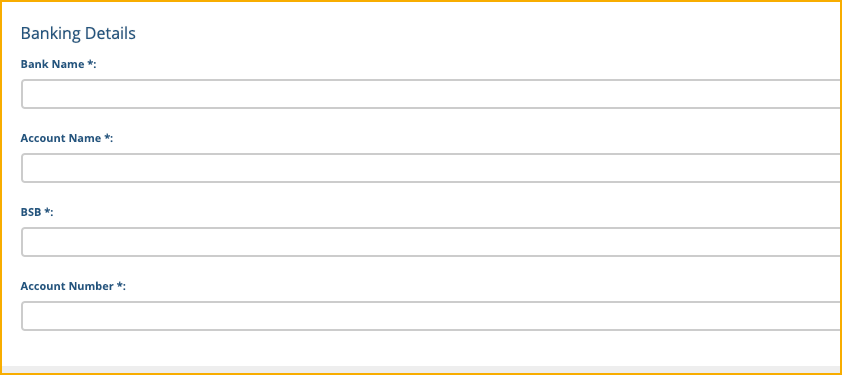
Banking Details
Enter relevant information about your bank in these fields:
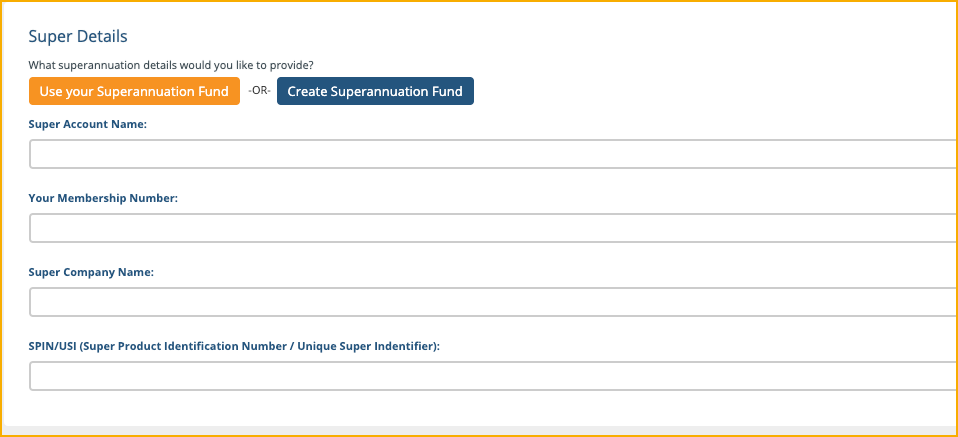
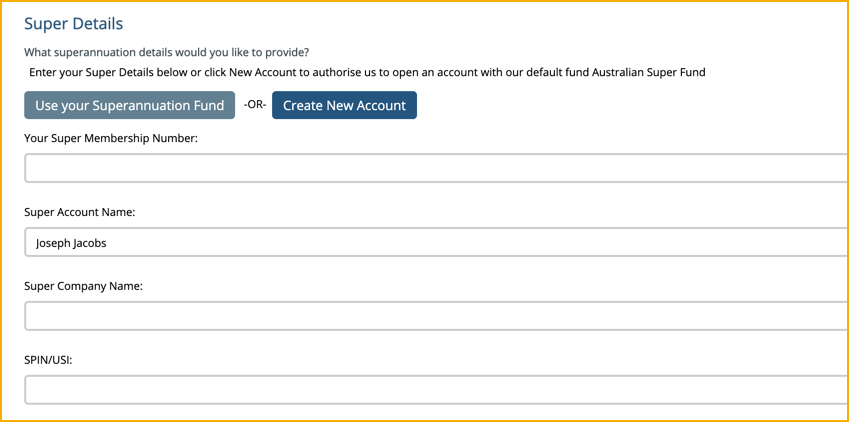
Super Details
In the Super Details, you can choose between Use your Superannuation Fund or Create New Account

If you decide to Use your Superannuation Fund, you will have to fill out these details:
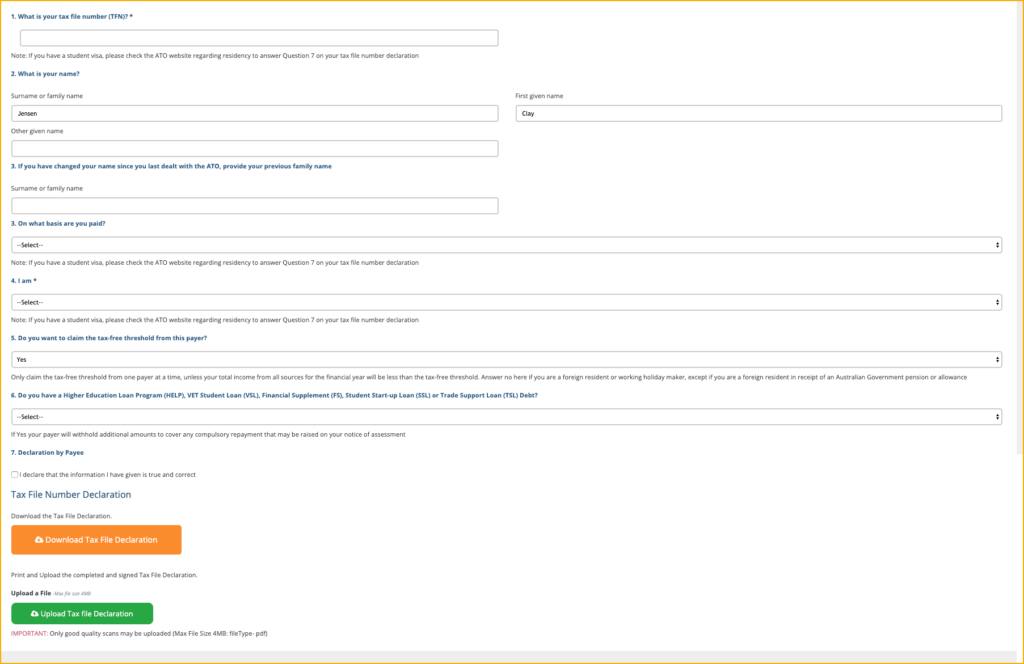
Tax File Declaration
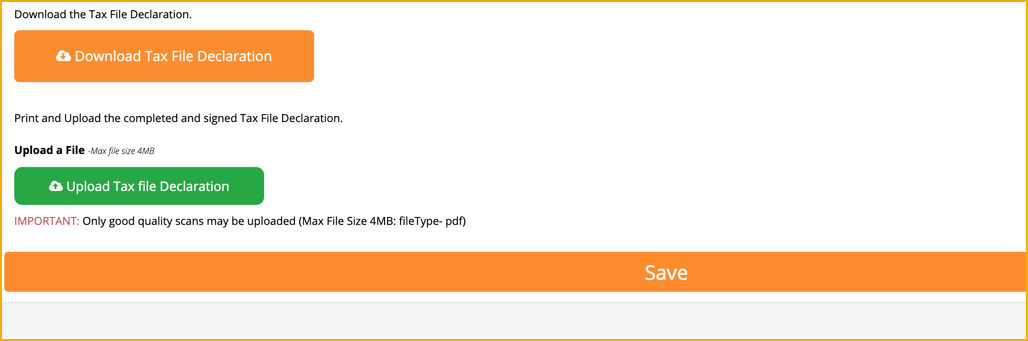
These are the fields required for the Tax File Declaration. Furthermore, you will need to affix your signature in the designated field.
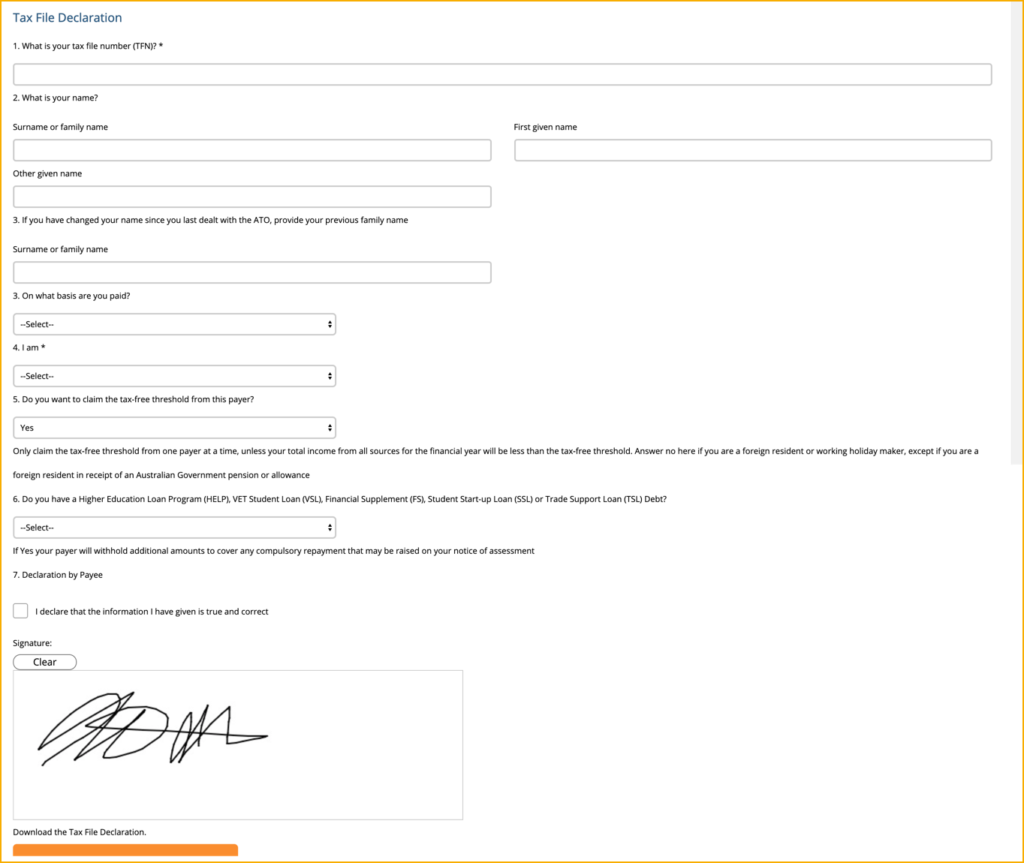
Furthermore, you need to upload the Tax Declaration. If you do not have the form with you, you can download it from this page as well.
Click Save once done.
Once you have completed all the tabs in Recruitment, review them and verify if all the details you entered are correct.
3.31.5 Approving and Activating Recruit
Once the Recruit has submitted and completed the details in his Recruitment tabs, the same information will be reflected back to the Admin Recruiter tabs.
From Admin Recruiter tab, you can now review the details submitted by the Recruit. If there are missing details, you can resend an invite to him to complete the details.
APPROVAL
Under the Approval tab, you will see all the uploaded documents of the Recruit. Check and verify these documents before Approving.
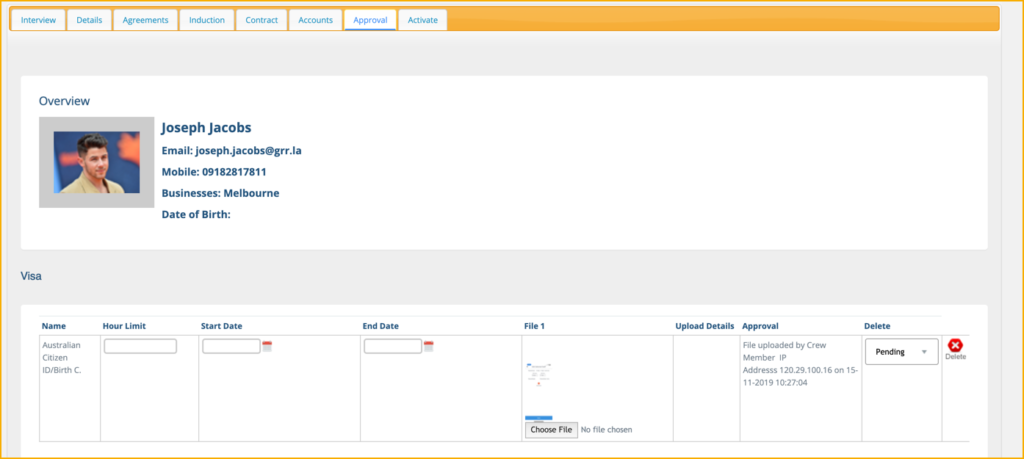
Enter the Start Date and End Date of the document.
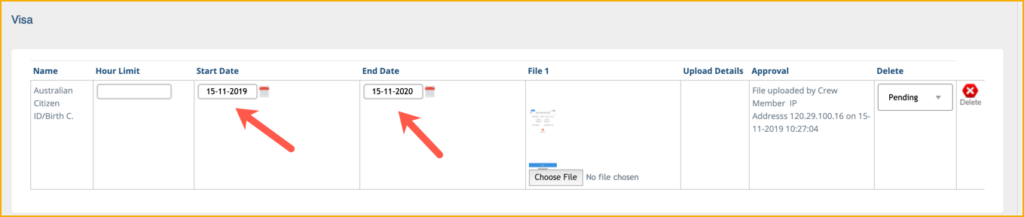
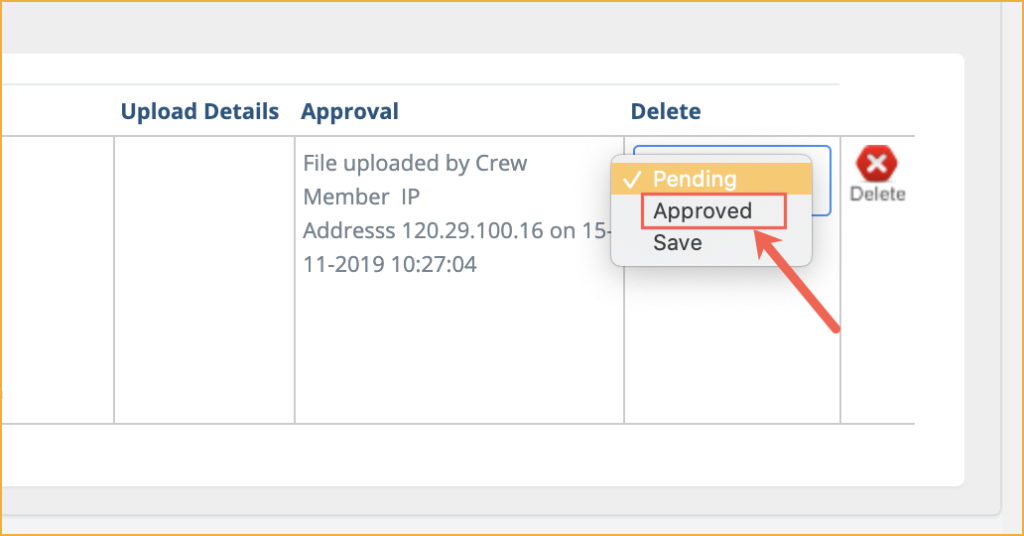
If the document is approved, select Approved from the dropdown menu.
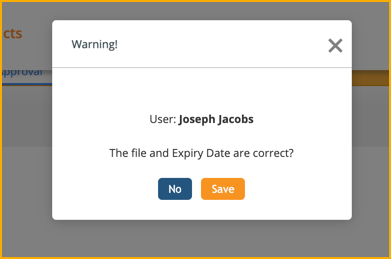
A pop-up will appear confirming if the expiry dates are correct. Click Save.
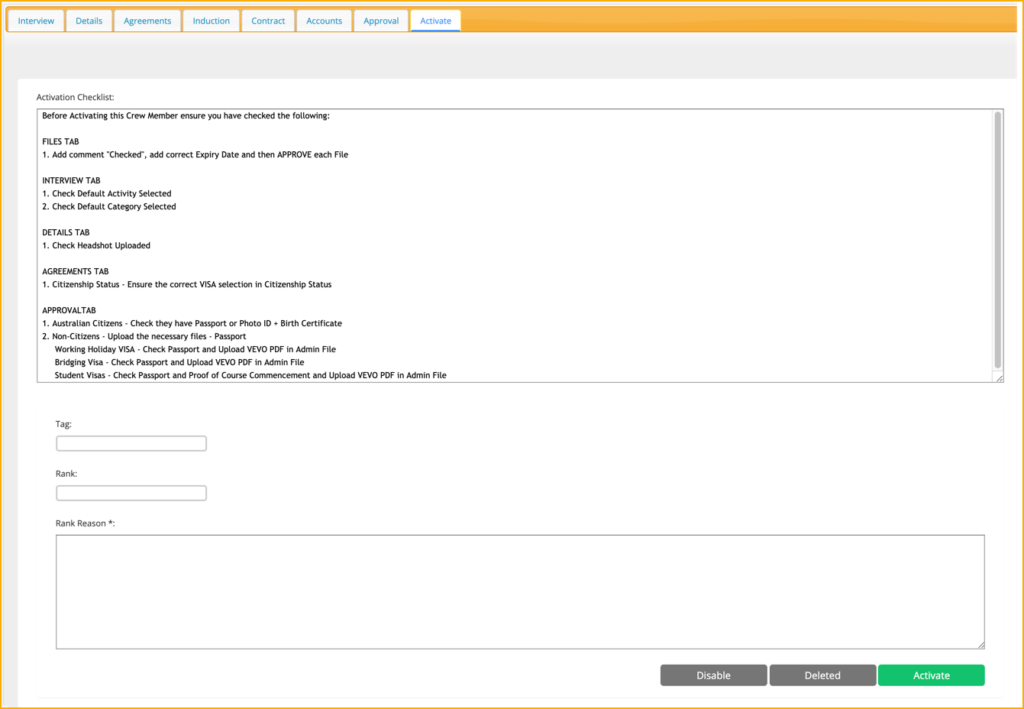
ACTIVATE
Now you are ready to activate or disable the recruit.
Depending on your review of the Recruit you can Delete, Disable or Activate them.
If you choose to Activate, you need to enter the Rank and Rank Reason. Once activated, the recruit will now become part of your Crew List.