10.5 Contract Settings
The Contract Settings allow user to create contracts that can be used in Recruitment. Additionally, signatures can also be created which can be affixed automatically to any available contract. The contracts function in PM eliminates the need for hardcopies of any contracts because everything can now be done inside the system.
10.5.1 Adding Signature
Different contracts need different signature. In this section, you can create signature depending on your requirement. Click Add Signature and a new window will appear where you must fill all fields. Under the Signature block, use the cursor of your mouse as the tip of your pen, affix your signature as if you are affixing your signature on a piece of paper.
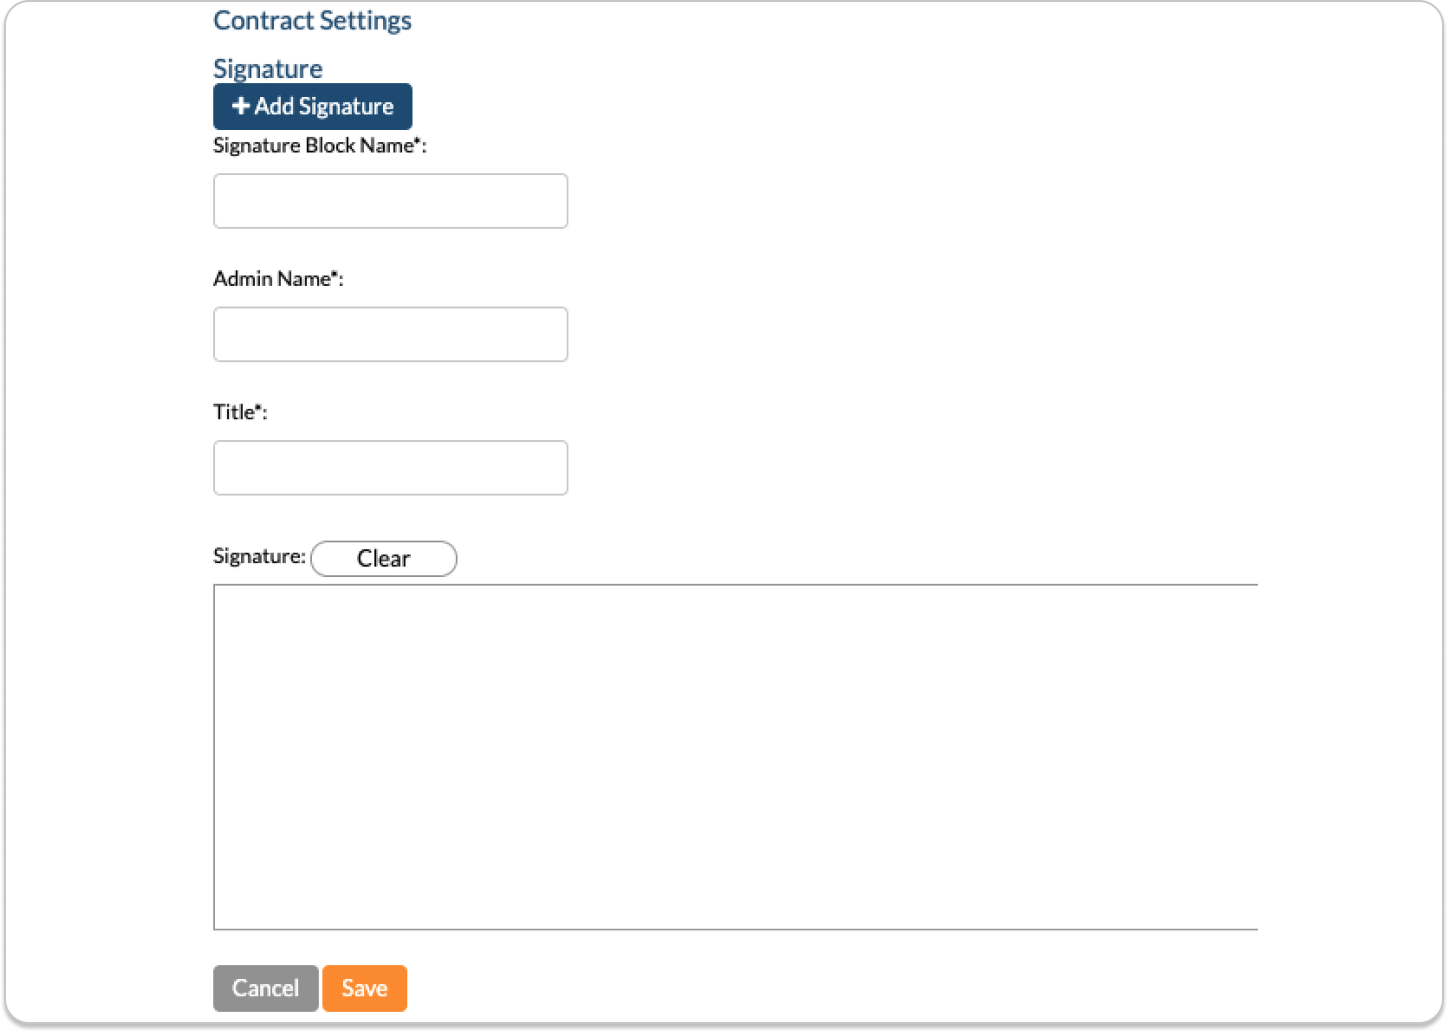
If you want to redo your signature, simply click the Clear button and the Signature block will be cleared. If you are satisfied with the appearance of your signature, you can now click Save. The newly created signature will then be added in the Signature List.
In the Signature List, there are Actions icons: Edit and Delete. If you want to edit the signature, click on the pencil icon and then you will be able to edit the signature. Delete Signature once clicked will pop-up a warning if you really want to delete the signature.
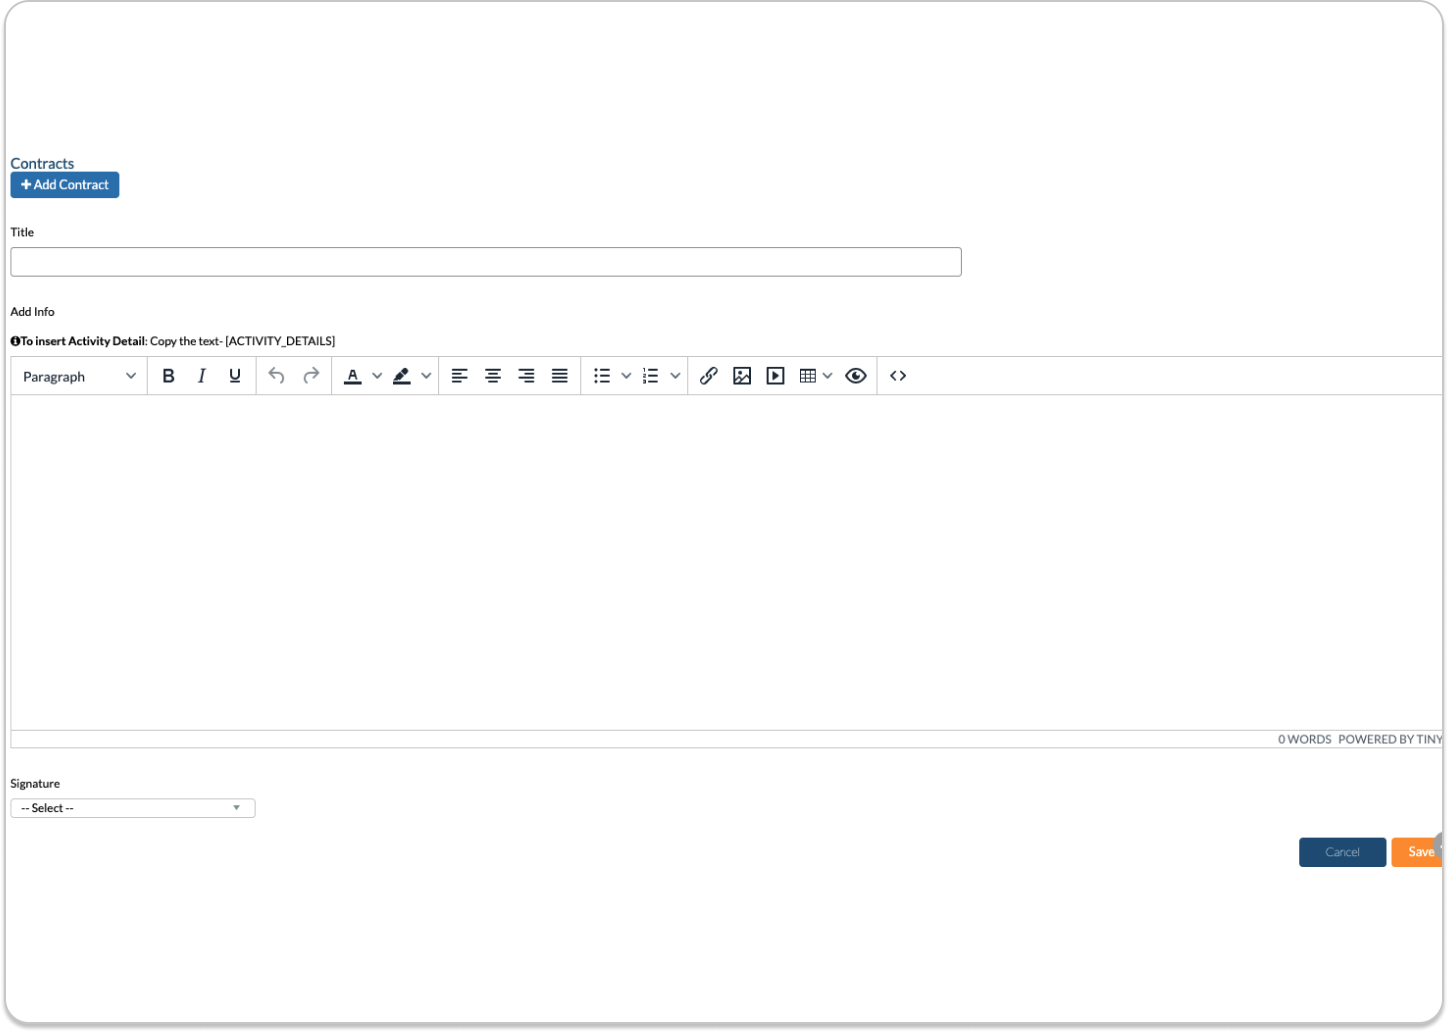
10.5.2 Adding Contracts
Click Add Contract, enter the title of the contract, now enter the details of the contract in the next info box. You can use various formatting tools to make the appearance of your contract more formal and presentable. You can make the text bold, italic, insert photos, videos, and more by using the editor.
After you added the content of the contract you can now select the signature to be used for the contract from the dropdown menu, then click save.
This will then be added to The Contracts List. If you want to edit the contract, click on the pencil icon and then you will be able to edit the contract. Delete contract once clicked will pop-up a warning will appear.