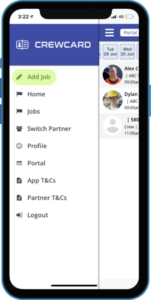
If you have access to add your own jobs this feature will be available.
Tap the Add Job button. This will open the Client Portal page where you can book a new job.
Booking Person: Select the booking person from the dropdown menu.
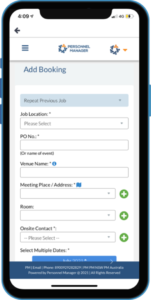
Job Location: Select the job location from the dropdown menu.
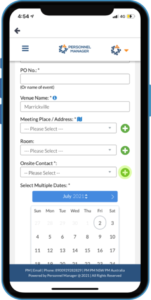
PO No: Enter the PO Number on this field.
Venue Name: Enter the first three letters of the venue name. Suggestions will appear and tap the venue name.
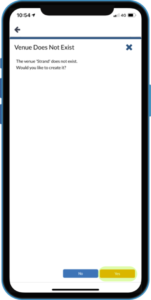
NOTE: If the Venue you entered on the field is non-existent, the app will ask you if you want to add that venue. Please follow the instruction on how to Add Venue below. The app will ask you if you want to add that venue. Click Yes to proceed.
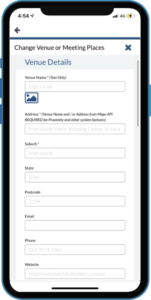
The Venue Details page will open where you can enter details of the new venue location. Enter the address on the field provided and Google Maps will suggest locations. manually enter the email address.
Note: Mandatory fields are noted with an asterisk.

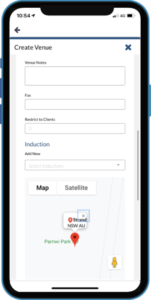
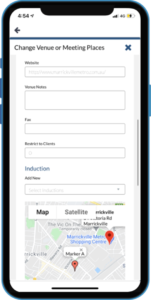
Meeting Place: To add a meeting place, enter the name of the meeting place on the field provided. Click the pin icon. Then a pin will appear on the map.
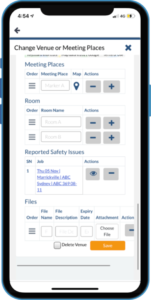
Room: Enter the name of the room on the field provided.
Reported Safety Issue: If there are issues about the job location, it will appear on this section.
Files: If you wish to add files you can do so here. Enter the file name, file description and expiry dates on the provided field.
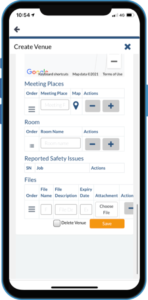
Note: If you wish to add or remove any of the above use the ‘-‘ and ‘+’ buttons.
Once all fields are filled press save.
Meeting Place & Room: Select the meeting place and room from the dropdown menu. If you want to add another meeting place or room, click the + icon and follow instructions under Adding Venue.
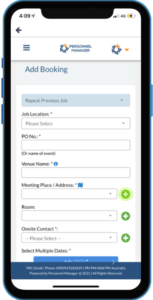
Onsite Contact: Select an onsite contact from the dropdown menu. Click the plus icon if you want to add another onsite contact.
This will take you to a new page.
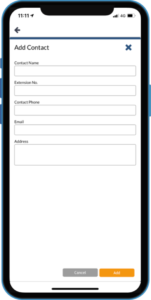
Fill out the fields and press save. It will return you back to the booking page.
Next, select the date of the job. Tap on each of the dates where you want your job to be scheduled. Click Next.
No of Crew: Type the number of crew you require
Time On: Stat time of job
Time Off: End time of job
Activity: The Required activity performed on shift
Ability: Ability you wish staff to have on shift
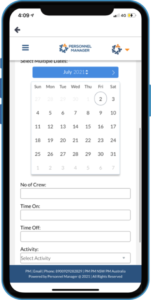

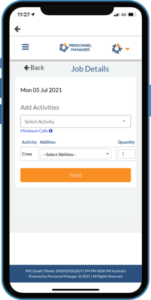
Press Next.
Job Details: You add activities number of staff
Over View: Will show you the job’s information and allow you to edit before saving.
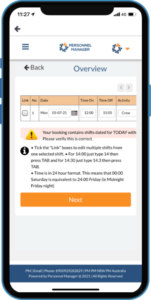
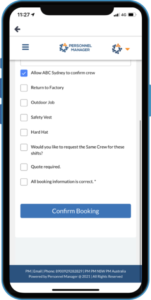
Final Information: You can leave notes for the job and tick box any information for crew. Then press confirm booking.