3.24.1 Accessing the Graph
CNB > Job A / DM / M
PM provides users a graphical interface where they can see crews and jobs plotted on a graph. To access the Graph in PM, follow the steps outlined below
1. Hover your mouse over Jobs and click Graph.
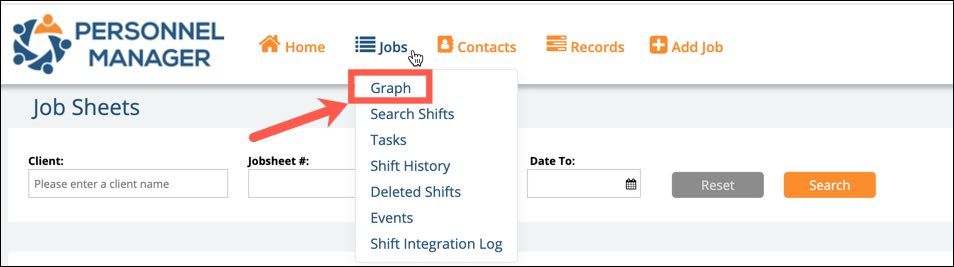
2. You will be redirected to a new page where the Graph will be displayed.
3.24.2 Group
You can group the crews in two ways by selecting from the dropdown menu list.
– Group by Crew
– Group by Job
Group by Crew
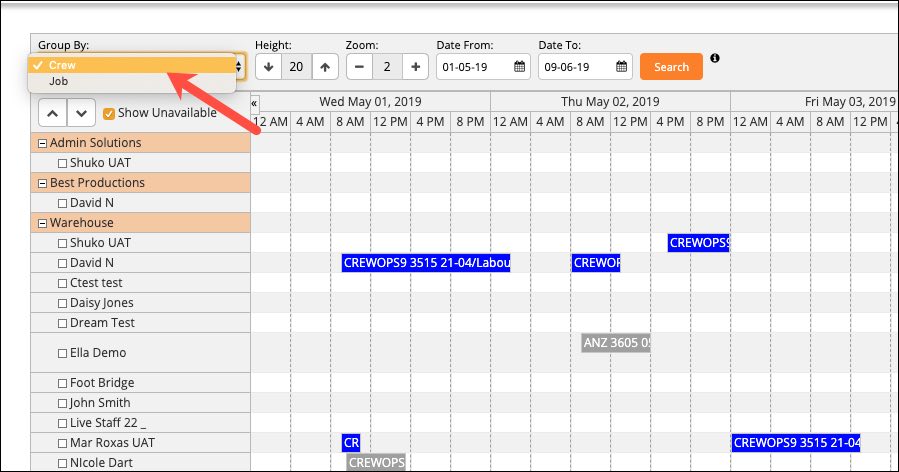
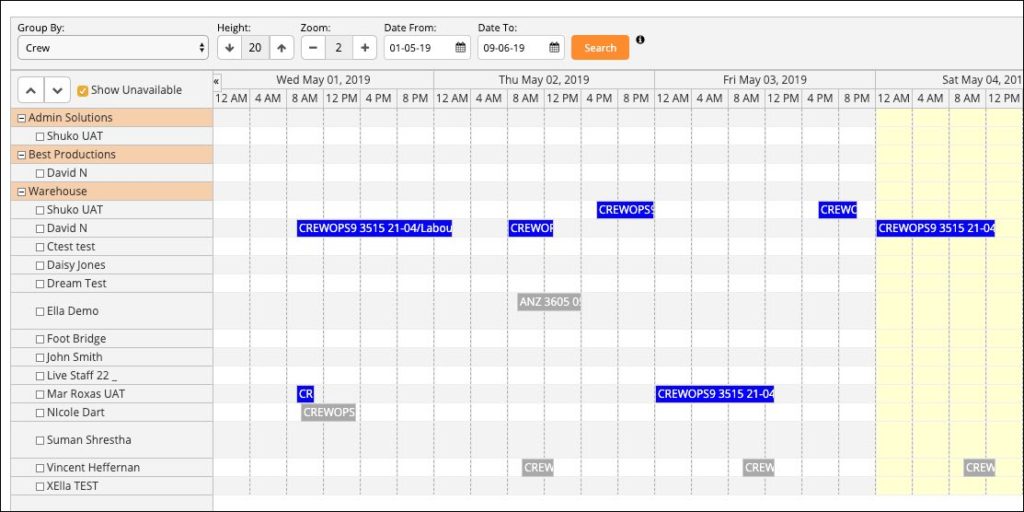
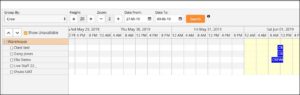
In Group by Crew, the graph is presented in two levels. Level 1 is the Business and Level 2 is the crew. The screenshot above shows there are three businesses (Admin Solutions, Best Productions, and Warehouse) and under each business are the crews.
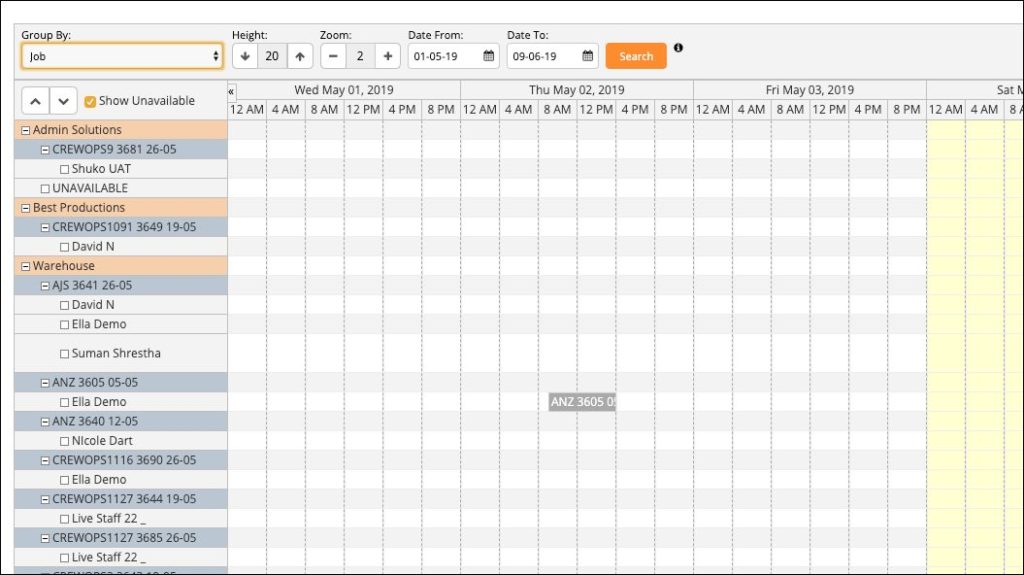
Group by Job
In Group by Job, the Graph is presented in three levels. Level 1 is the Business, Level 2 is the Job and Level 3 is the Crew.
3.24.3 Height
You can adjust the height of the graph depending on your preference. To do so, simply click the up and down arrow keys of Height.


The height of the graph can be adjusted in intervals of 10.
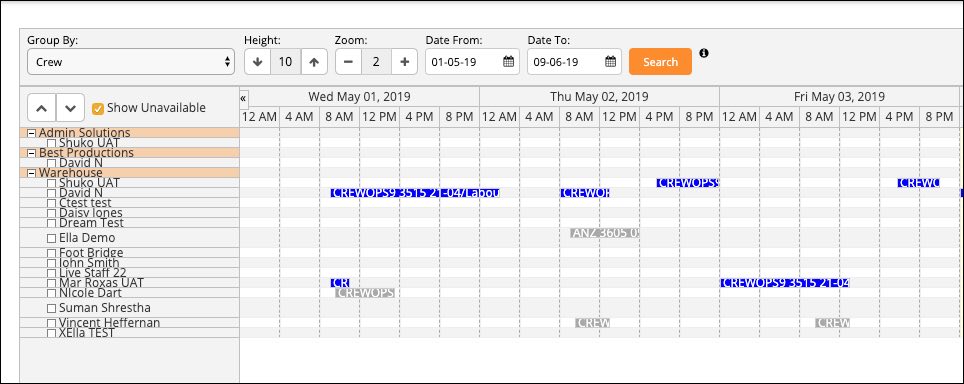
This is the appearance of the graph with height of 10.
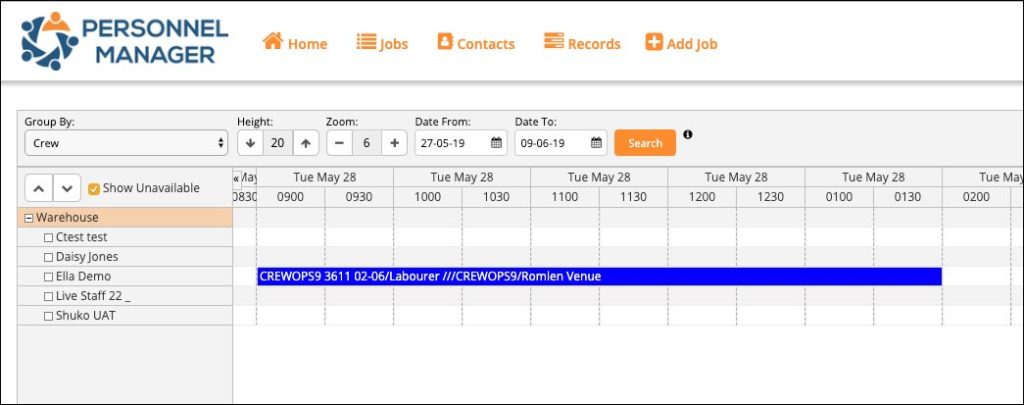
This is the appearance of the graph with height of 20.
The height of the Graph can be adjusted up to height 100.
3.24.4 Zoom Level
Similar with Height, you can also adjust the zoom level of the Graph according to your preference. To do so, simply click the up and down arrow keys of Zoom.

The zoom level can be adjusted from 1 to 10.
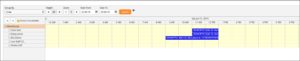
In Zoom Level 1, the day is divided into two – AM and PM.
In Zoom Level 2, the day is divided into 6 sections of 4 hours each.
In Zoom Level 3, the day is also divided into 6 sections of 4 hours each but with a bigger width than Zoom Level 2.
In Zoom Level 4, the day is also divided into 6 sections of 4 hours each but with a bigger width than Zoom Level 3.
In Zoom Level 5, the day is divided into 24 sections with 1 hour each.
In Zoom Level 6, the day is divided into 48 sections with 30 minutes each.
In Zoom Level 7, the day is divided into 96 sections with 15 minutes each.
In Zoom Level 8, the day is divided into 96 sections with 15 minutes each but with a bigger width than Zoom Level 7.
In Zoom Level 9, the day is divided into 5 minutes interval. And lastly, in Zoom Level 10, a day is divided per minute of interval.
3.24.5 Date Search Filters
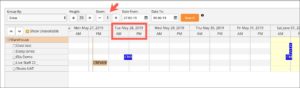
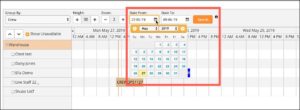
By default, when you first navigate to the Graph of PM, the data presented are from the current date plus ten days. You can change the date by using the calendar filters on the graph.
Simply click on the Date From and select the date from the calendar interface that will pop-up. Do the same steps for Date To field. Once you have selected the dates, click the Search button and the Graph will display the jobs according to the dates you have entered.
3.24.6 Horizontal Scroll
Automatic Horizontal Scroll
You can scroll the graph horizontally and automatically if there are more data to be viewed.
Simply put the mouse cursor on the right corner of the graph and the graph will move automatically. To stop the graph from moving towards the right, simply move the mouse cursor to the left.
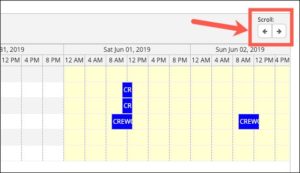
Scroll Buttons
If you prefer to scroll the graph manually, you can use the scroll buttons found on the upper right corner of the Graph. You can click the left and right arrow keys depending on the direction that you want to scroll.
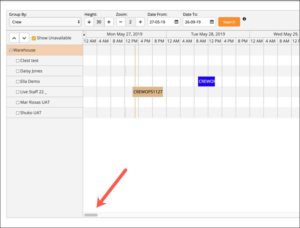
Footer Scroll Bar
Alternatively, you can also use the scroll bar found at the footer of the Graph.
3.24.7 Resizing and Moving a Shift
You can update a shift by moving or resizing it.
Moving a Shift
To move a shift, follow these steps:
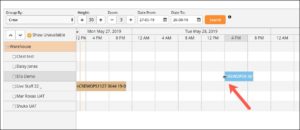
1. Put you mouse cursor over the shift that you want to move then hold down the button of the mouse while you are on that shift.
2. Then move the shift horizontally to date and time that you prefer.
NOTE: You cannot move the shift vertically.
3. After moving the shift, a pop-up will appear to confirm the changes to the shift.
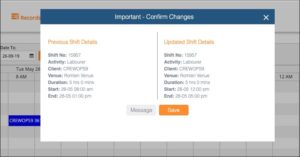
Message: You will be redirected to a new page where a message will be sent to the crew assigned to the job.
Save: The updates in the shift will be saved.
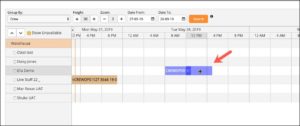
Resizing a Shift
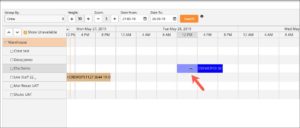
1. Select the shift that you want to resize and put your cursor on either the left or right portion of the shift until you see the arrow icon just like in the screenshot below.
2. Resize the shift by pulling the shift to the direction of that you prefer.
3. After resizing the shift, a pop-up will appear to confirm the changes to the shift.
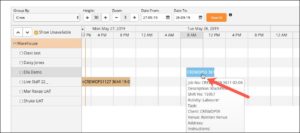
3.24.8 Viewing Information of a Shift
If you want to view the details of the shift, you can hover your mouse over a shift and a pop-up window will appear.
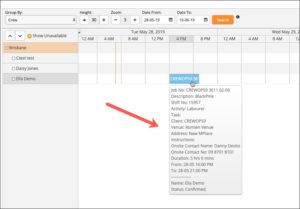
Alternatively, you can double click a shift and you will be redirected to the Shifts page where you can view and edit the details of a shift.

3.24.9 Leaves and Unavailability
In addition to the shifts, the Graph will also display staff who are unavailable and/or who are in leave.
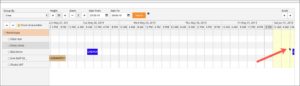
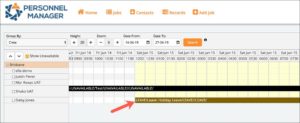
LEAVE
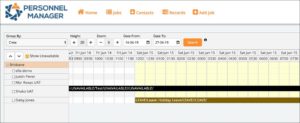
In the above screenshot, Staff Daisy Jones has a leave which starts on June 15.
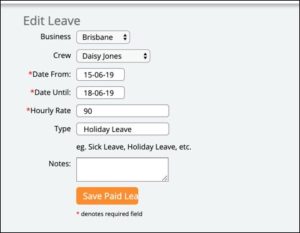
You can double click on the leave of a staff in the graph so you can edit the details.
After you double clicked the Leave, user will be redirected to the Edit Leave page.
UNAVAILABILITY
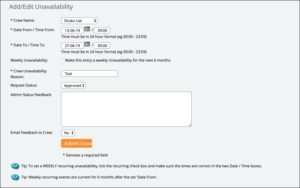
Similar with Leaves, you can also view the Unavailability on the Graph.
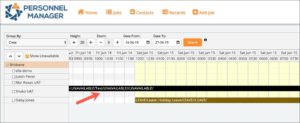
When you double clicked on the Unavailability, you will be redirected to the Edit Unavailability page.