3.8 Venues (Google Maps)
CNB > Venues A / DM / M
A Venue is the location that the shift is to take place in. Anytime a venue is entered into the database, it is stored for future reference and can be found in the Venues Page.
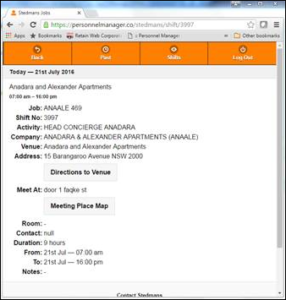
Staff can view their Shift Meeting Places on a Google Map on their Crew Login Page and from their internet calendar (such as Outlook Calendar) (See “iCAL under “Crew Login Page” for more info).
VSI Due: VSI in Venue Details stands for Venue Safety Inspection. You can set a date for this inspection and when a job is booked at that venue after the date of the inspection a warning will appear on the Shifts Page.
CNB > Venues > Edit Venue > VSI Due A / DM / M
Eye Icon: Views the venue details in a new window.
Pencil Icon: Opens the Venue Edit Page.
3.8.1 Add a New Venue / Venue Edit Page
Name, address, postcode can be entered here, as well as Venue phone number, website address etc.
Notes: Important venue notes are saved in this text box which also appears on SMS Confirmations (or emails) sent to crew who are booked to work at this venue. For example “Corporate venue, dress appropriately”
Private for Client: When selected, this Venue will not appear in the list of possible venues that clients can select from in the Client Booking Page. It is useful for private residences or one-off events. To enter a client name start typing first few letters then select it from the drop down list of clients that appears.
Delete: if ticked and saved this venue would be deleted from the system.
Meeting Places: A specific meeting place for this venue. Each time these are entered by clicking the “+” icon they are stored in the system. It is possible for the one Venue to have several Meeting Points. When a venue is selected in a shift or shifts, a list of meeting places that belong to this venue will be loaded to be selected under the Meeting Places in the shifts edit page.
For example: ABC Hotel would be saved as a venue with address details like 123 Halifax St., Sydney CBD. And then the meeting places would be entered as “Meet at the front”, “Loading Dock”, “Call on Arrival”. There is no need to enter the street address in the meeting points as it’s will already be entered in the venue details.
The Meeting Place of any Venue can have a Google Map attached that can be accessed by staff in their Crew Page and in their Internet Calendar.
Press the “map” icon next to a meeting place, a map will appear to allow you to drop the pin on the right location then close the window to go back to the venue page.
Set Marker To: Press this drop down list to select and jump to another location, that’s entered in the venue details prior.
Show Map: Please note that crew will not be able to see the map if “Show Map” is unticked located next to each Meeting Place in Venue edit page.
Delete?: Any meeting point or Rooms can be deleted by ticking “Deleted?” box and saving the page.
Rooms: Rooms is an alternative location that can be saved under each venue. It does not necessarily have to be a room, it could be for example “Main Foyer”. By default Rooms does not appear in SMS Confirmation messages sent to crew, but they can be seen by crew in their crew pages.
Files: Any documents related to this venue can be uploaded and stored in each venue’s page.
3.8.2 Entering a new venue in “Auto Booking Form”, “Shift Edit Page” or “Job Sheet Page”
Venues can also be entered by typing a name in the “Venues” boxes in the “Shift Edit Page” or “Job Sheet Page” and pressing “Tab” on keyboard (or clicking anywhere). When a venue is entered for the first time, a new window pops open prompting you to ‘Create’ this new Venue. Once you click “Yes”, enter the details of the Venue including the address and postcode. To add a Meeting Place for this Venue, click the “Map” icon next to Meeting Place. Then click “Add New”. The Google Map will open and the pin which should be at the correct location according to the address. Enter the new Meeting Place Name, and click “Add” and close the map window. This information will go into the SMS message for staff. If the pin is in the wrong location, click on it and drag it to the correct location, then SAVE.
CNB > Job sheet/Shift Edit Page > Meeting Place Map Icon A / DM / M
3.8.3 Allow Shift Map Checking
AUB > Global Settings > Software Configuration – Allow Shift Map Checking A
It is also possible to access the Google Maps for the Meeting Place on the Shifts Page. There is an option in Global Settings, which says “Allow Shift Map Checking”.
When YES is selected, the Shifts Page will display a Red Map Icon to the right of each Venue.
CNB > Shifts > Map Icon A / DM / M
Click on this Icon to open the Google Map for the Meeting Place for this Shift.
If the pin is in the correct location, select Verification: This Map is ACCURATE at the bottom of the map and press SAVE. You can move the pin to the correct location by clicking and dragging it.
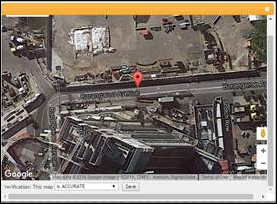
Once you verify the Map, the Map Icon on the Shifts Page will turn to Green and the Map will appear on the Crew Member’s Page and in the link on their Internet Calendar entries.
To the right of the Map Icon on the Shifts Page is an Info Icon for the Venue. Click on this “i” icon to edit the details of a venue.
CNB > Shifts > Info Icon A / DM / M
3.8.4 Venue file upload:
CNB>Contacts>Venues>Venues Infomation:
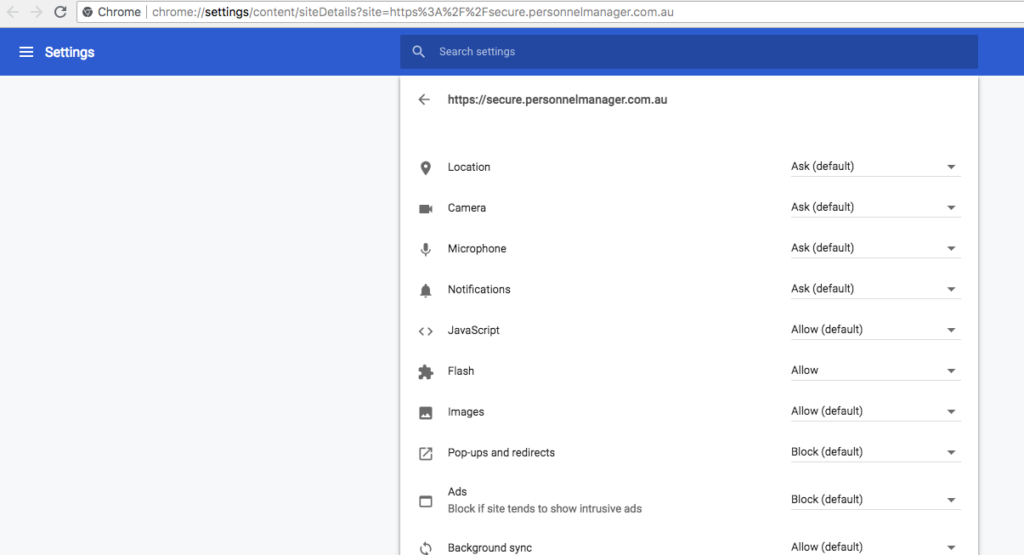
In order to upload a file in Venue Information page, please ensure your browser setting has Flash set to Allow.
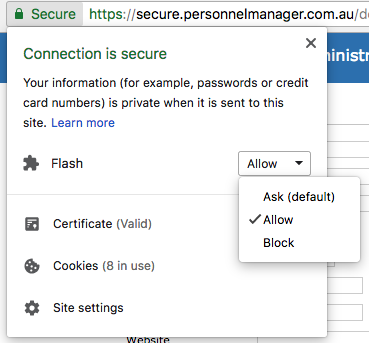
On the Secure drop-down>click on the Flash selection and select Allow, or click on Site Settings and find Flash setting.
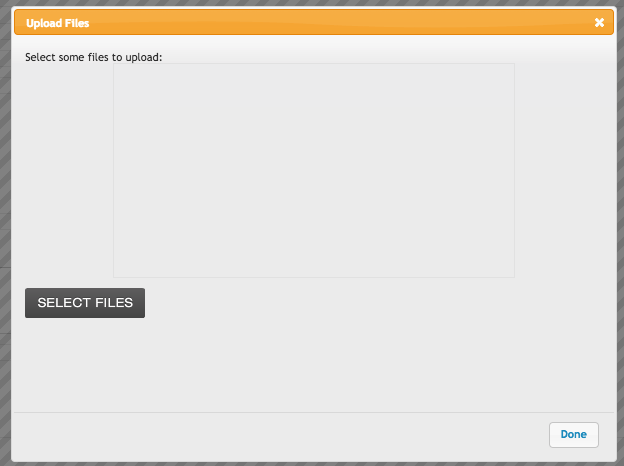
Once your browser setting has allowed Flash the Select Files button will appear.