Key A / DM / M
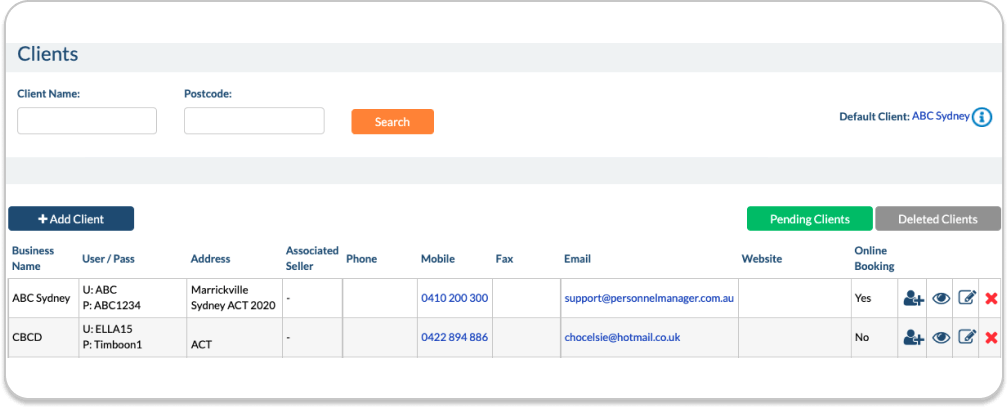
All the work being conducted is on behalf of CA Client. In Ops Home, a Client must be selected in order to create a job sheet. For Labour Hire companies, the clients of the company can be listed here or some businesses may prefer to enter their account managers or supervisors as clients.
Client records can be searched by entering the first few letters of the name then selecting from the list that appears. Once selected click “Search” to bring up the records. Search by “Postcode” can also be performed on this page.
Adding Existing Client
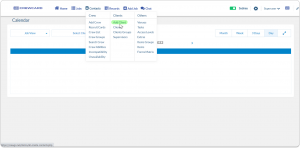
To add an existing Client in Crewcard, Simply hover your mouse to contacts and select Add Client under Clients Column. Add Client will allow you to add your existing clients.
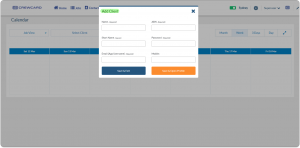
Enter the Client details and Click Save & Exit or Save & Open profile.
Adding a new client
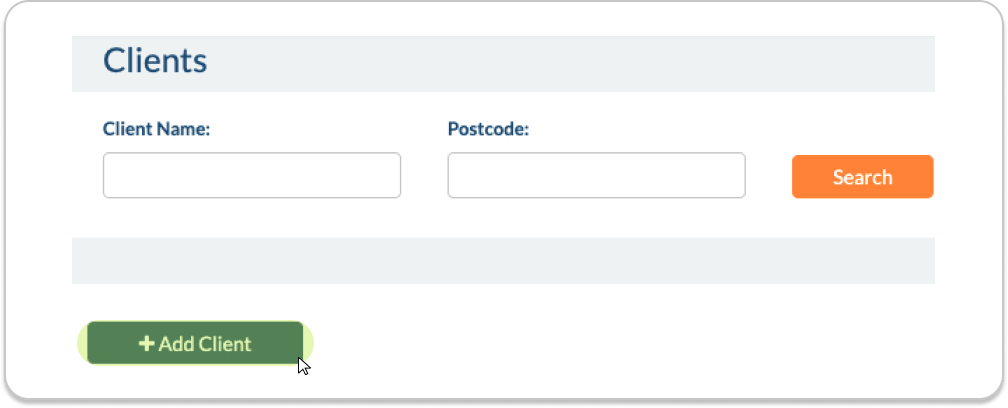
Press ‘Add Client’
Enter the client’s details and create their login. We suggest using the client’s number if they have not requested a certain password. They can change their password through their own account.
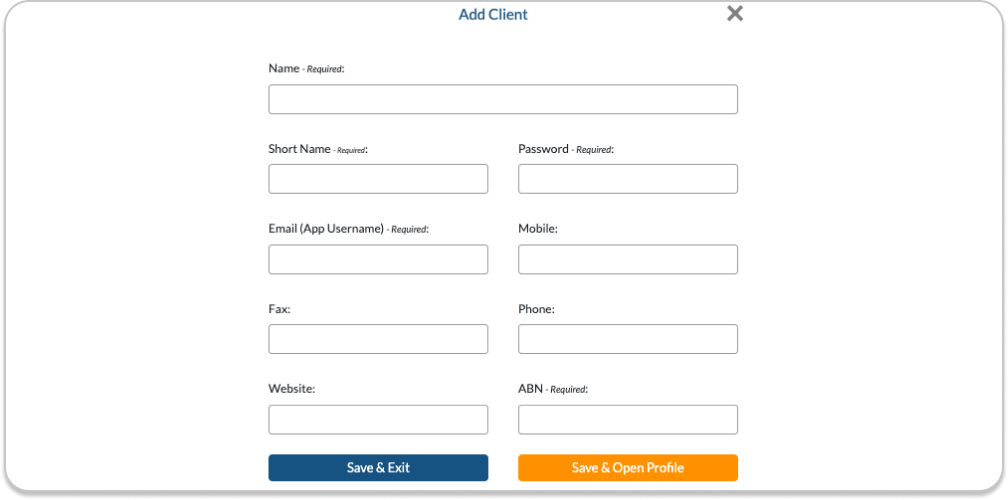
Click Save & Exit to return to the client list or click Save & Open Profile which will redirect you to the Client Profile. See guide 9.2.
5.2.1 Client Groups
You can create client groups and allocate certain activities to them. Use the arrows to shift clients and activities to the right box to activate.
Scroll at the end of the page and click add new group.
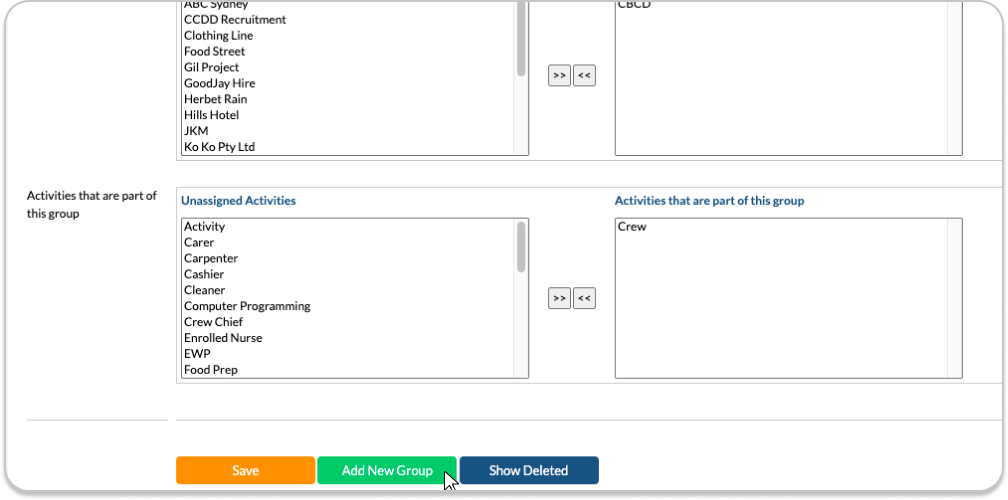
Name the group, use the arrows to move the clients and activities to group them.
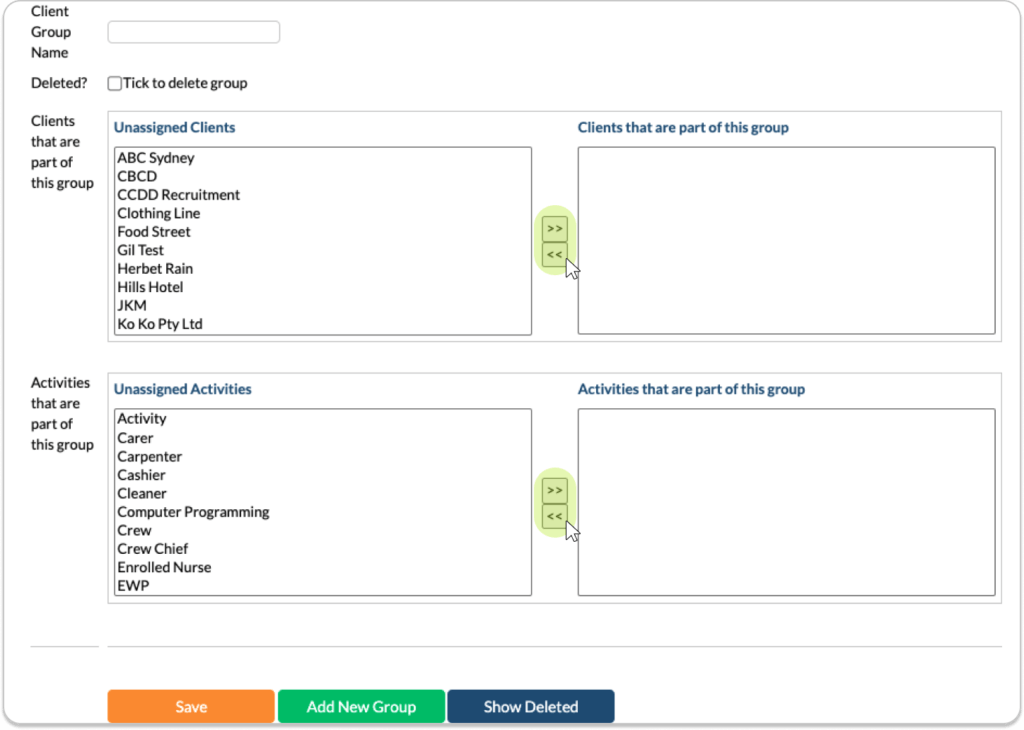
The group will save into the system. If you wish to delete a group, use the tick box under the name which will delete the group from the system.
5.2.2 Supervisors
Key: A / DM / M
The Supervisor is the person that crew will report to and contact onsite. They are added once the name and mobile number are stored in the system for future reference. They are also listed in the Client Access.
App Access: Tick box to allow supervisor to have app access
Message: Message client
Edit: Edit the supervisor
Delete: Quick delete supervisor contact card
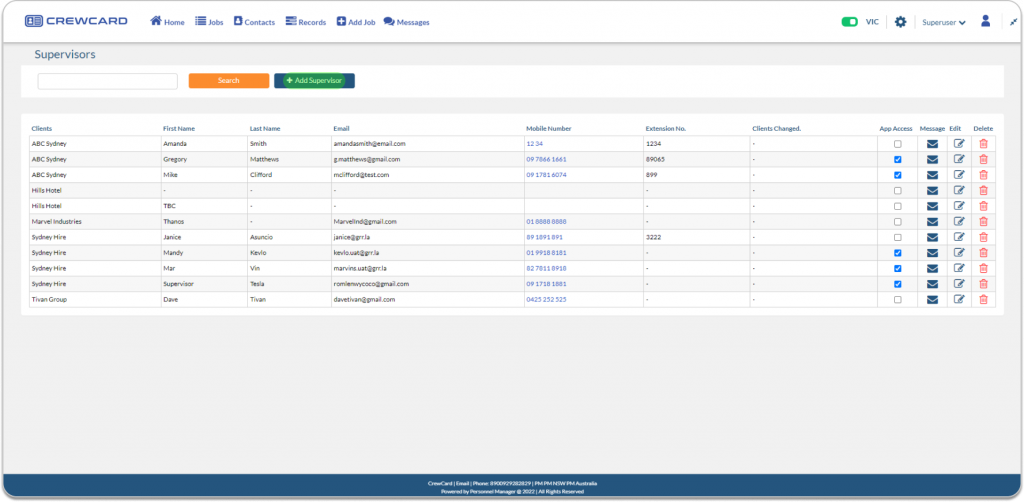
Supervisors
The Supervisor is the person that staff will report to from the client company. When a Supervisor is entered, the name and mobile number are stored in the system for future reference in the Supervisor Page and in the individual Client entries.
They are also listed in the Client Access.
If Dual Text Activity is selected in the Activities/Rates page when adding or editing an Activity, then both the Crew Member AND the Onsite Contact will receive reminder SMS messages (if they have been activated). Deleted on-site contacts cannot be restored.
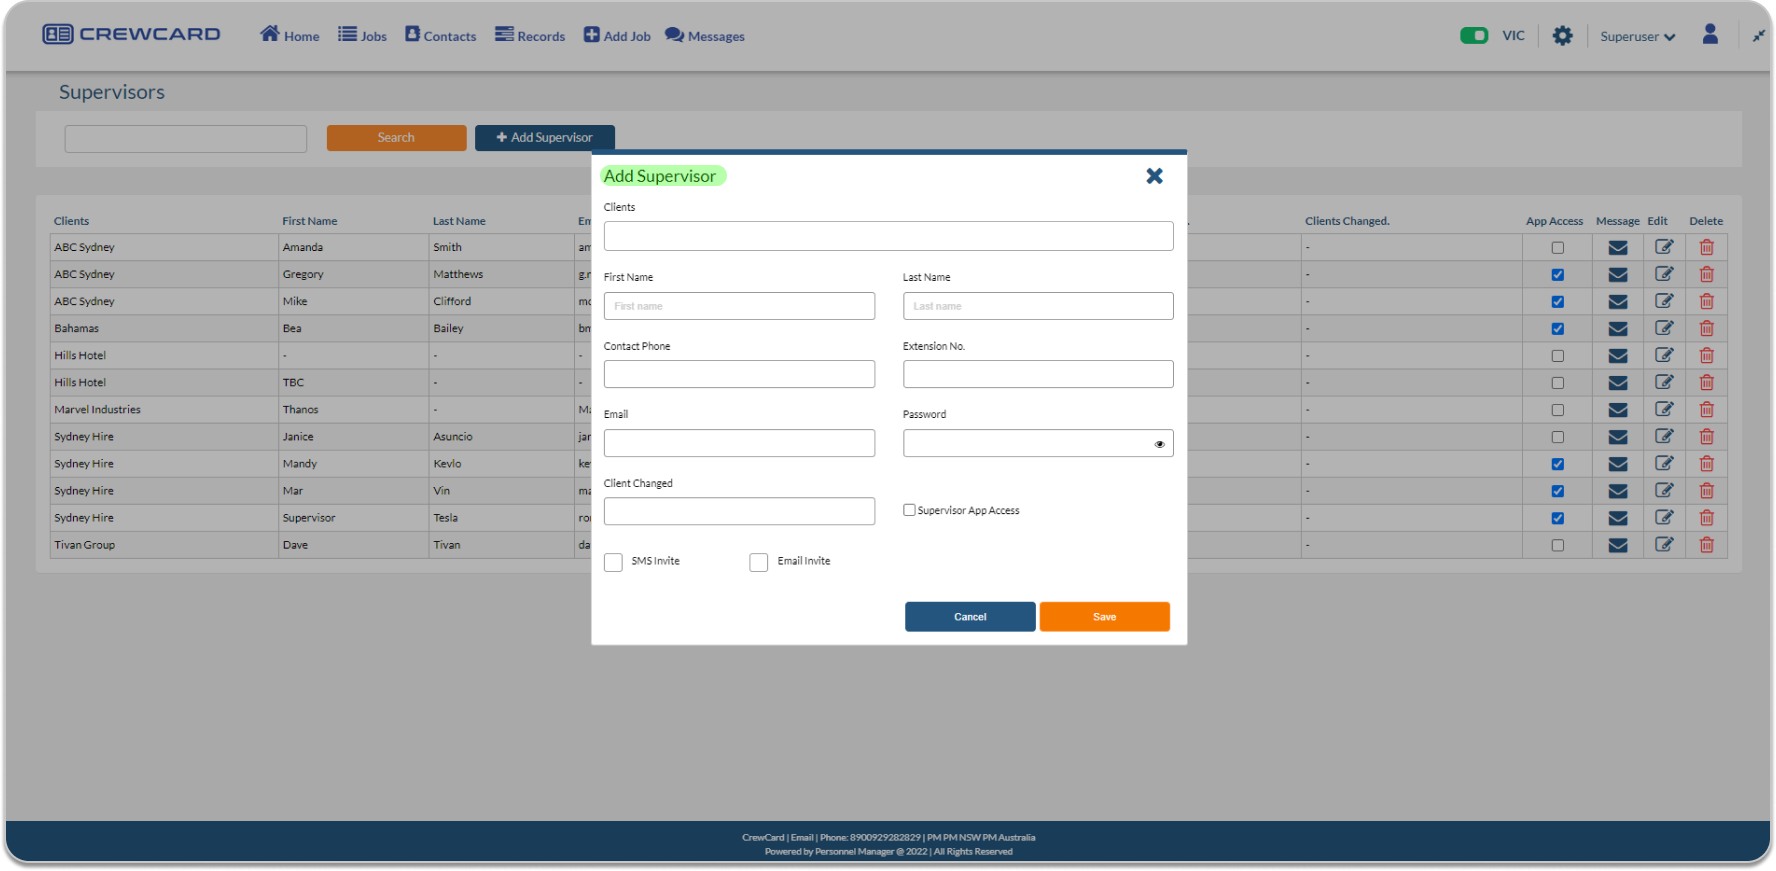
Click add supervisor button.

A pop out window will open fill out the fields.
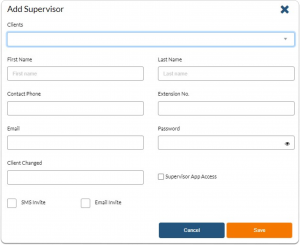
- Client: Select the client from the dropdown menu list.
- First Name: Enter the first name of the Supervisor in this field
- Last Name: Enter the last name of the Supervisor in this field
- Contact Phone: Enter the contact number of the Supervisor in this field
- Extension No.: If the Supervisor has an extension number, enter in this field
- E-mail: Provide the email address of the Supervisor in this field.
- Password: Nominate a password for the access of the new Supervisor in this field.
- Supervisor App Access: Tick the box if you want the new Supervisor to have access to the Supervisor App.
- SMS and Email Invite: Tick the checkbox for SMS and Email Invite.
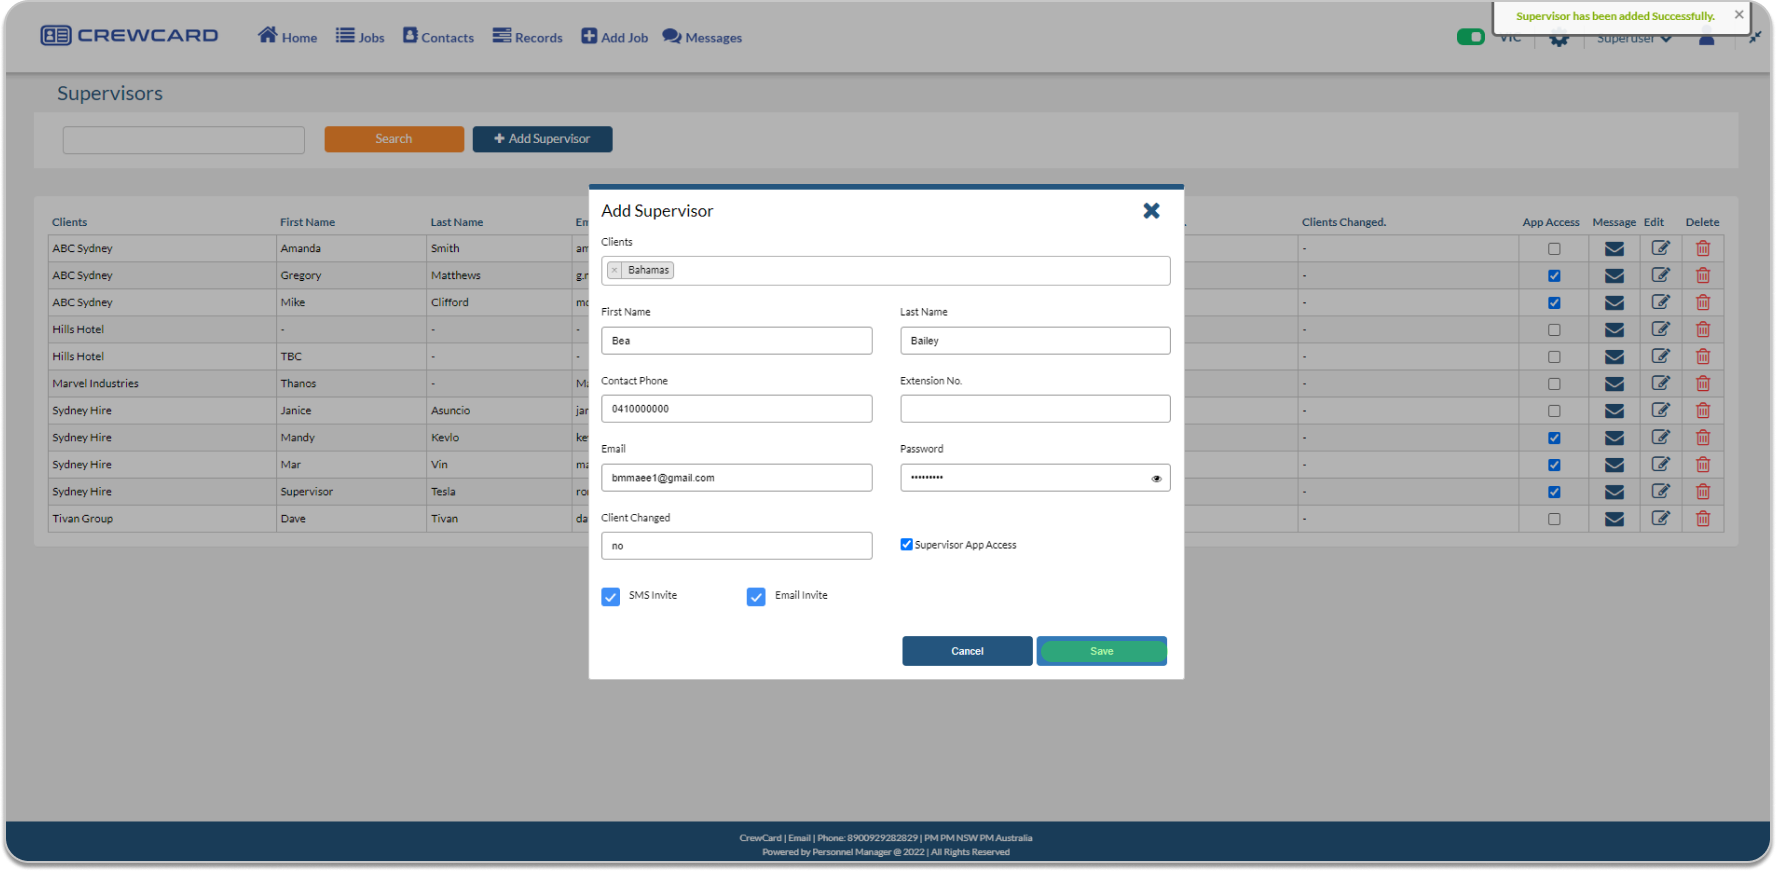
- Click Save after you have entered all the information for the new Supervisor.
- A confirmation message will appear after you have added the new Supervisor
The following actions can be performed on this page:

App Access: Tick box to allow the supervisor to have access to the app
Message: Click to be redirected to the message page where you can send a message to the supervisor or bulk message
Edit: This will open a pop-out window that will allow you to edit the supervisor’s information.
Cross: Click to delete the supervisor from the system, the supervisor will then have a line through like the image below

How to send SMS and Email Invite to Supervisor
In the Supervisor page, Click + Add Supervisor
Fill out the Add Supervisor form
Once the form has been filled out, Click the Save button and a pop up will appear that “ Supervisor has been added Successfully”.
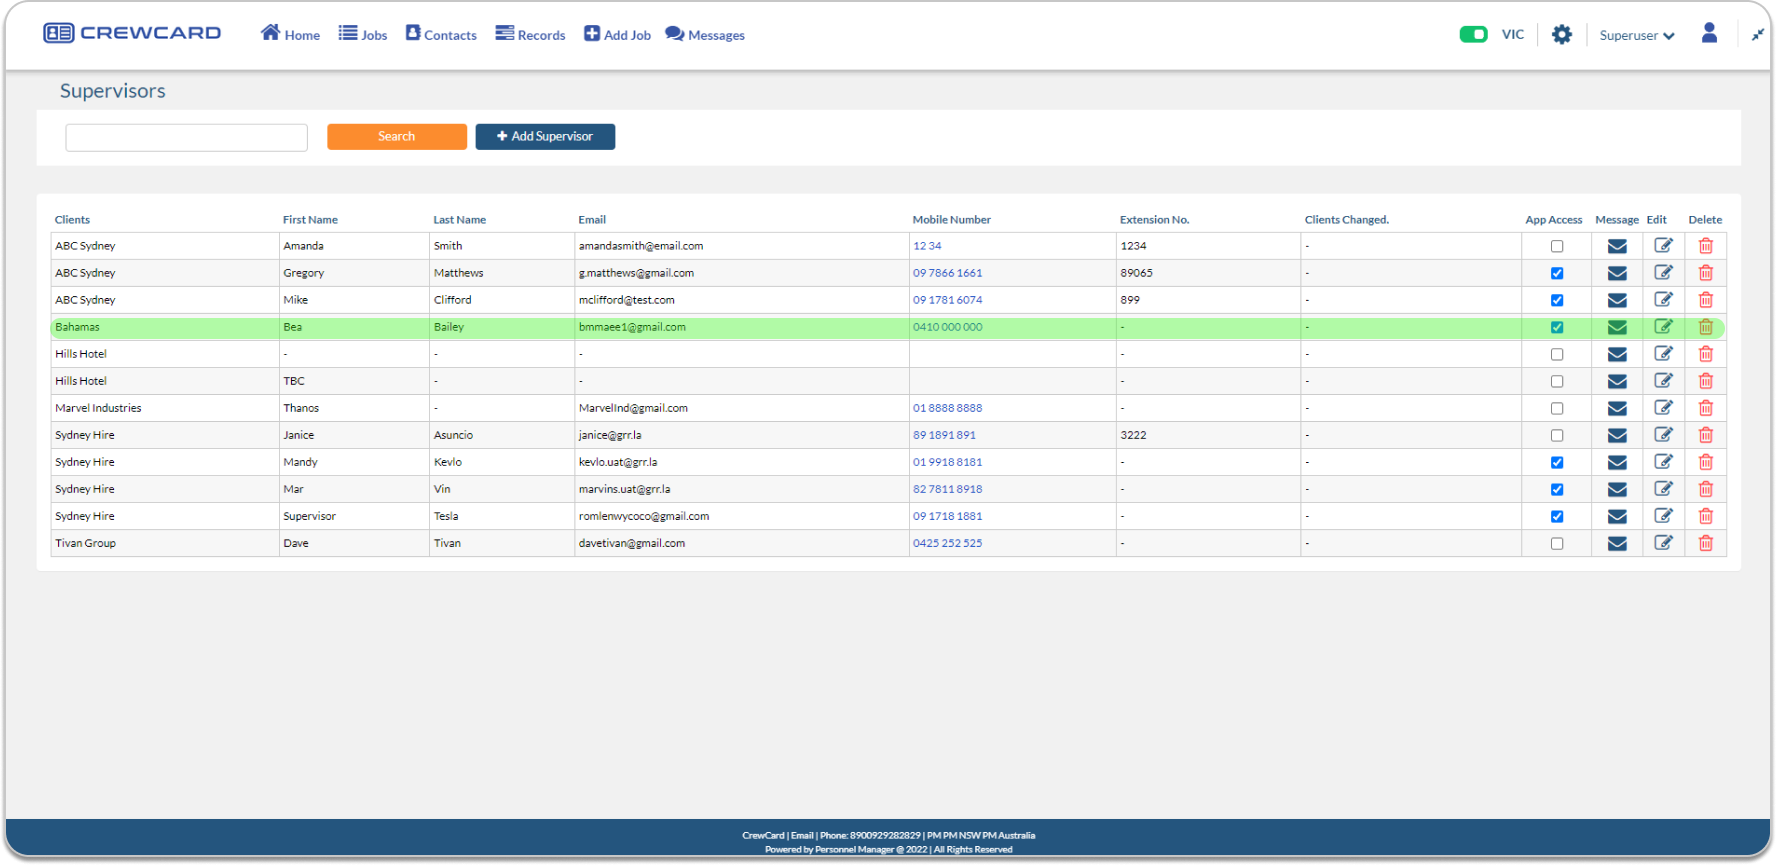
The newly created Supervisor will be added in the Supervisor list
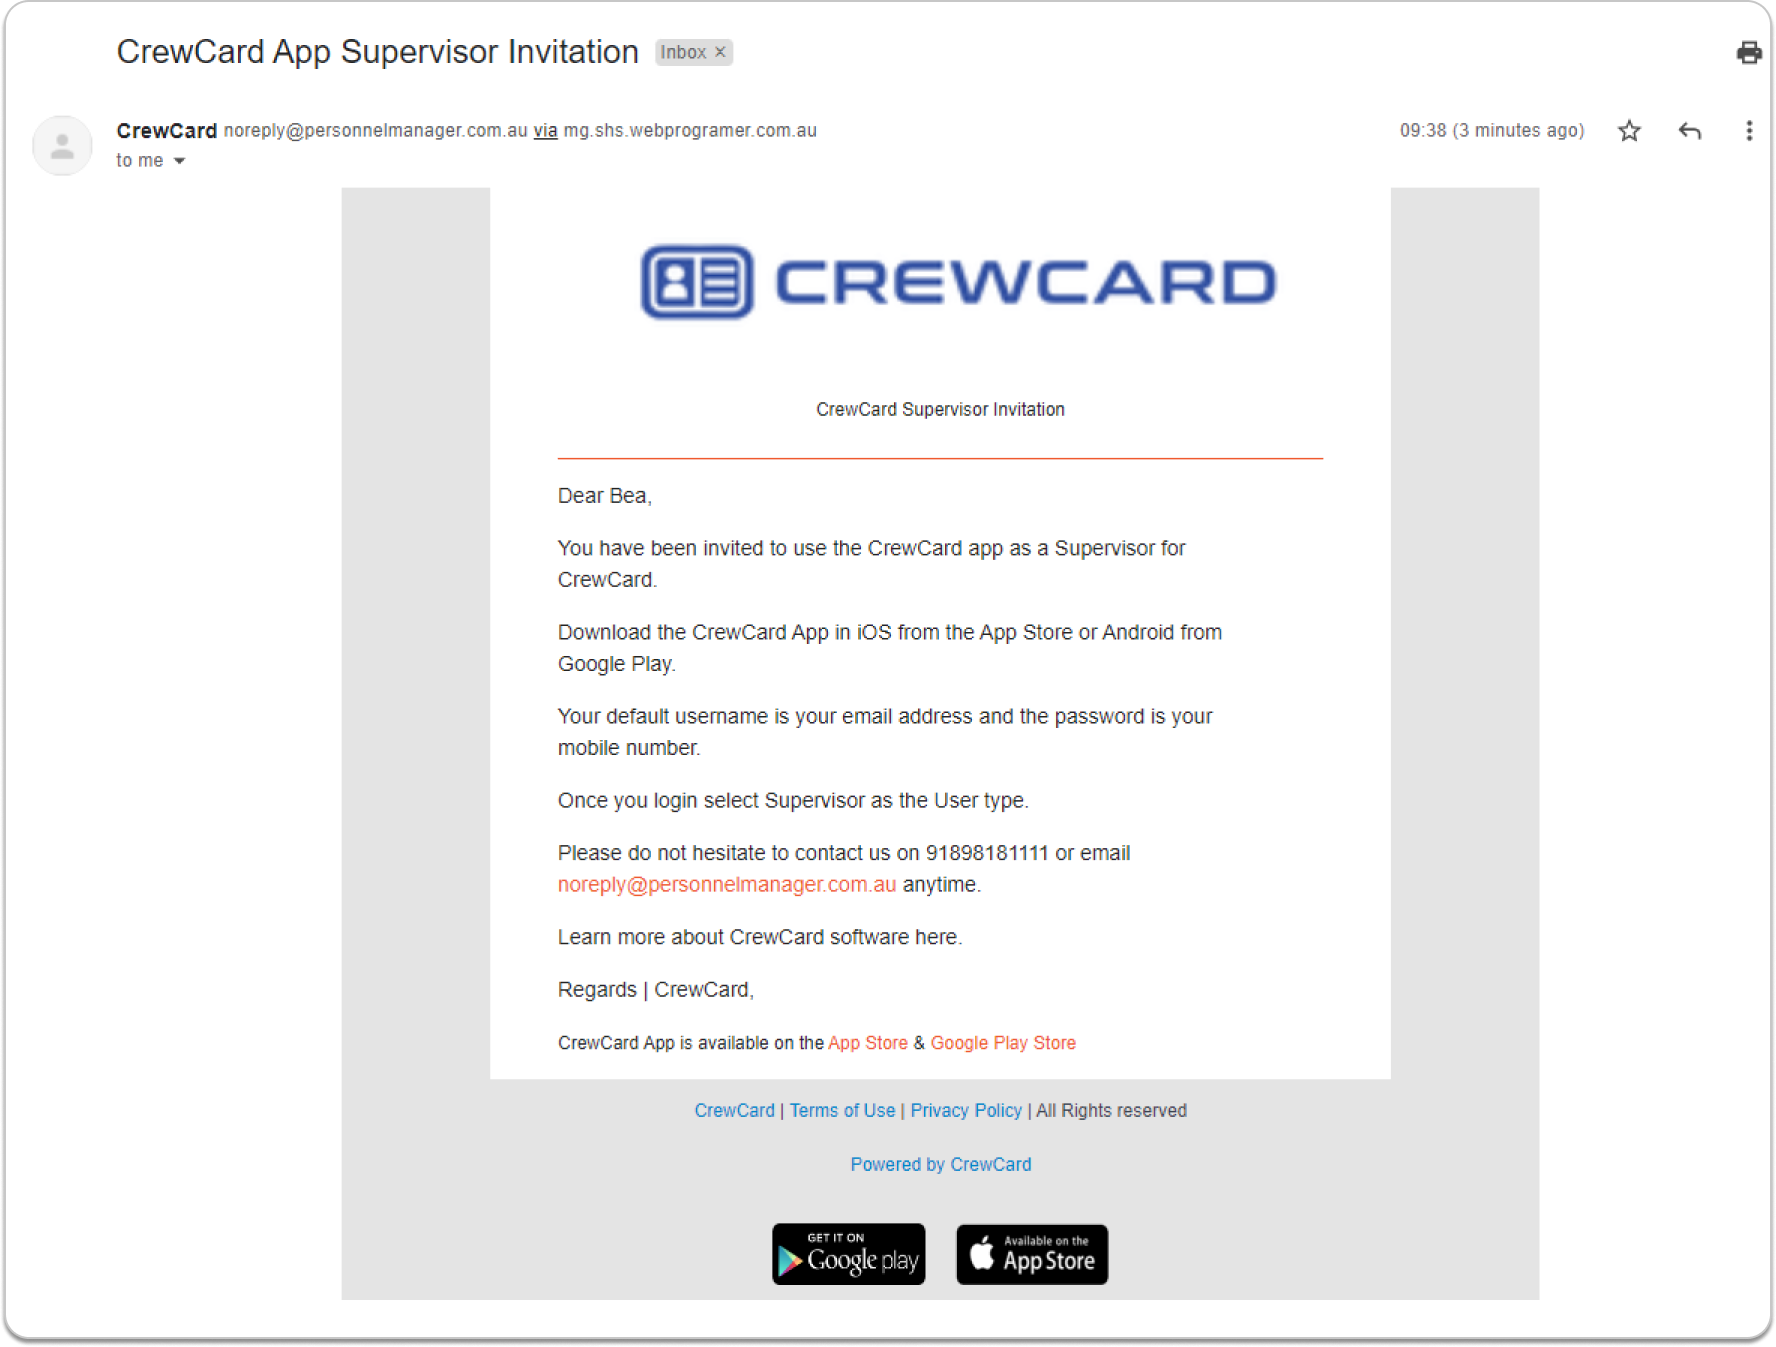
This is a sample email that the Supervisor will receive.
Furthermore, Supervisors can also be assigned through the Events page > Booking Tab and Job Sheets. you may refer to 4.7 Events and 7.1 Job Sheets for more details.
5.2.3 How to activate client to have the Add Job function on their portal
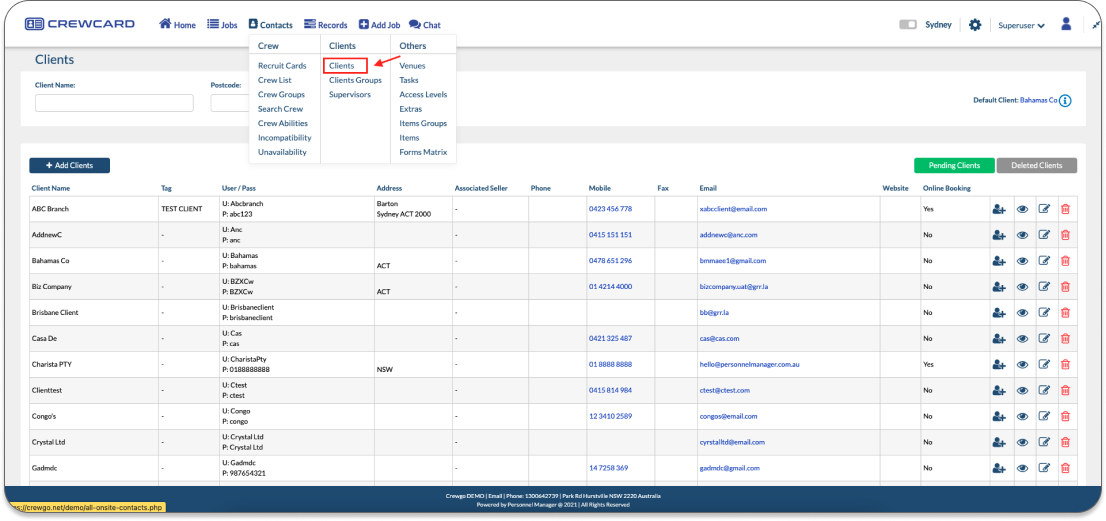
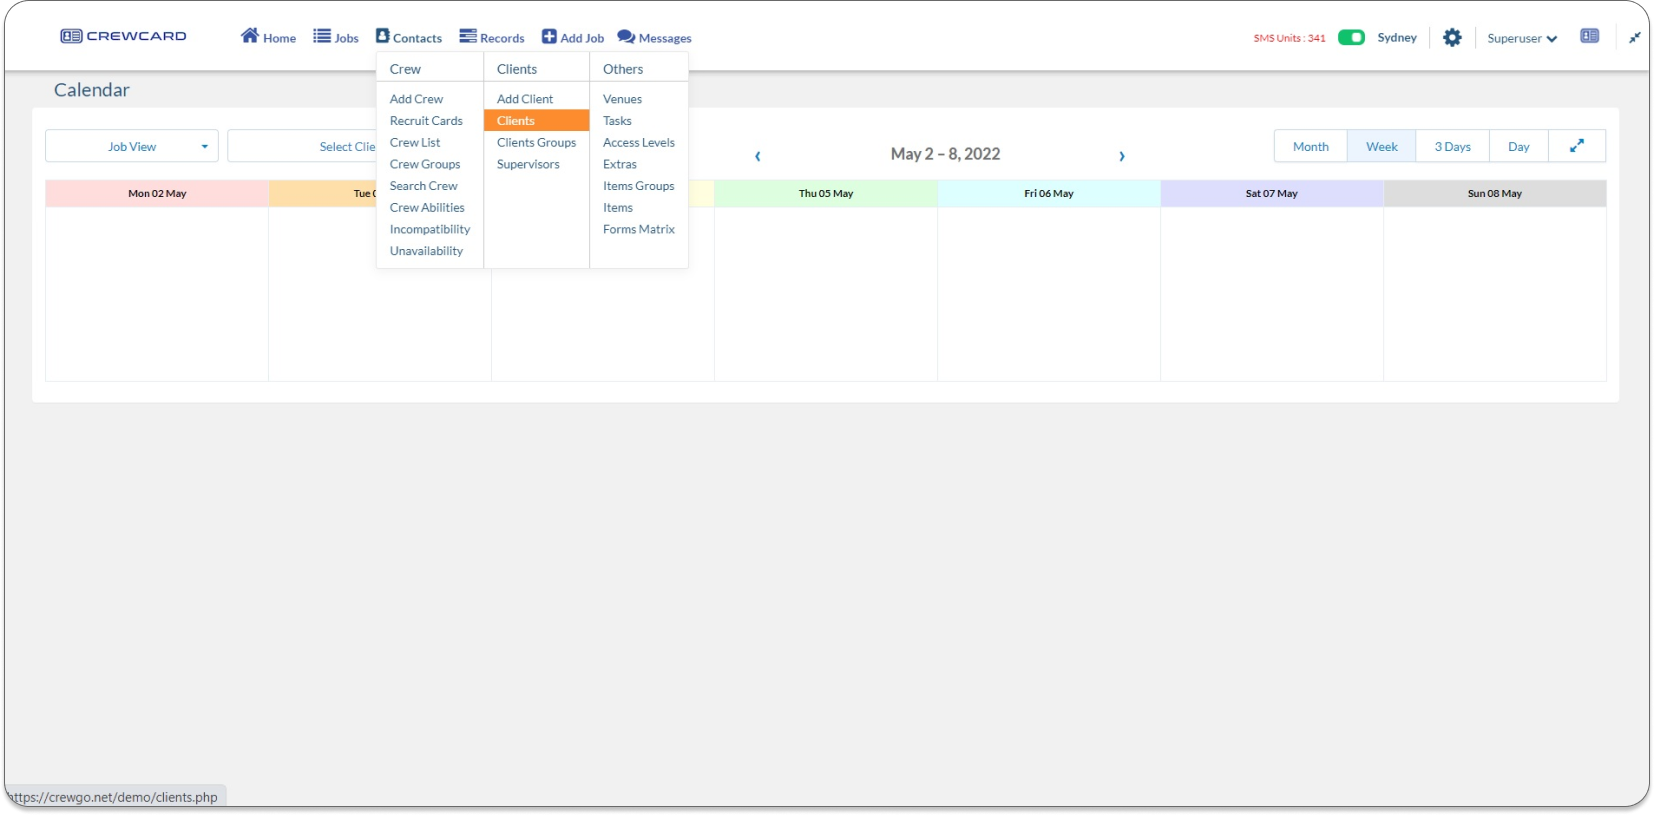
Go to Contacts in the Central Navigation Bar and select clients
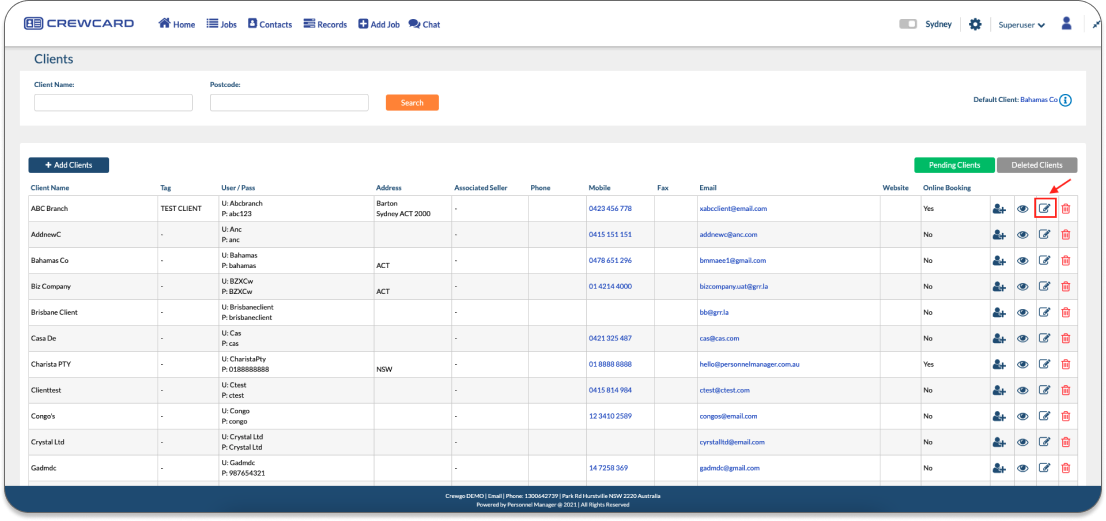
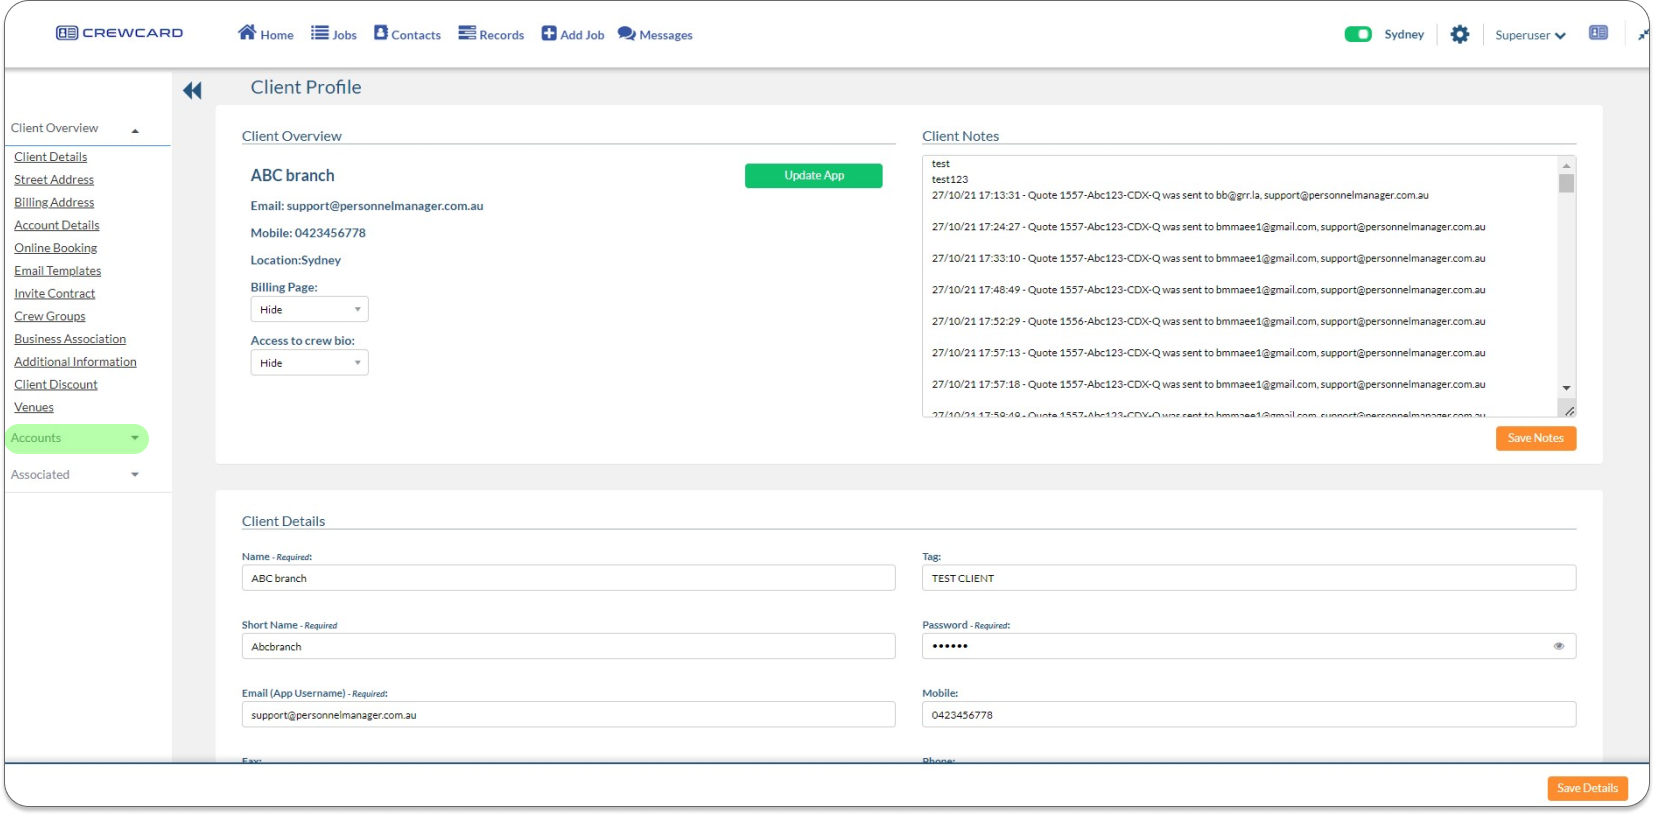
Select a Client and click edit icon
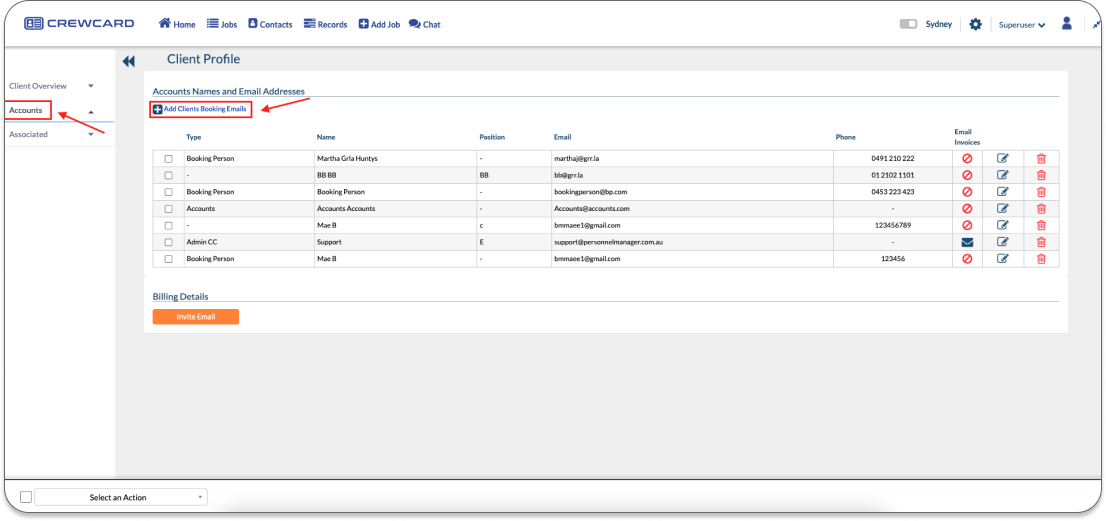
In Clients Page, click Accounts in the side menu
Click + Add Clients Booking Email
Fill out the Add Accounts Details
Contact Type: Select the Contact type
Position: Enter the Position
First Name: Enter First Name
Last Name: Enter Last Name
Email Address: Enter the Email Address
Phone Number: Enter the Phone Number
Tick the checkbox if “Include this person in the Invoice Loop”
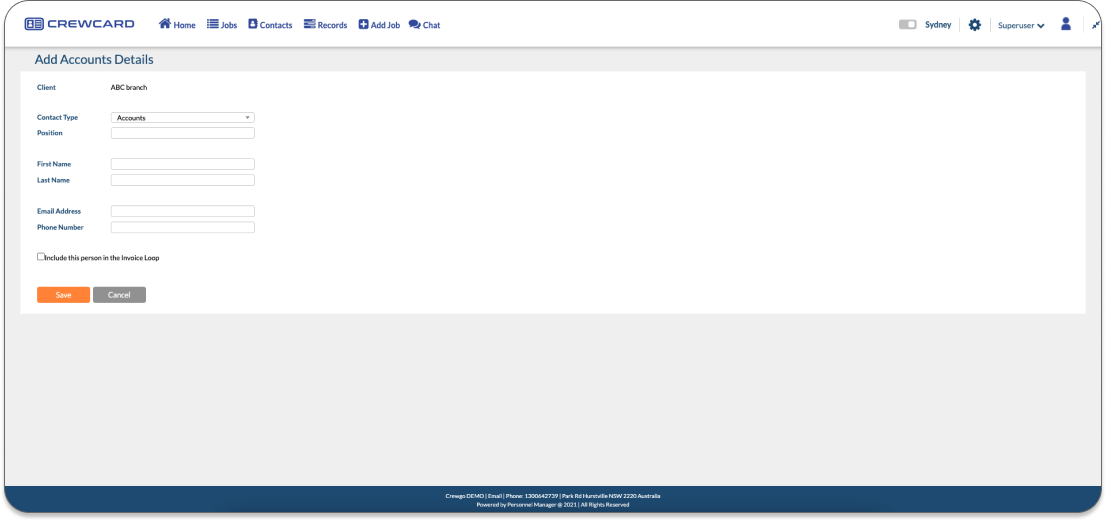
Once it’s completed, Click Save

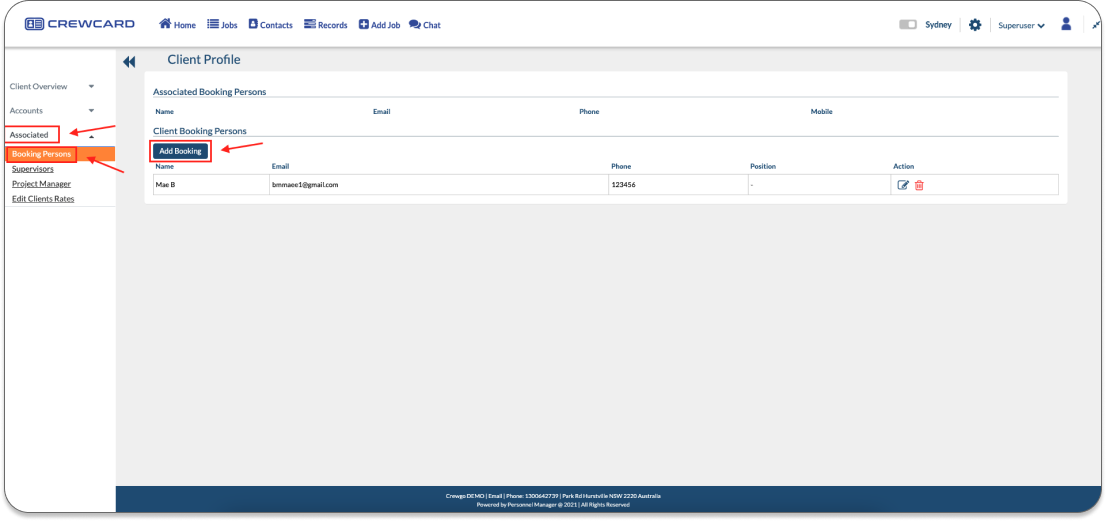
Next is to Select Associated in the side menu of Client’s Page
Select Booking Persons and Click Add Booking
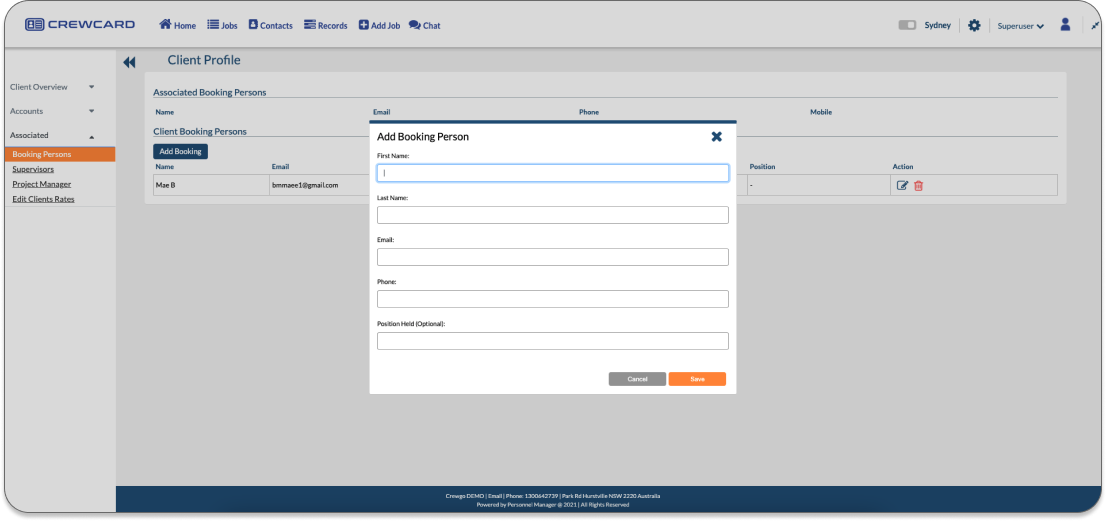
Fill out the Add Booking Person
First Name: Enter First Name
Last Name: Enter Last Name
Email: Enter Email Address
Phone: Enter Phone Number
Position: Enter the Position. This field is optional
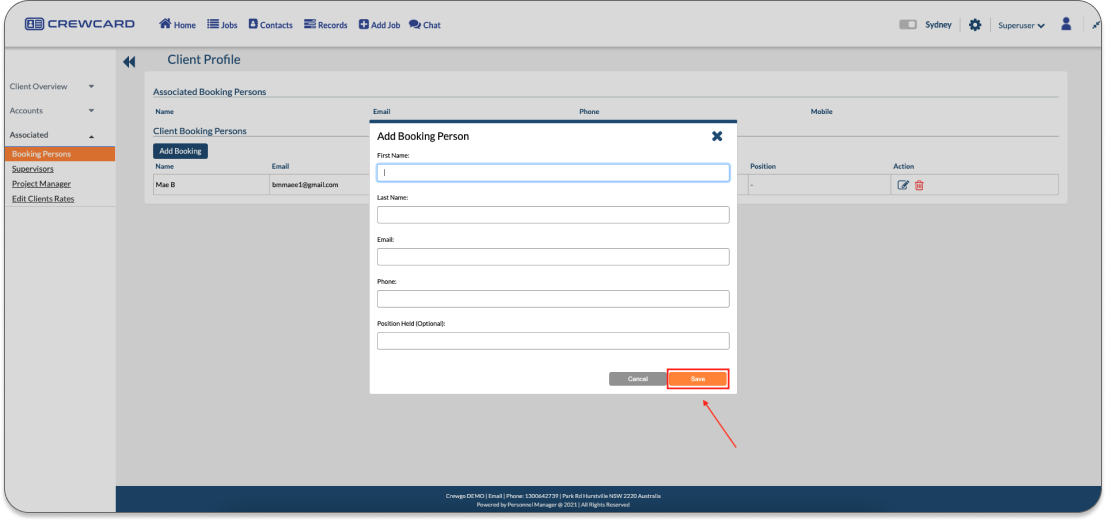
Once it’s completed, Click Save
5.2.4 Invite Email Client Card Details
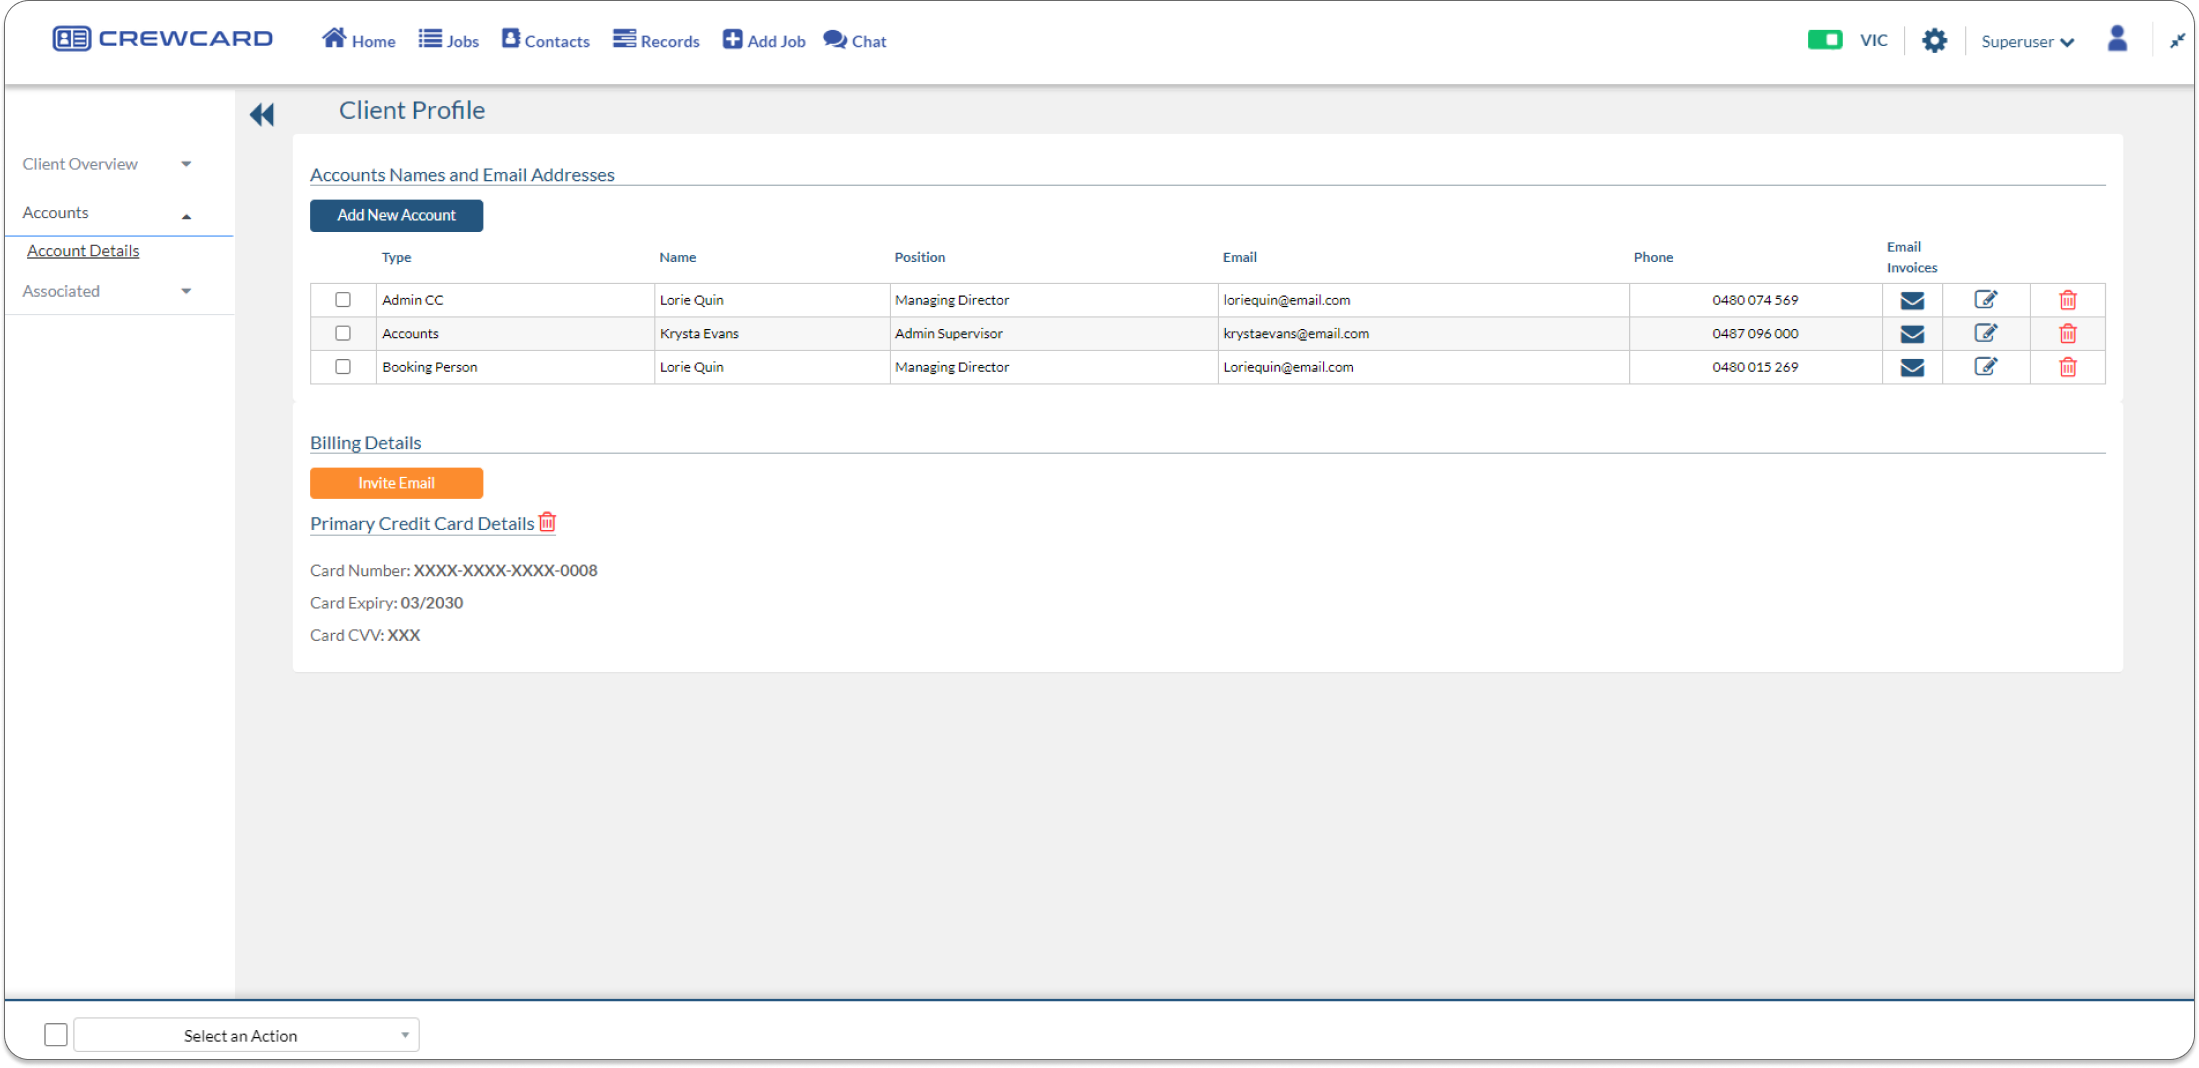
Go to Client’s profile and Select Accounts
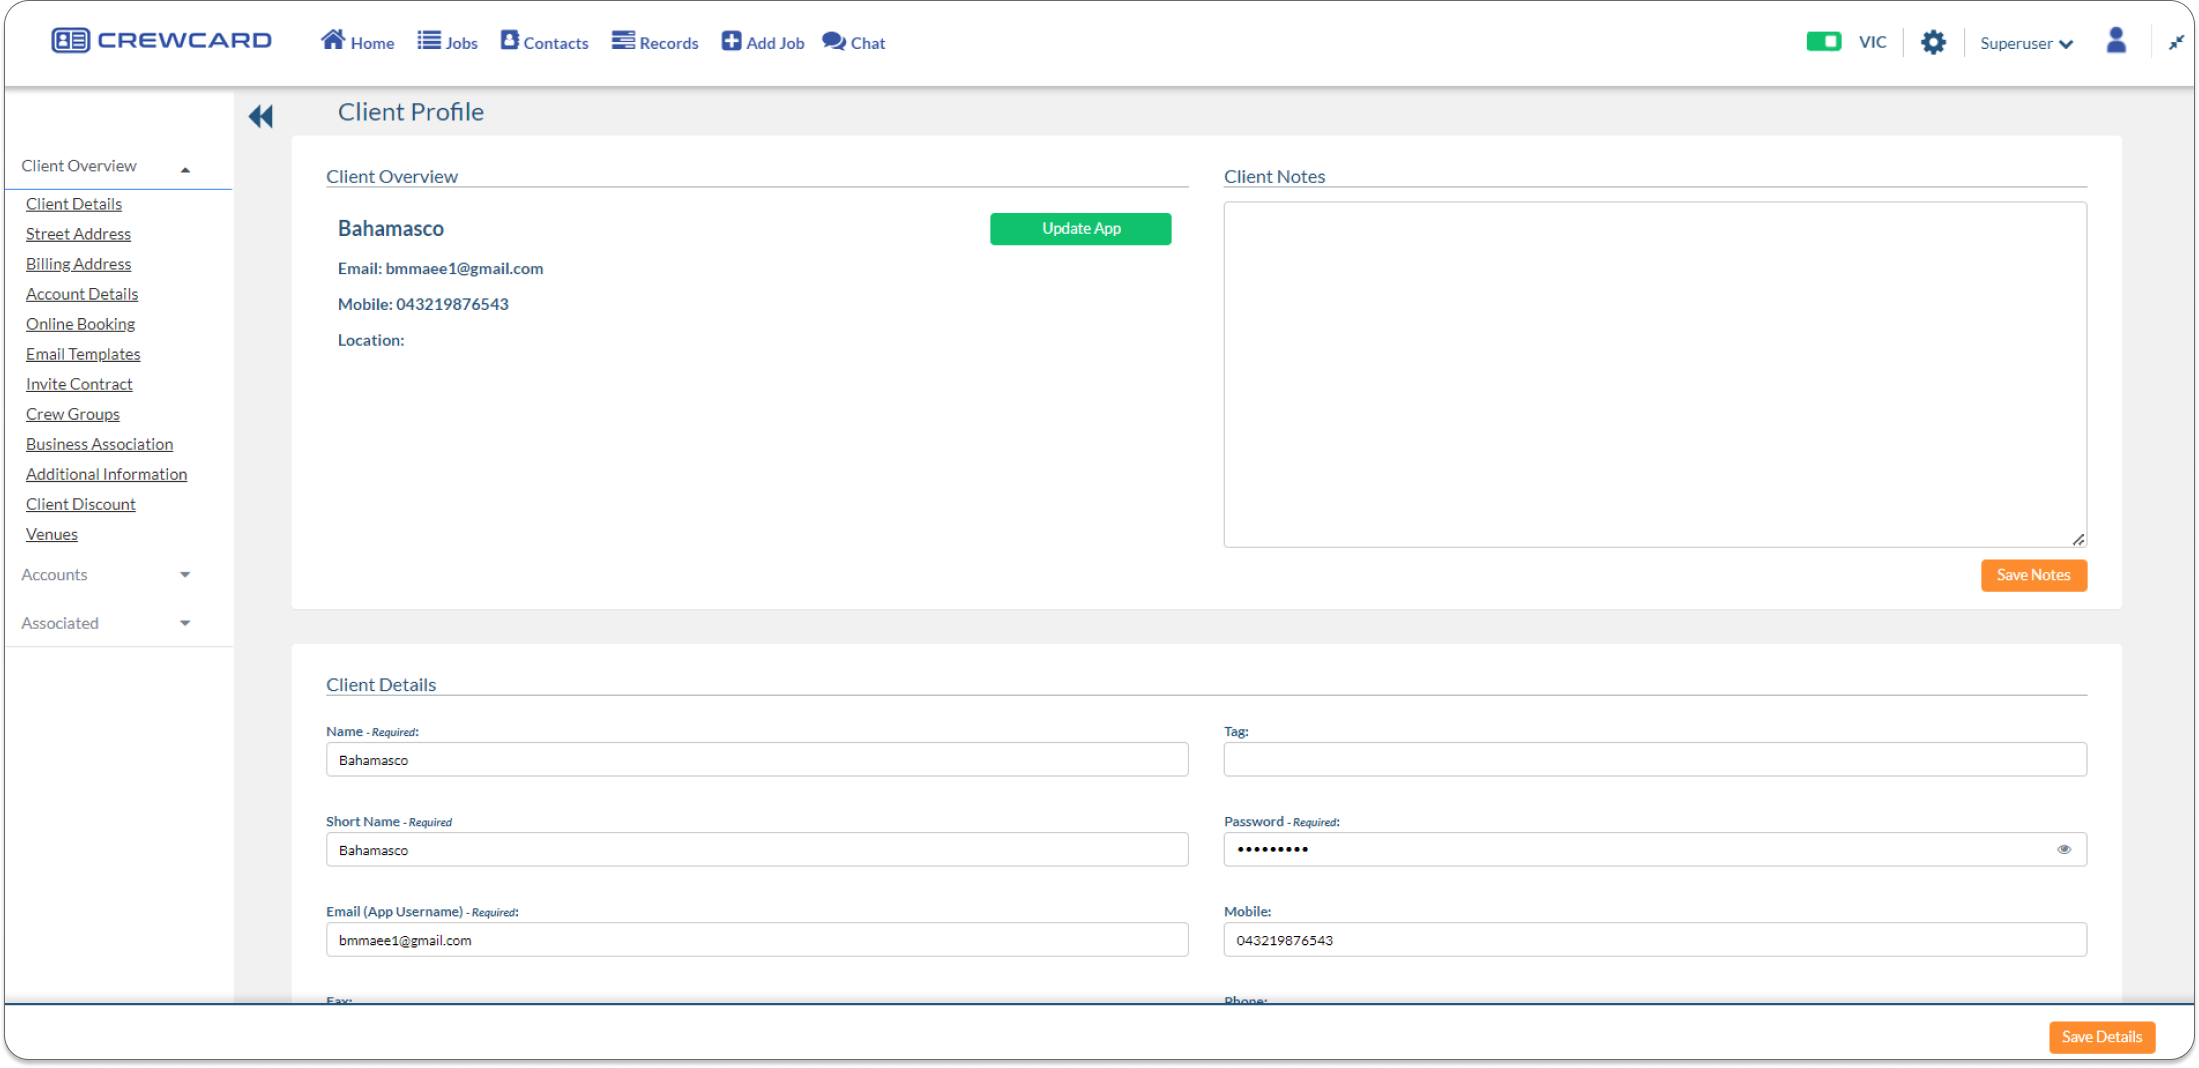
Please click the “Invite Email” button. Registered email address of the client will receive the Invite Email.
![]()
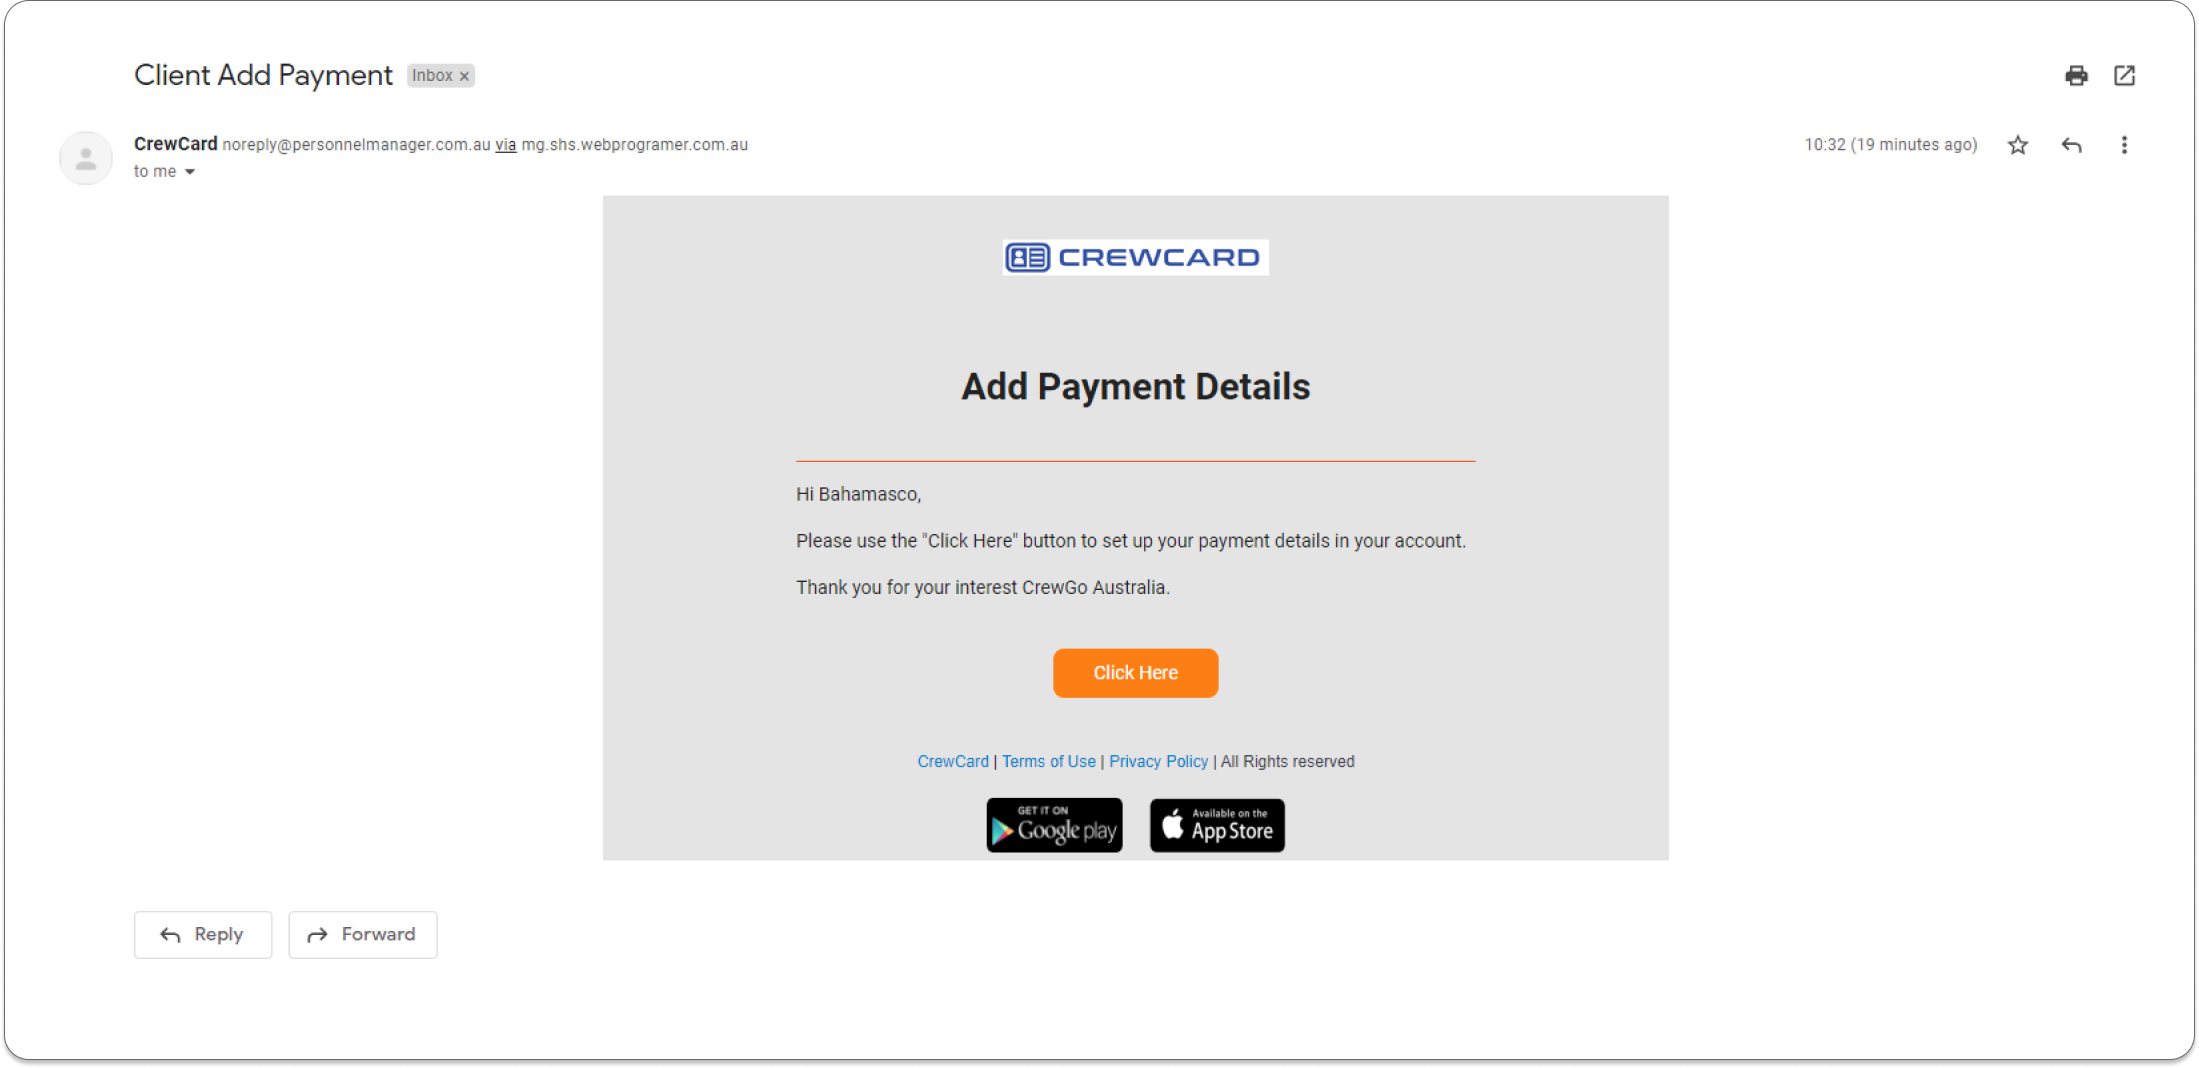
Client will receive a Client Add Payment Details Email. Advise the client to click the “Click Here” button.
Clients must enter the credit card details in the given fields and Click Submit button.

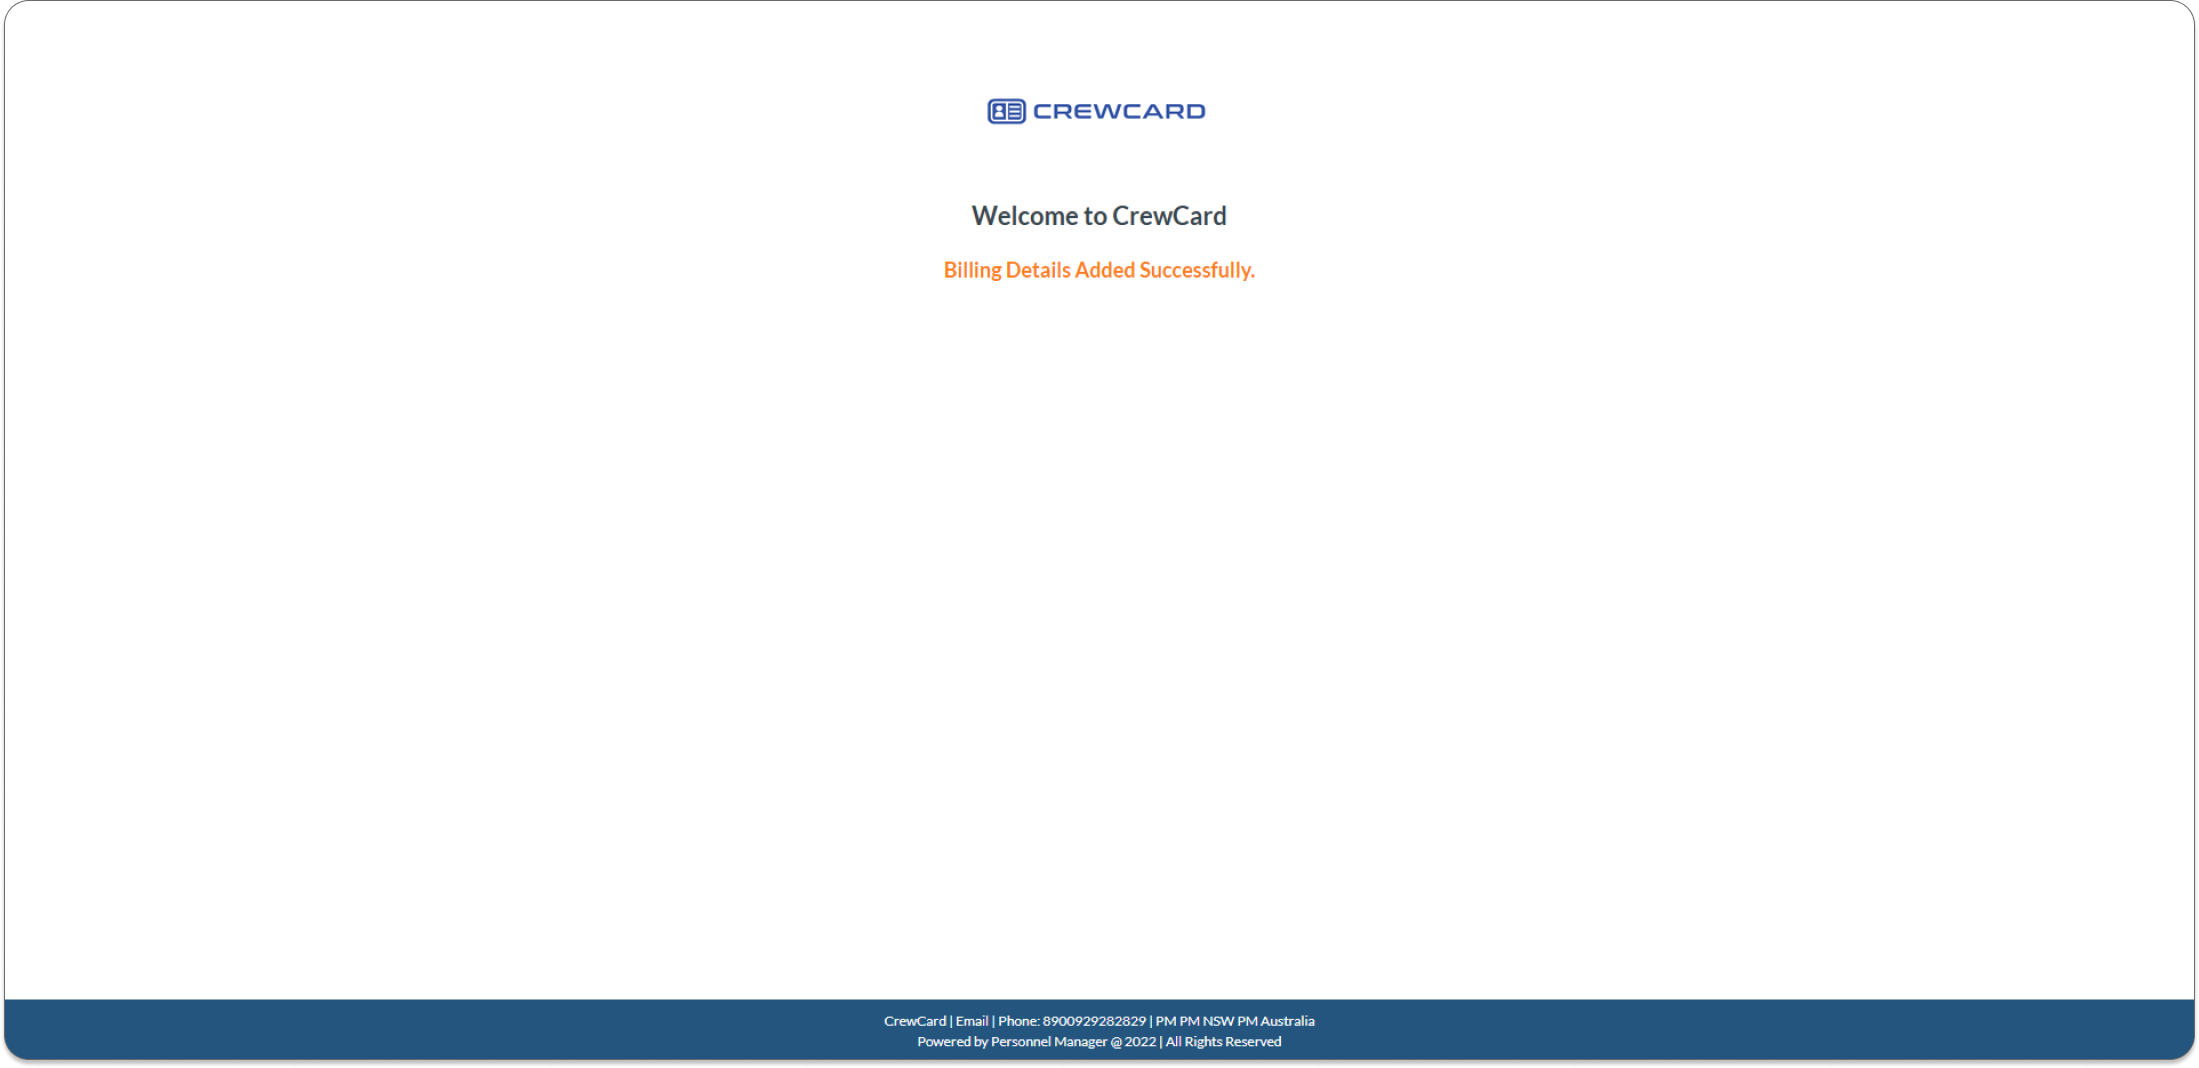
Once submitted, It will prompt the “Billing Details Added Successfully”.
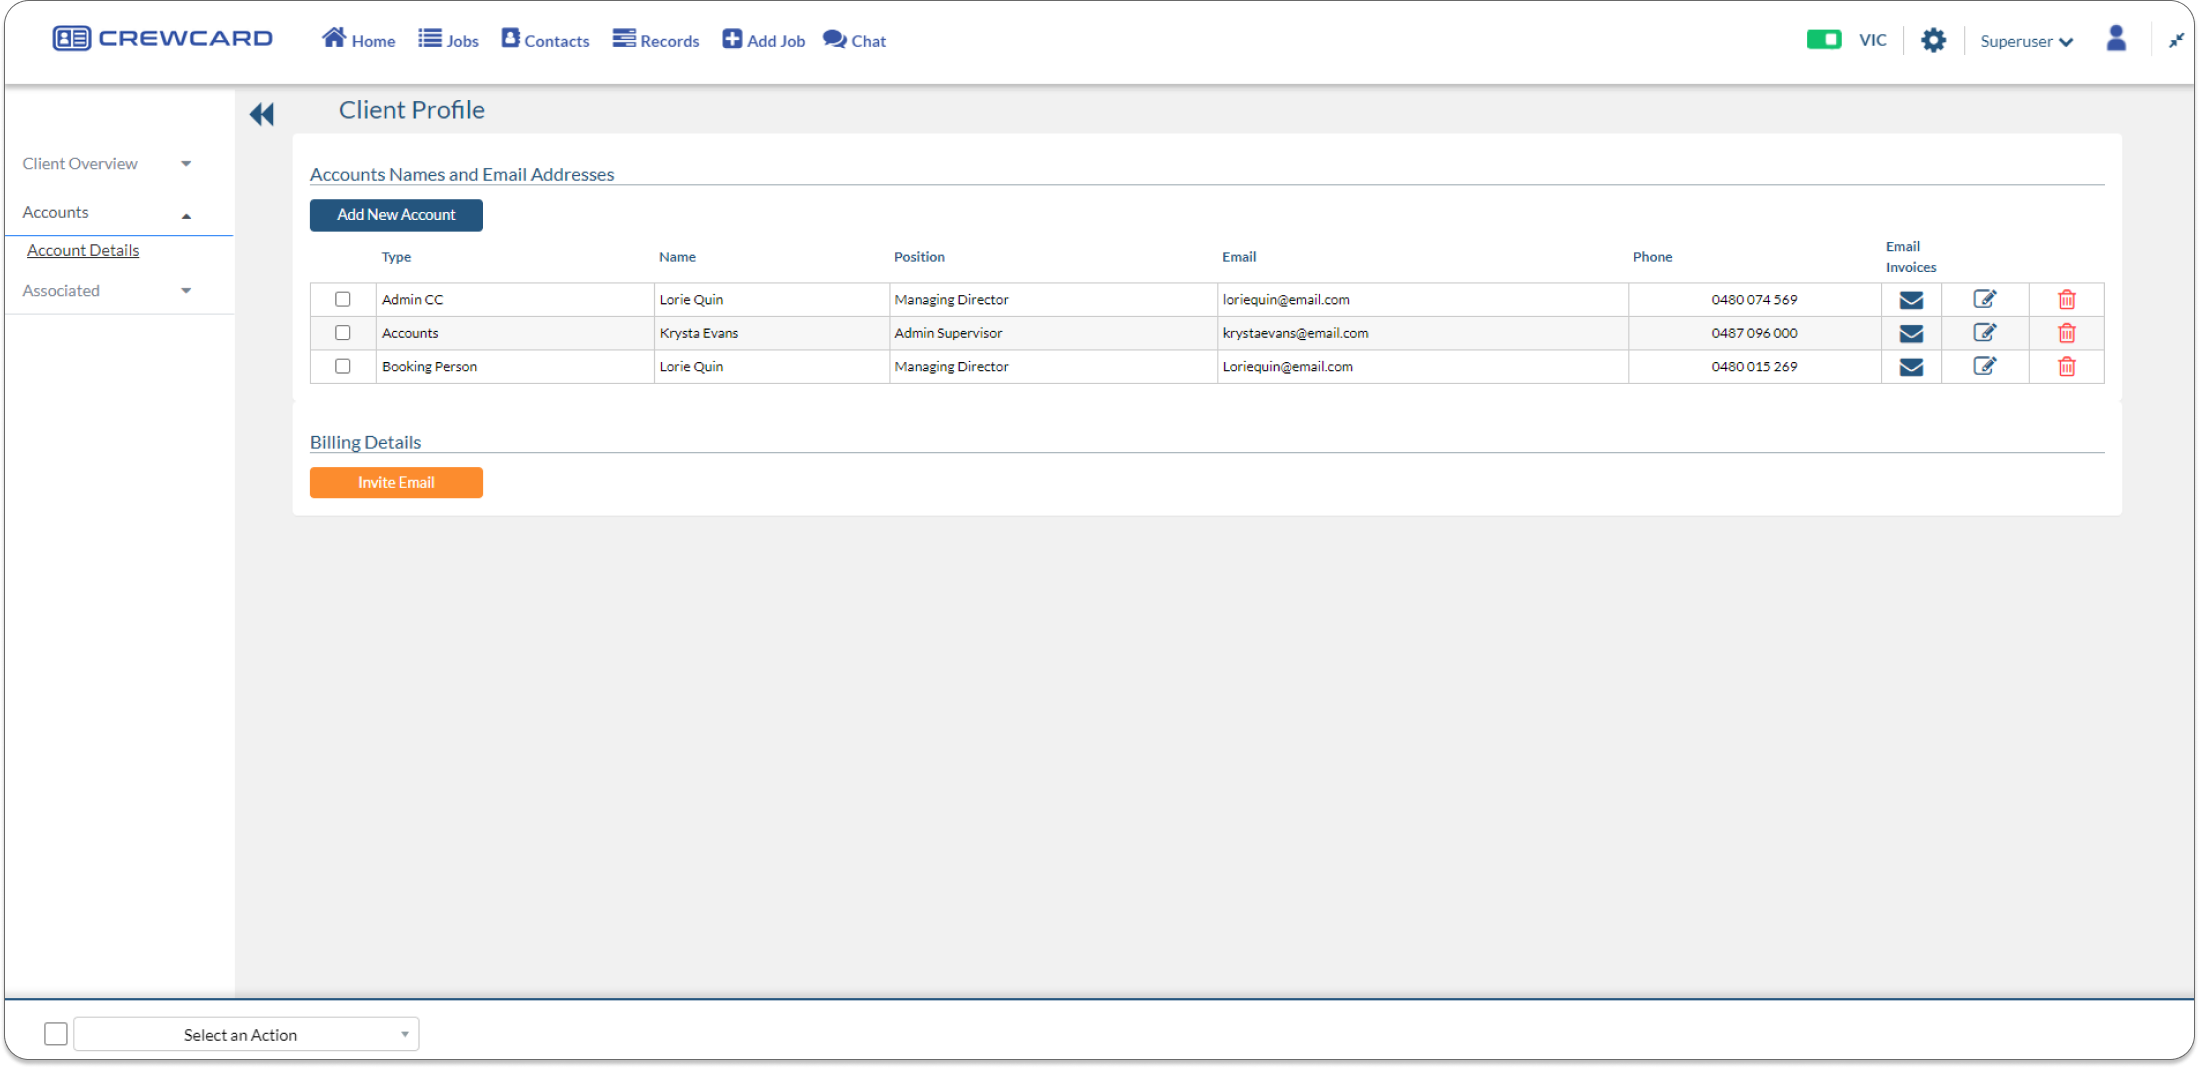
Admin can check if the billing details have been added, by going to the Client’s profile and selecting Accounts. Under the billing details section, the credit card details of the client will be added.
5.2.5 Invite Email Client Add Payment Billing Details
To begin with, you need to go to the Clients page, simply hover your mouse to Contacts and select Clients under the Clients column.
In the client page, select the client you wish to invite to add their bank account details and click the edit icon that will direct you to the Client’s profile. Select accounts and you will be directed to the Client’s Accounts page.
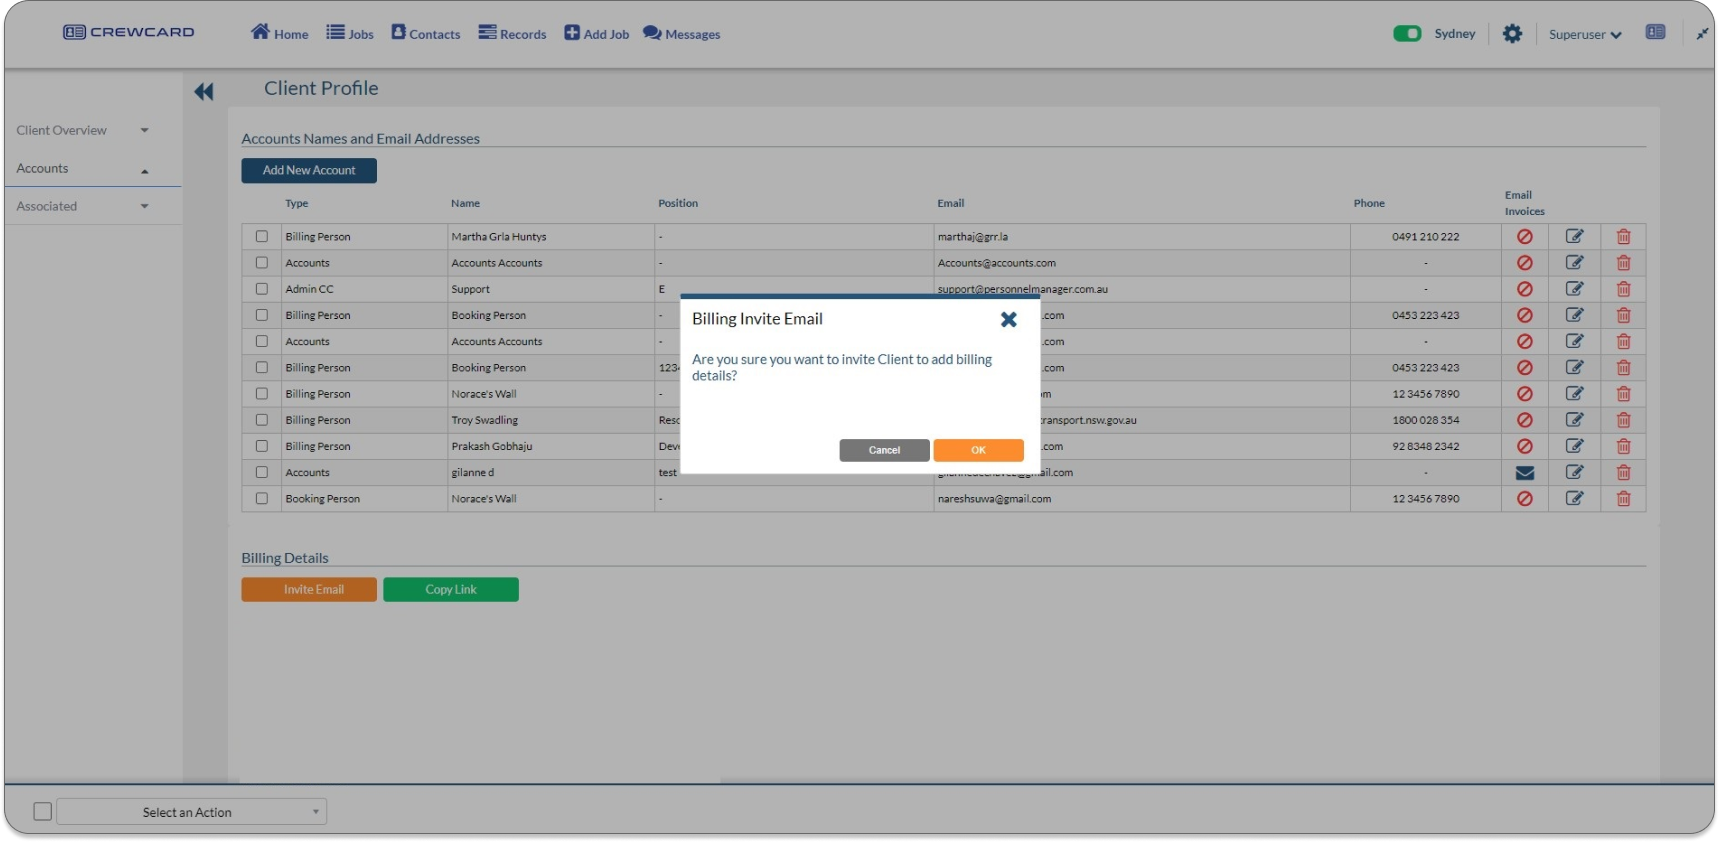
Go to the billing details section and click the Invite Email button.

Billing Invite Email window will pop up, Click the OK button to send the invite to the client’s registered email address. The Copy Link button will be activated after the admin sends the email invite and they can also send the link to the client right away.
Client will receive a Client Add Payment Details Email. Advise the client to click the “Click Here” button.

Clients must Select Bank Account Direct Debit tab and enter the Bank account details in the field required and Click Submit button.
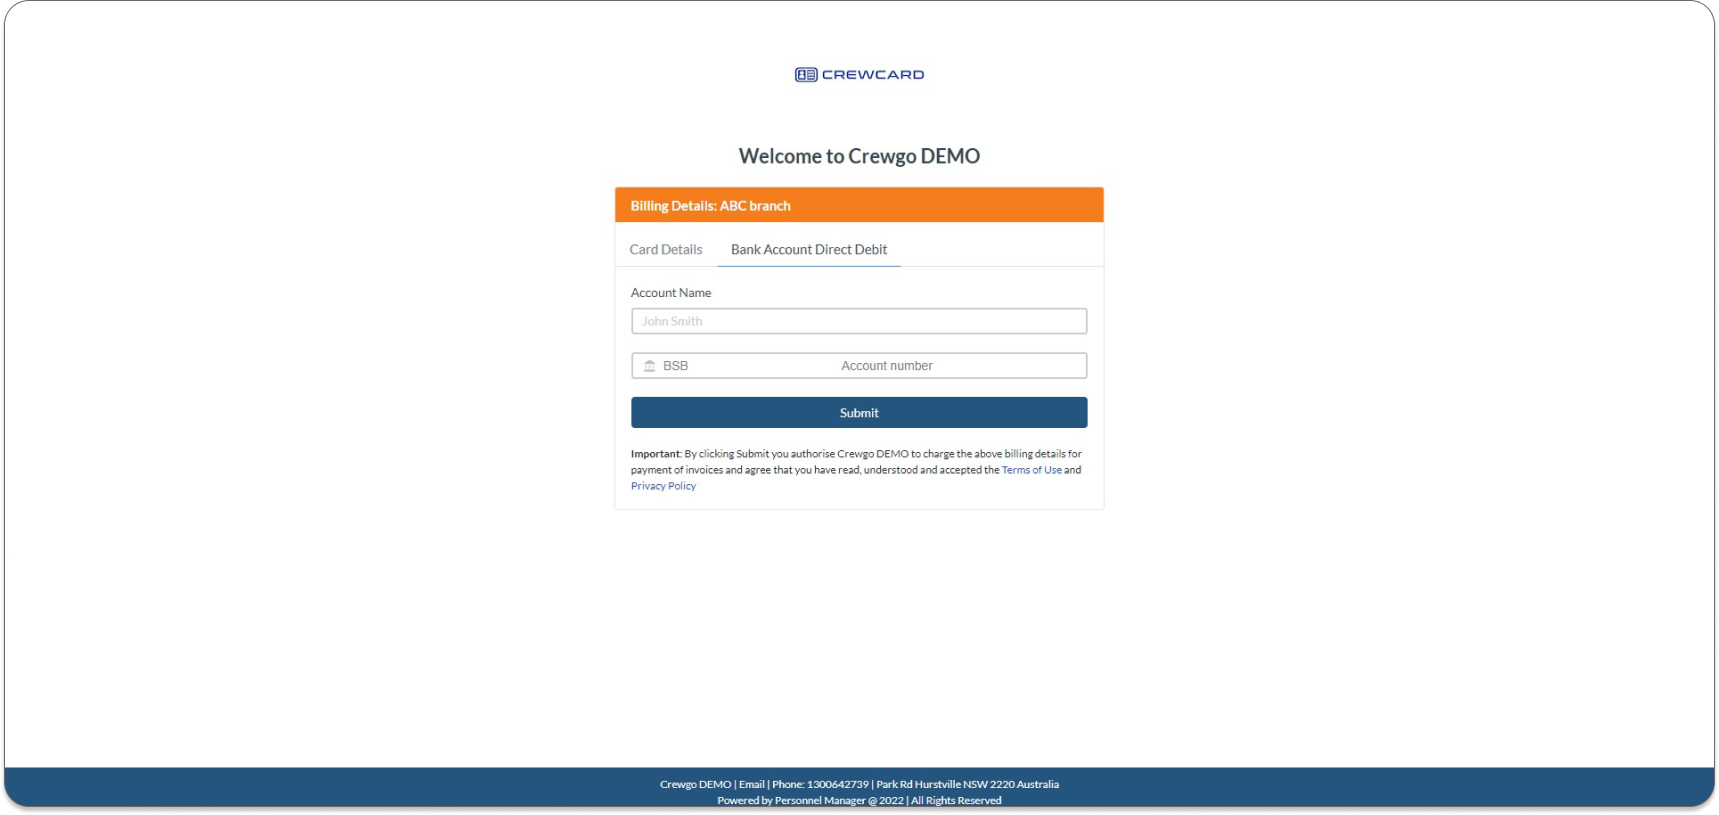
Once submitted, It will prompt the “Billing Details Added Successfully”.
Admin can check if the billing details have been added, by going to the Client’s profile and selecting Accounts. Under the billing details section, the bank account direct debit details of the client will be added.

