6.1.1 Credits
This displays a quick view of the SMS credit balance. An Alert will appear whenever your SMS Credit falls below 500. This warning is important because once your SMS credit runs out, all your outgoing SMS will be put in queue until you replenish your SMS credit.
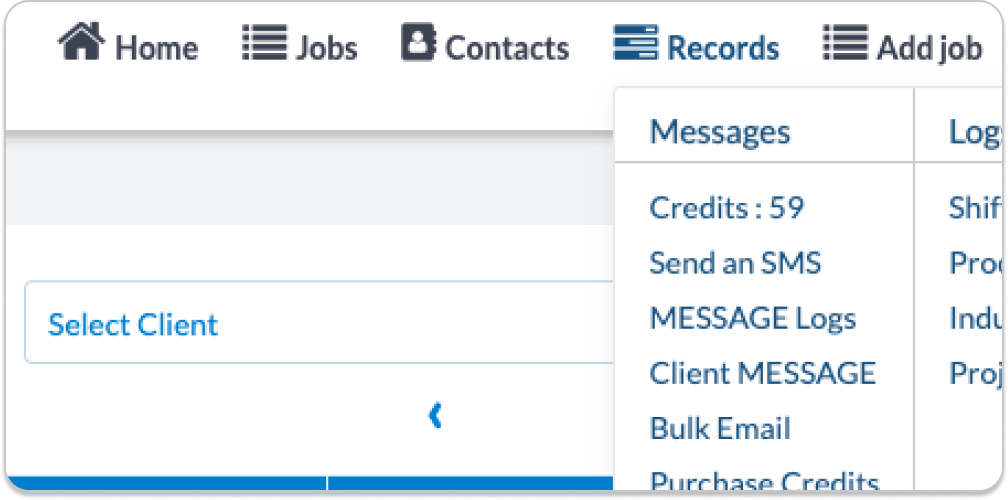
6.1.2 Send an SMS
This option allows the users to send a quick SMS’s to the crew. When clicked it opens a new tab in your browser. Type your message in the text box “SMS Message” or select the Msg Template, find staff name/s, double click on their name or click “>>” to move the names to the right-hand side. Then click “Send”.
To view staff select “Search Disabled Crew”, “Search Active Crew”, “business and skills”.
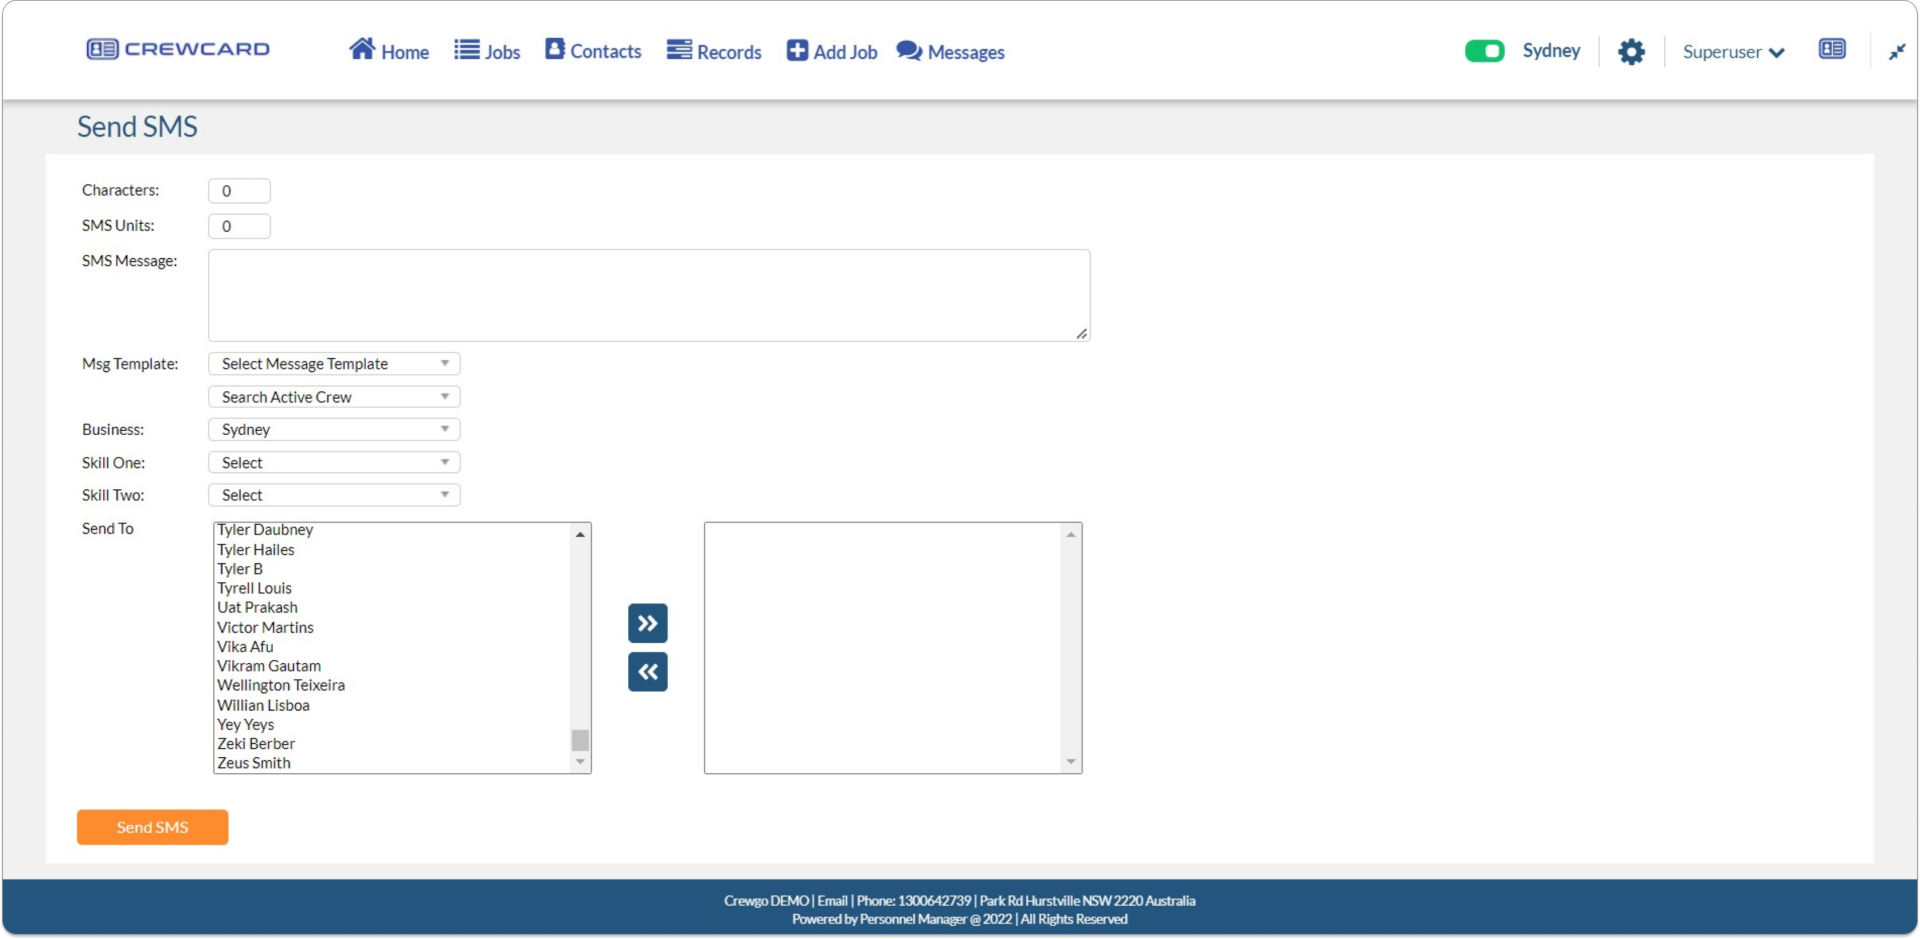
Notification will prompt that SMS Queued for Send Successfully.
For example, if you need to send a common message to all your drivers, select “Driver” in the skill list, which will bring up the crew list with only “Driver” skill assigned, select all crew in the list move them to the right by clicking “>>”, then send your message.
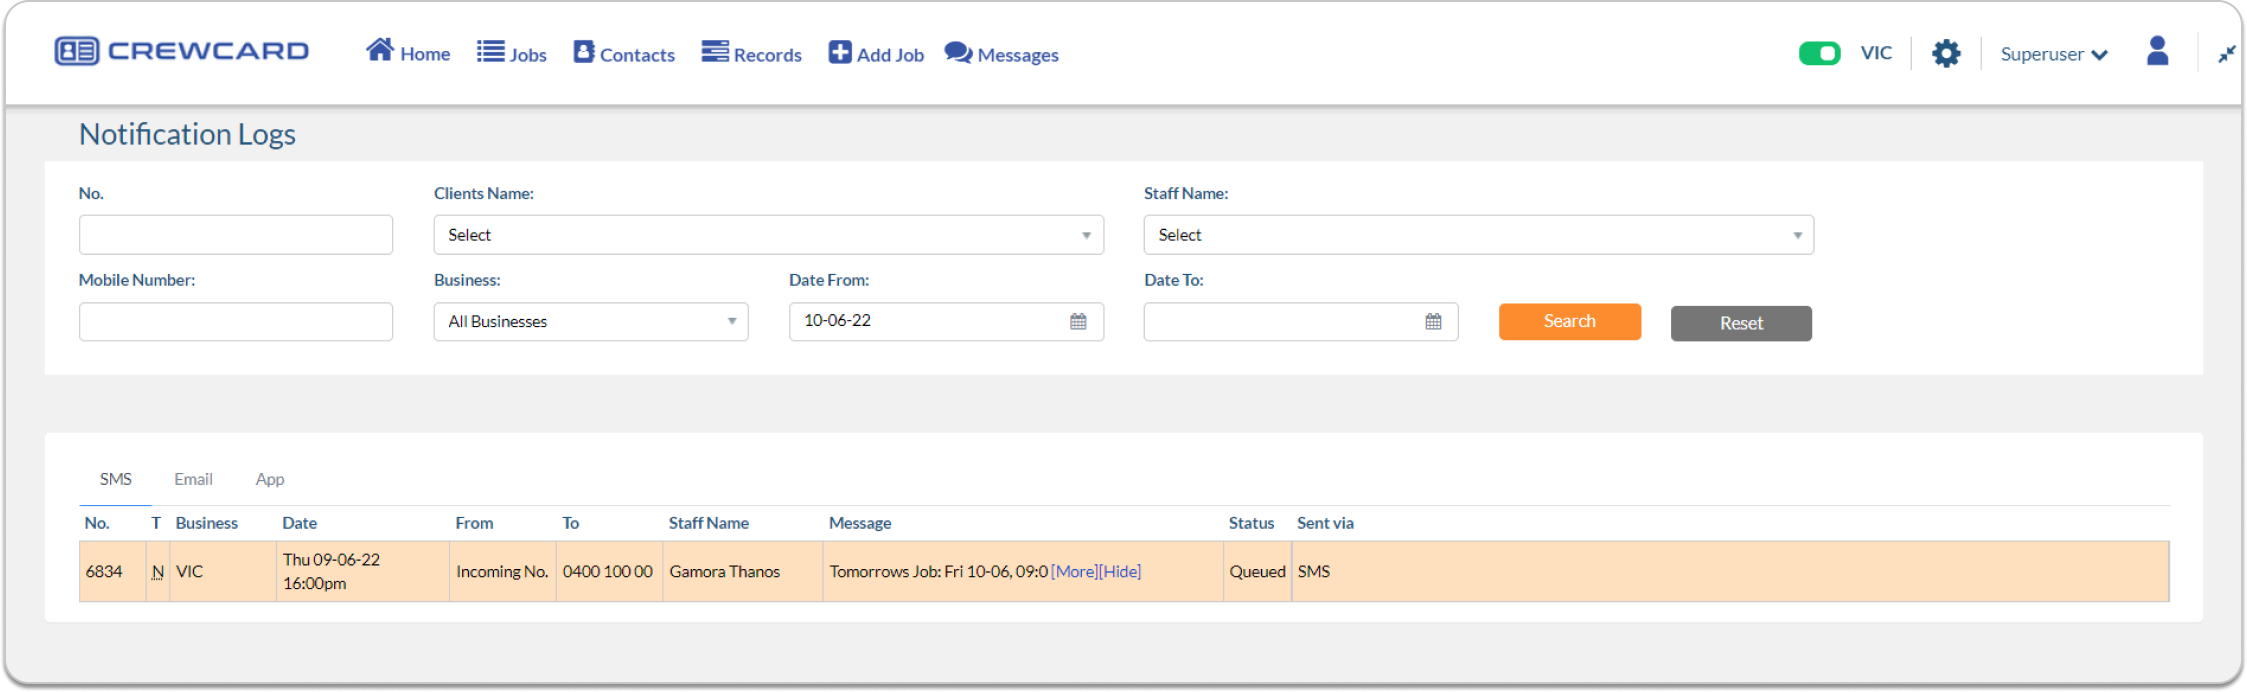
6.1.3 Notification Logs
By default, the Notification logs play displays all messages, incoming or outgoing, starting from the beginning of the week to the current time; the latest received/sent message being on top of the page. An “Advanced Notification Search” can be made using the fields provided above the messages.
TIP: All or some of these fields can be combined while making a message search.
No.: Enter a shift number and click “Go” to see the history of all messages sent or received regarding this specific shift.
Client Name: Select a client name to narrow down all messages to one client’s shifts, which are booked under this client only.
Crew Name: Select a crew name to see all incoming/outgoing messages sent or received by this crew.
Mobile Number: Instead of crew name, a search can be made by crew mobile number. Please note that any number of digits can be entered here. For example, a search that only has “89” in all mobile numbers can be made.
Business: Search by Business can be done by selecting a Business in the drop-down list.
Date From & Date To: To narrow down the searches by date.
No.: Indicate the shift number
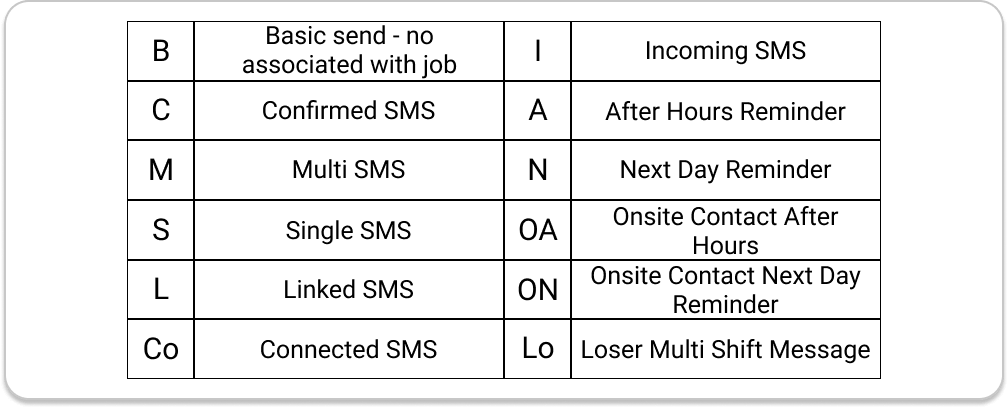
T: Tags are codes that show the type of that message:
Business: Shows which business crew is assigned under.
Date: Date and time message has been sent/received.
From & To: Indicates where the message is coming from or sent to which number.
Crew Name: Crew name that sent/received the message
Message: The actual message sent/received. Messages are shortened by CrewCard for an easy display. If needed any message can be viewed fully by clicking [More] or shrunk by clicking [Hide]. You will notice (when clicked [More]) that any incoming message from the crew is displayed with some of the crew details such as date, time, ranking, email address etc, but the actual message sent by crew appears under the text “SMS Message – – – – “.
Status: The status of the message can be either “Success” which means the message has been successfully sent, “Queued” which means it is pending, or “Failed” which means the server may have problems sending the message.
Sent Via: Indication of whether it’s an SMS or Email.
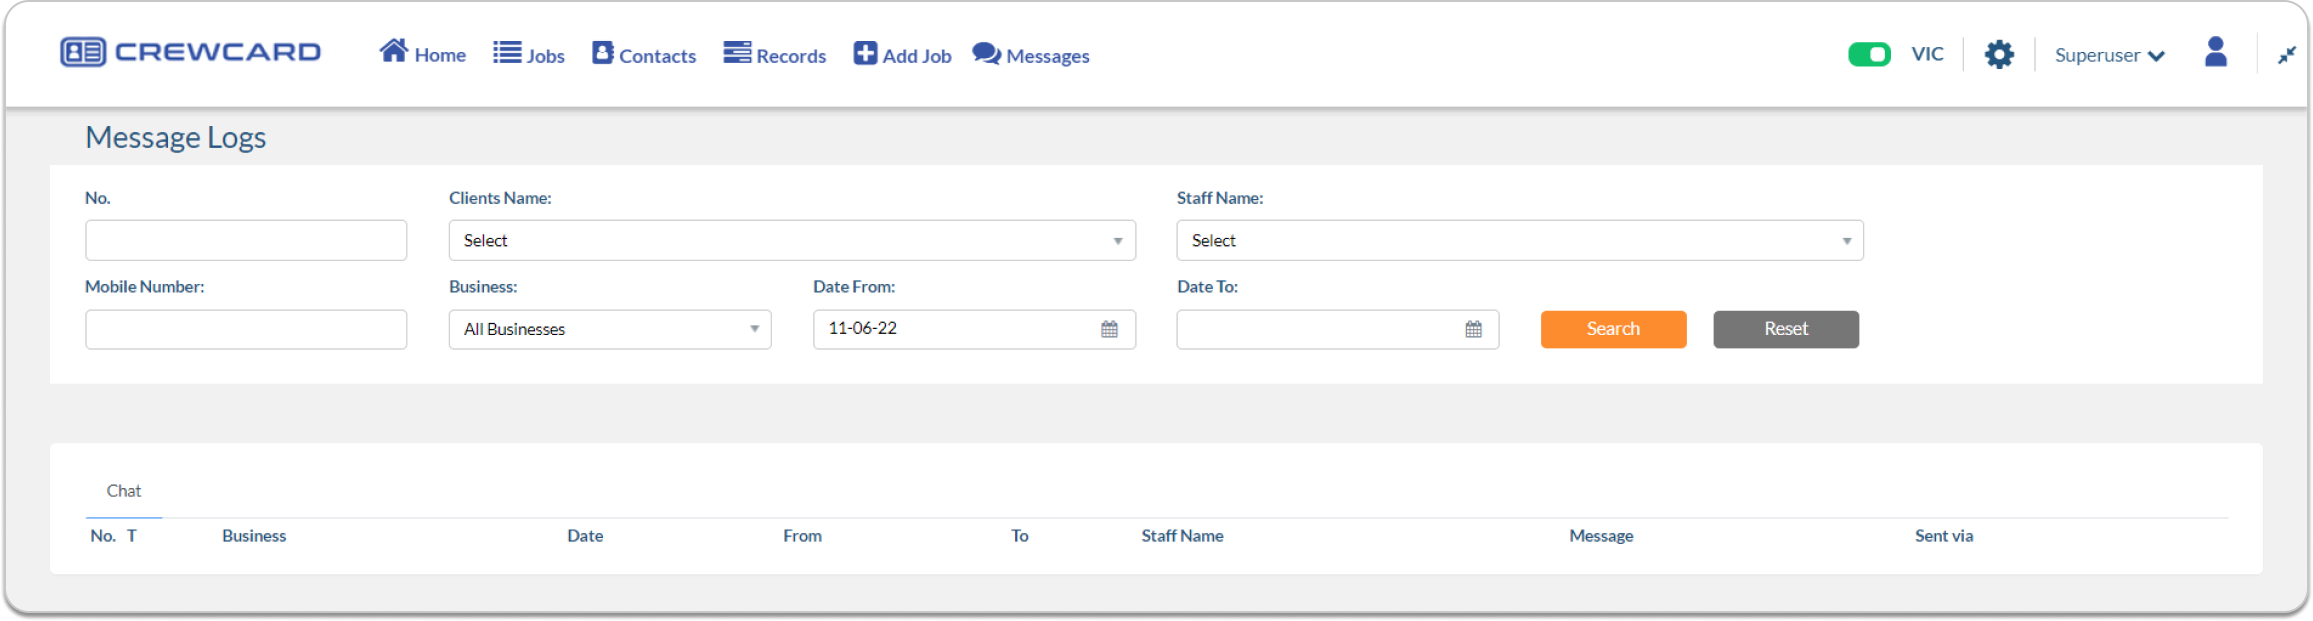
6.1.4 Message Logs
Message log displays all chat messages. An “Advanced MESSAGE Search” can be made using the fields provided above the messages.
No.: Enter a shift number and click “Go” to see the history of all messages sent or received regarding this specific shift.
Client Name: Select a client name to narrow down all messages to one client’s shifts, which are booked under this client only.
Crew Name: Select a crew name to see all incoming/outgoing messages sent or received by this crew.
Mobile Number: Instead of crew name, a search can be made by crew mobile number. Please note that any number of digits can be entered here. For example, a search that only has “89” in all mobile numbers can be made.
Business: Search by Business can be done by selecting a Business in the drop-down list.
Date From & Date To: To narrow down the searches by date.
No.: (not applicable in Message logs)
T: (not applicable in Message logs)
Business: (not applicable in Message logs)
Date: Date and time message has been sent/received.
From & To: Indicates the Sender and Receiver name
Crew Name: Crew name that received the Chat message
Message: The actual message sent/received.
Sent Via: Indication of whether it’s a Chat
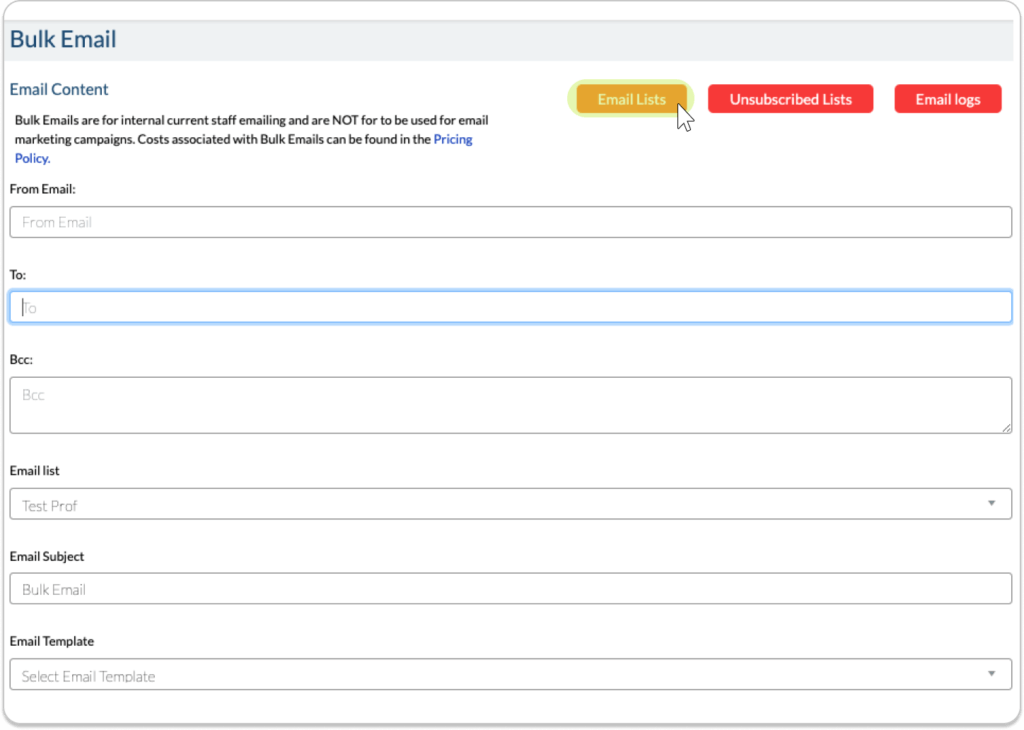
6.1.5 Bulk Email
This will open the Bulk Email page where you can readily use the function.
Bulk email allows you to send a large number of staff the same message. For promotional use cost applied, please contact support@personnelmanager.com.au.
Create an email list
Click Email Lists, this will take you to another page.
Click Create Lists, this will open a pop-out window.
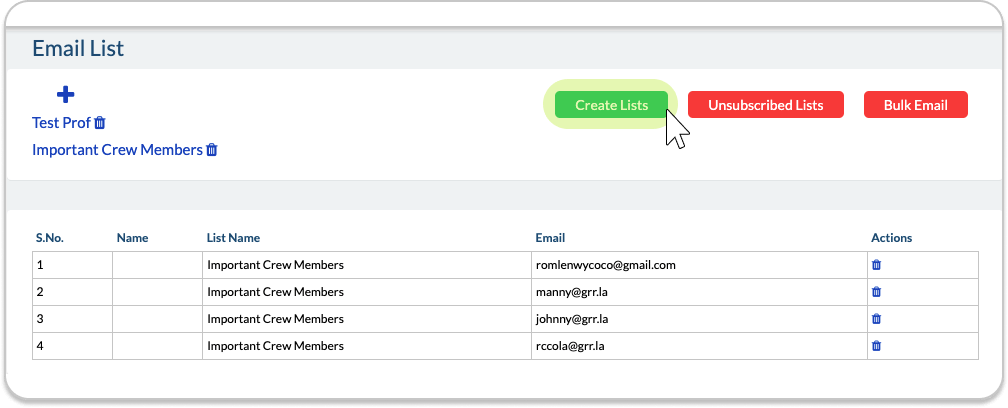
Fill out the information required in the fields.
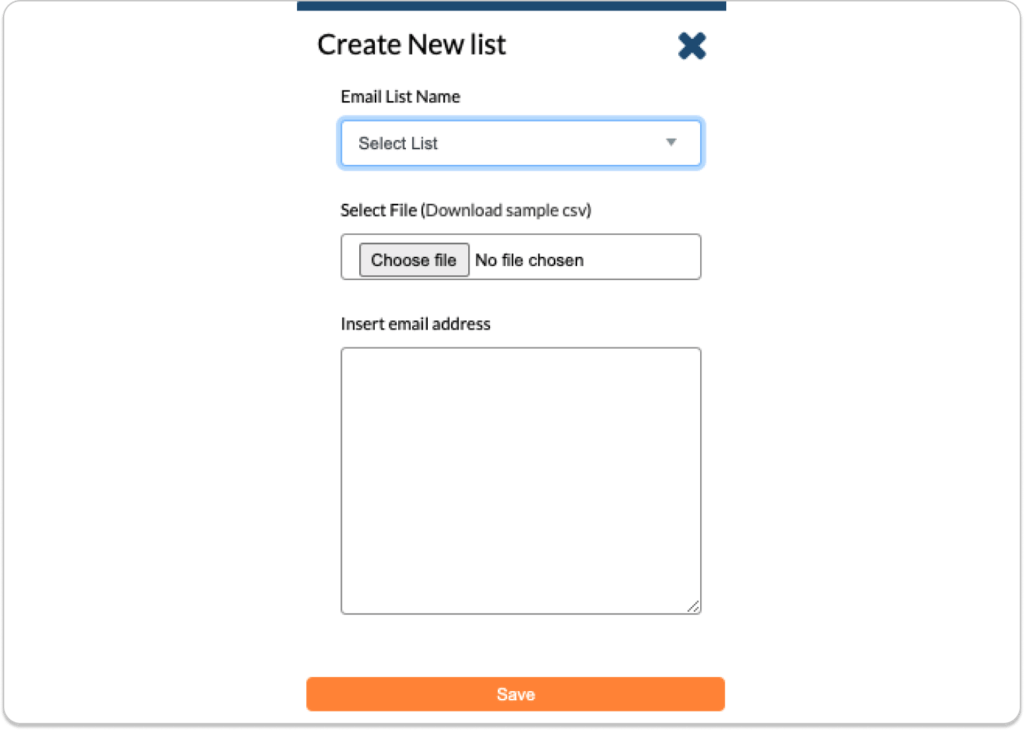
The new Email List will now appear on this page.
After creating the email list/s return to the bulk email page. Enter your address in the From Email fields. Enter the recipients in the To field. Each email address need to be separated by a comma. If you want to send a blind copy of the email, add the email addresses in the Bcc field. Select an Email List from the dropdown menu. If you do not want to use an email list leave this field blank. Enter the subject for your email. If you already have an email template, select the Email Template you wish to use, otherwise just leave this field as it is or you have the ability to create and edit the layout of the email.
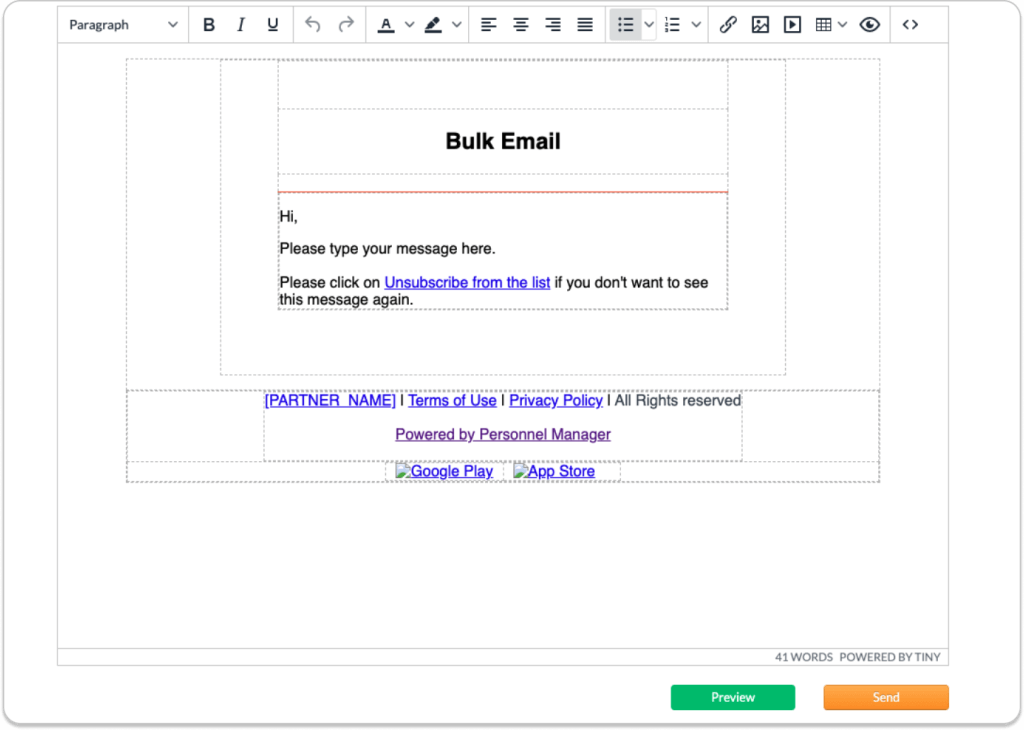
Press Preview to view the email before sending it. Press Send when you are ready to send the email.
Email Log
This will display is the emails send are successful or pending.
Unsubscribe List
This will display all email address which has unsubscribed from you.
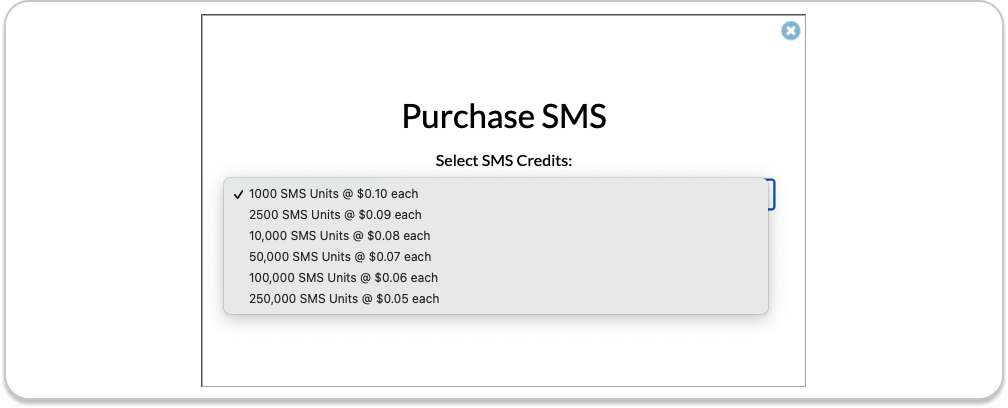
6.1.6 Purchase Credits
Click purchase credit, this will open a pop-out window. Select the amount you wish to purchase from the dropdown from 1000 to 25,000 SMS, once you click Purchase you will receive the invoice shortly after the purchase. The invoice is sent to the allocated accounts person/ email.