4.11 Resources Settings
This setting will allow user to load online contents on PM/CrewGo which can be accessed by crew. These Resources can be a policy, procedure or any other important information that the crew can access using the Crew Access or via the Staff App.
Resources is an added new feature in PM/CrewGo , so if you do not see this setting in your system, contact PM/CrewGo so they can add it for you.
Using Resources is so much better than uploading a PDF in the system for various reasons:
1. There’s no need for additional software to view the online content. If you upload a PDF, you will need software like Adobe Acrobat installed in your computer or mobile phone to view the online content.
2. Resources can be easily used in other section of the PM / CrewGo system like Recruitment, Actions and Forms.
3. When a Resource is edited, it will be displayed automatically to all Admin, Duty Managers, Project Managers, and Crew Member. Unlike when we use PDF, the PDF files will need to be edited then will be uploaded to all.
4.11.1 Adding a Resources
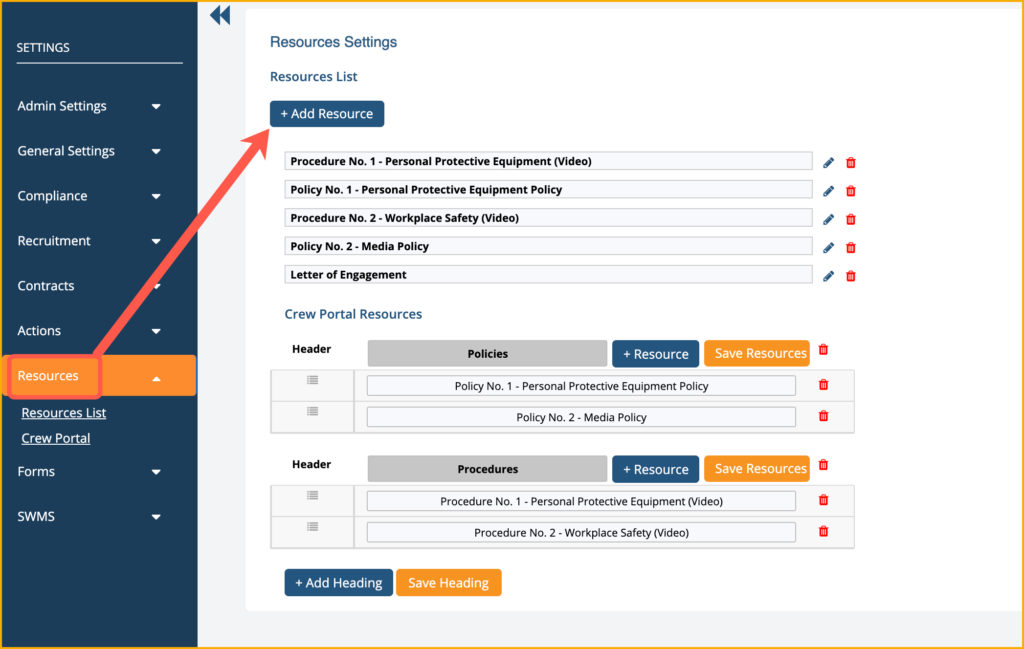
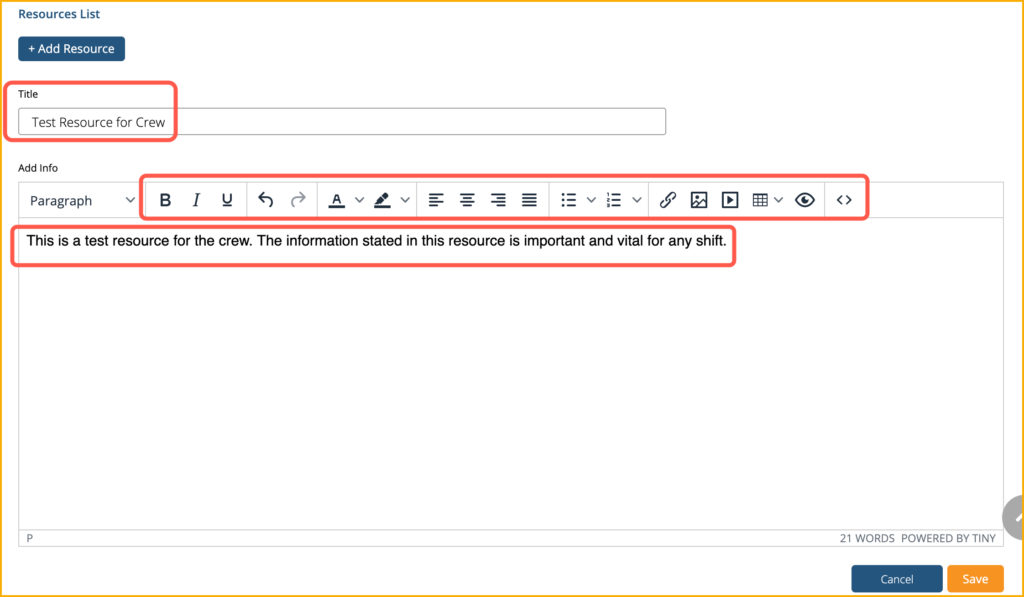
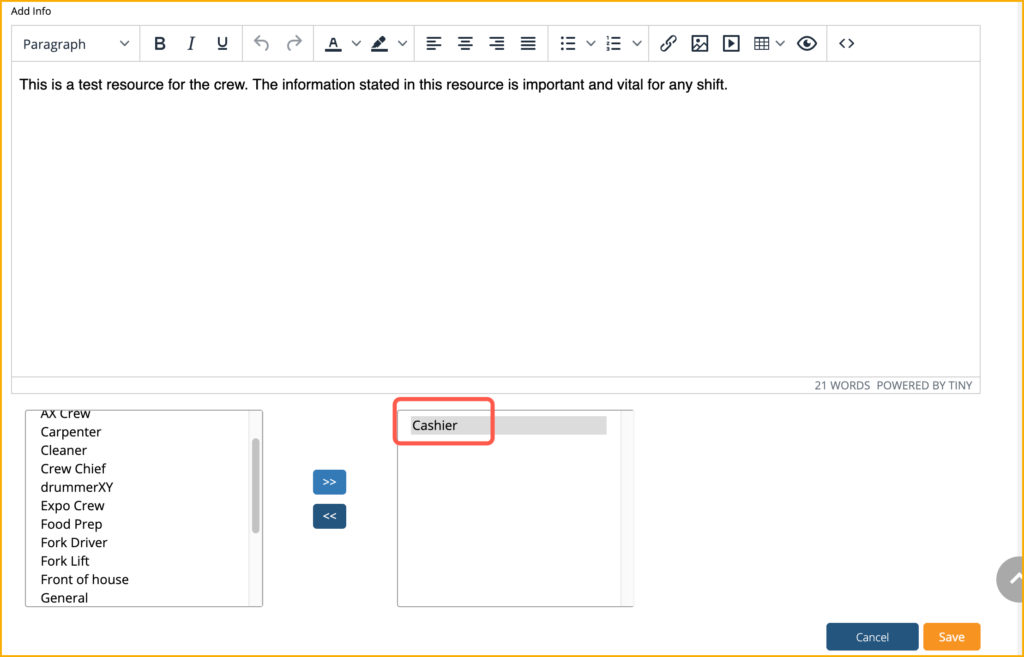
Click the Add Resource button to add a new resource. This will open a new window where you can add the contents for the resource. Enter the title in the provided field and enter relevant information in the Add Info box. The editor has formatting tools that you can use to change the appearance of the text. You can make the texts bold, italic, with highlights and more. You can also insert links, photos, tables and videos.
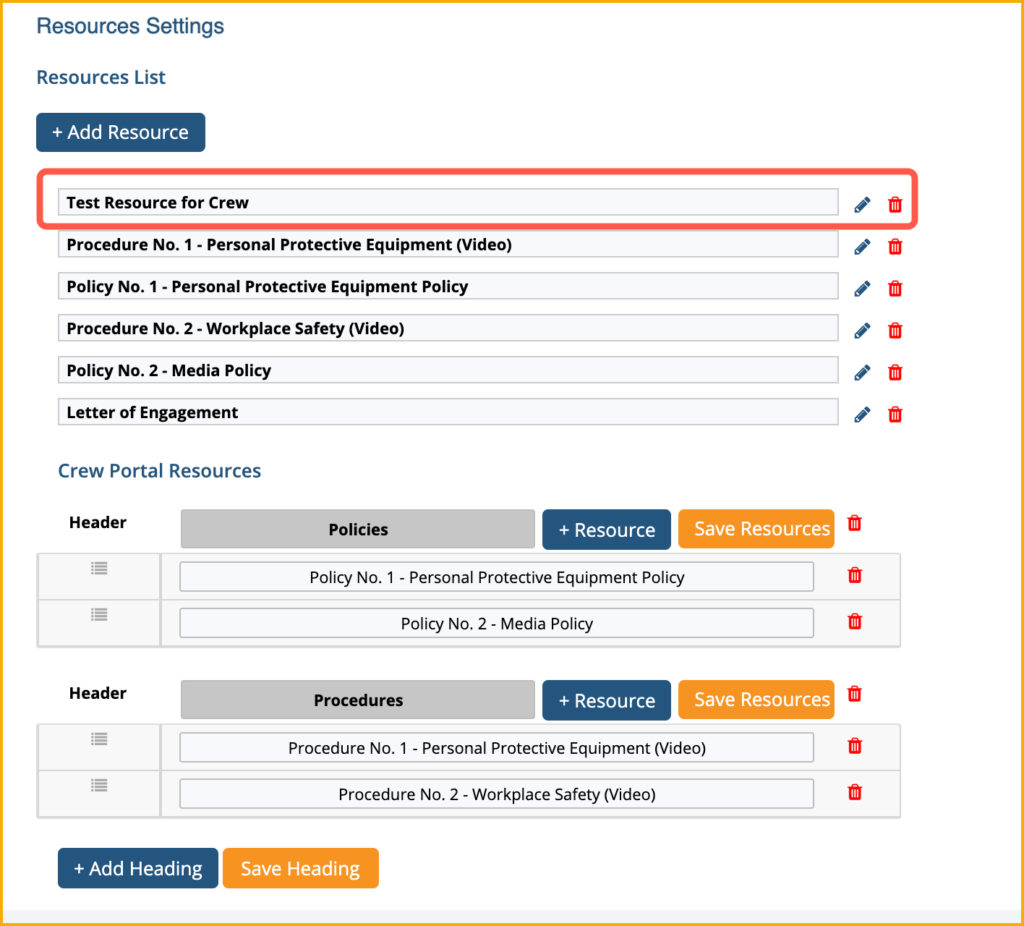
Once you are done adding content for the resource, you can click the Save button. The newly created resource will then be added on the Resource List. You can edit and/or delete a resource when you click on the pencil and trash icons next to the resource that you want to edit or delete.
4.11.2 Mapping a Resource to an Activity
A resource can be mapped to an Activity. Once a resource has been mapped to an Activity, the Resource will appear in the Crew Access of the crew provided that the said crew has that activity. To map a Resource to an Activity, click the edit icon of the resource and choose the Activity found at the bottom of the Resource page.
In the below screenshot, the resource that we created Test Resource for Crew is now mapped to Activity Cashier.
4.11.3 Crew Portal Resources
The Resource that we created will not automatically appear in the Crew Access of a crew. First, the resource will have to be mapped to an activity. Second, the crew should have that activity under his profile and finally the resource should be added under a header in the Crew Portal Resources.
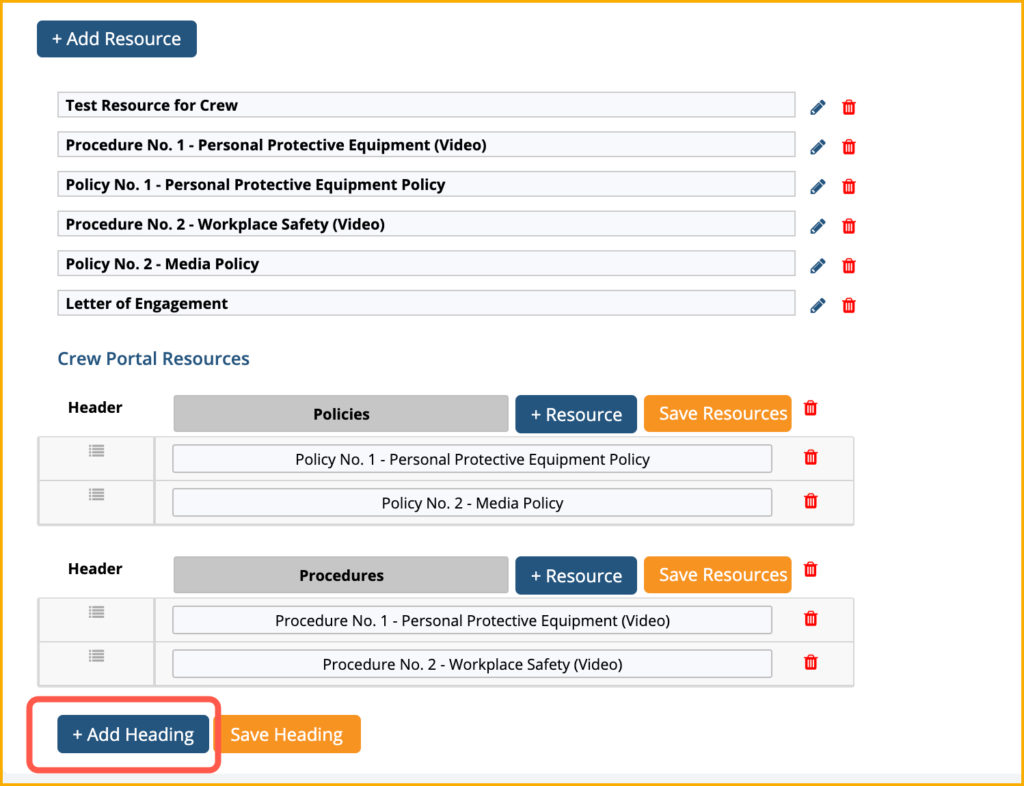
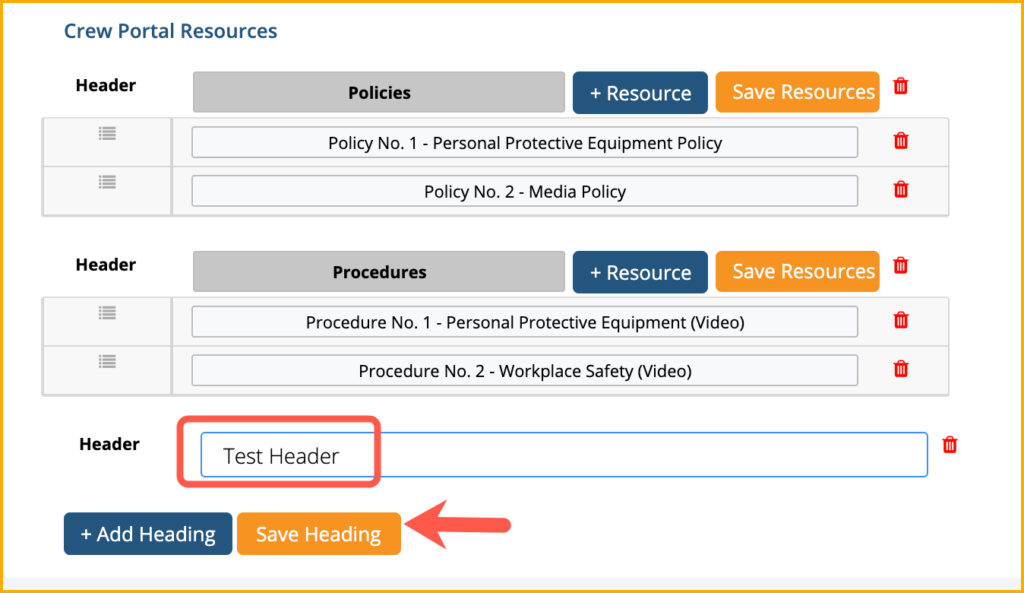
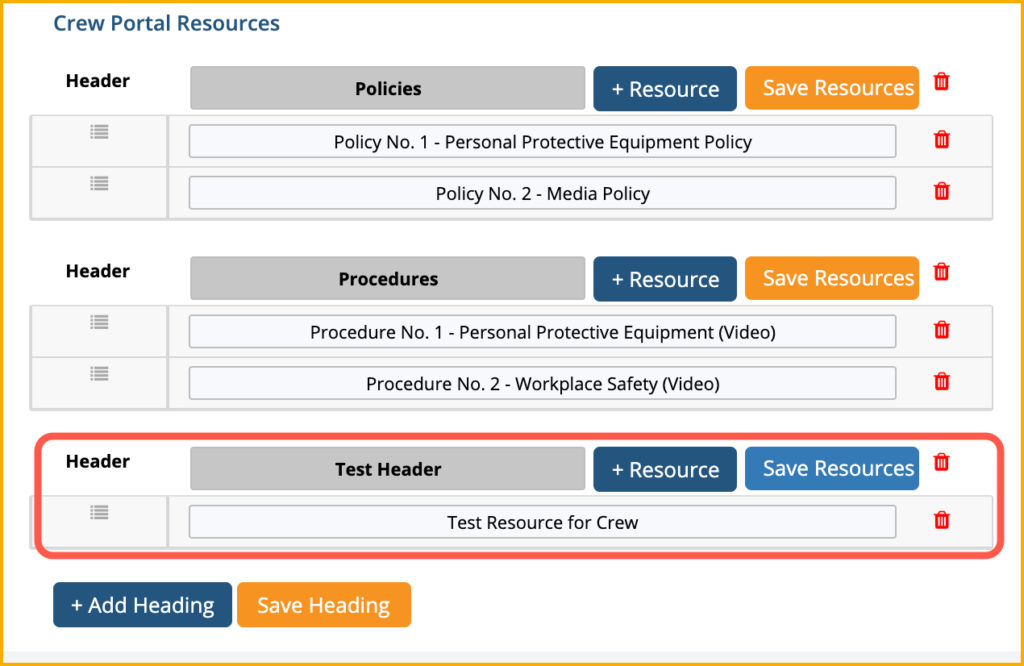
Click the Add Heading button in the Crew Portal Resources and enter a name for the header. After entering the name of the header, click Save Heading. The header will now appear in the list of headers.
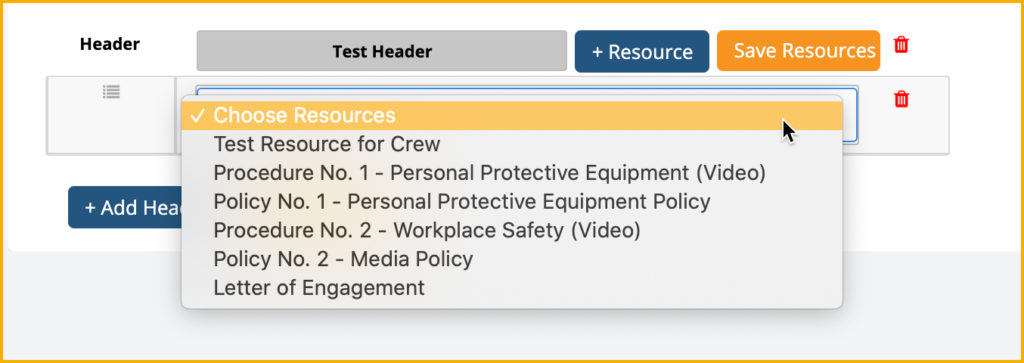
Click the button of +Resource, a new field will appear where you can select a Resource from the dropdown menu which will be added to the header. Click Save Resources after selecting the resource from the dropdown menu.
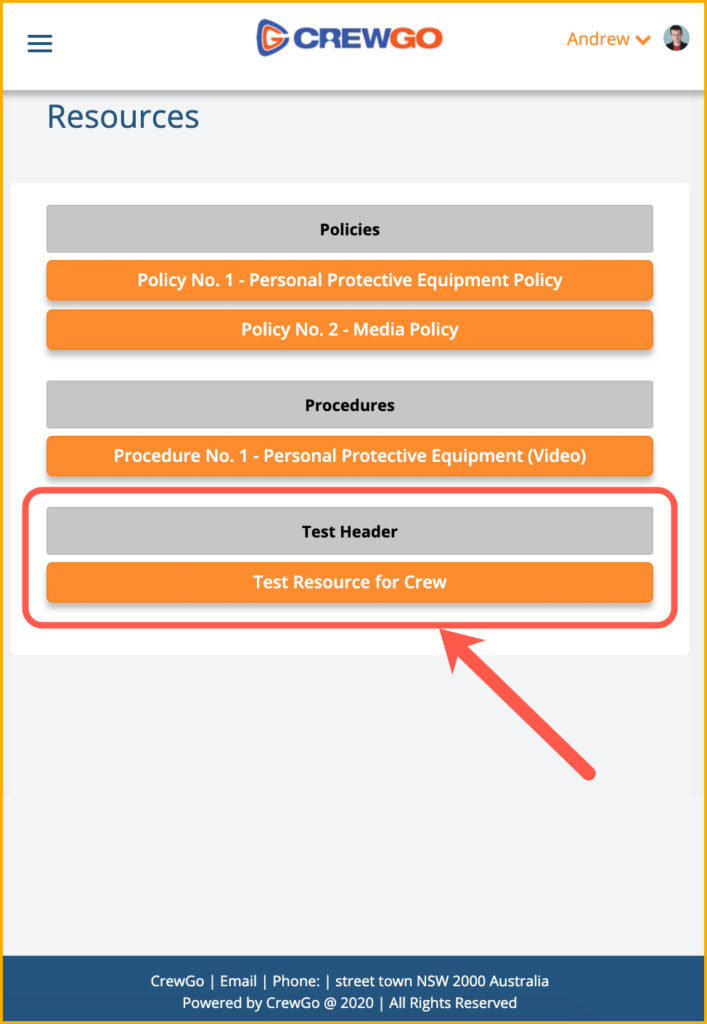
Based on the above settings that we configured, this is how will the Resource look like in the Crew Access of a crew member:
4.11.4 Resources in Recruitment
Resources is also being used in the Recruitment process. When you want your recruits to read and understand your company policies and procedures, you can easily do so by configuring the Recruitment Settings and choosing the Resources.
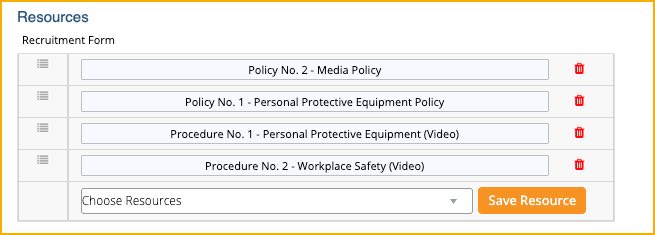
In the Recruitment Settings, select the resource that you want to add from the dropdown menu then click Save Resources.
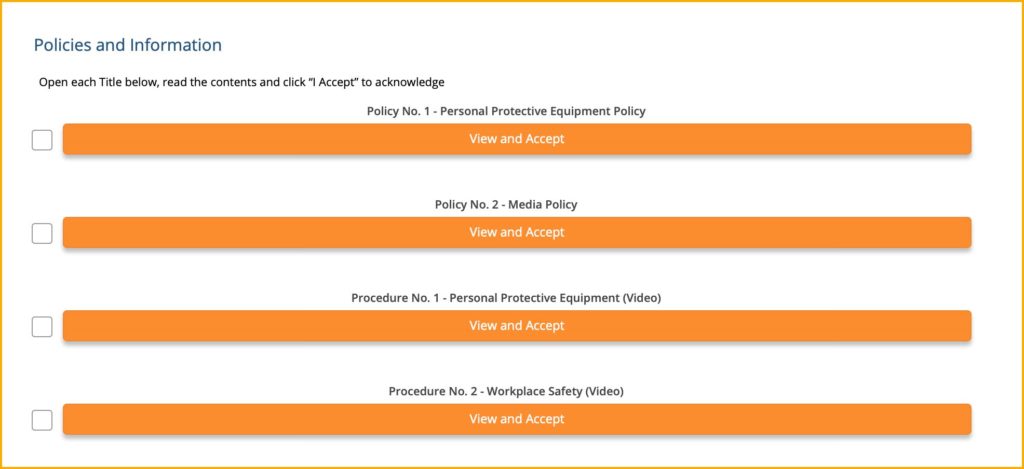
The selected resources will then appear under the Agreements tab in the Policies and Information section in Recruitment. Potential crew member will have to view and accept these resources.
Go to 4.8 Recruitment Setting to view the complete procedure of Recruitment.
4.11.5 Resource in Actions
Resources can also be used in Actions as part of the step.
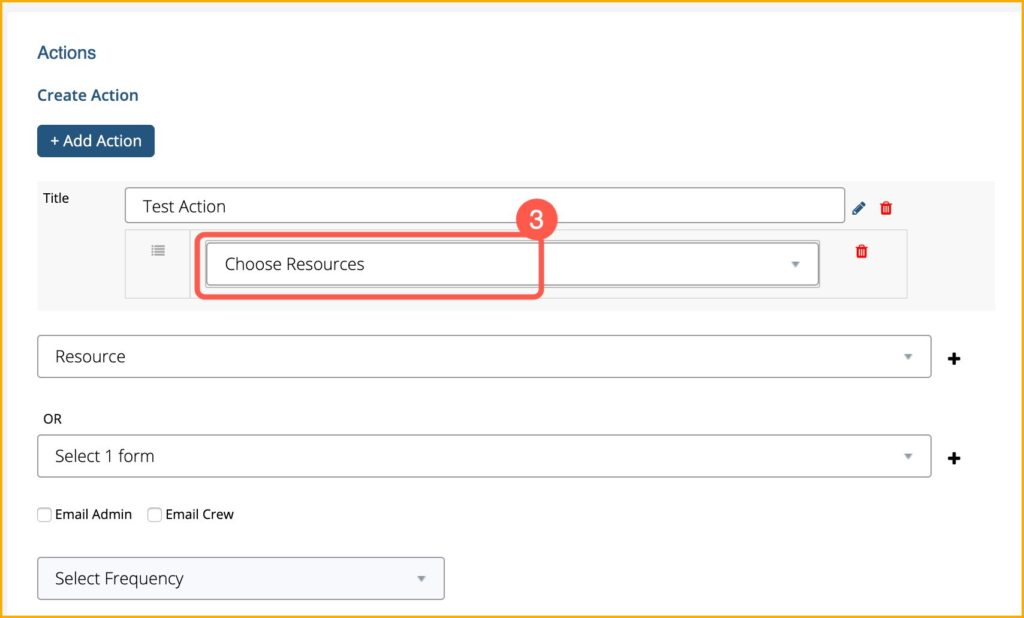
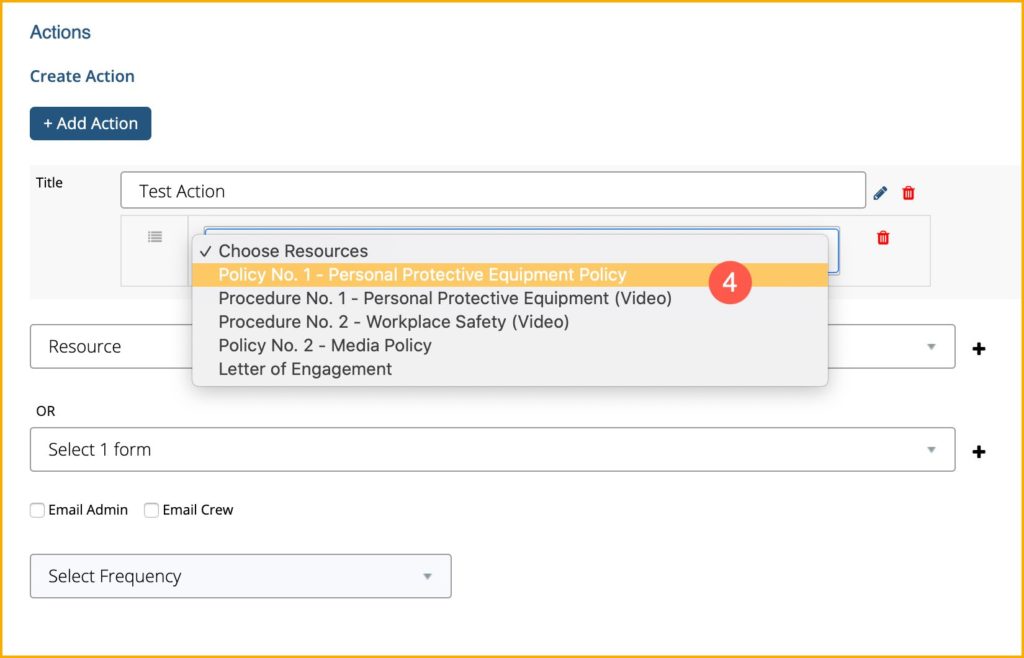
In Actions Settings:
Select Resources from the step dropdown menu and click the plus icon. A new field will appear where you can select the Resource that you want to add as a step.

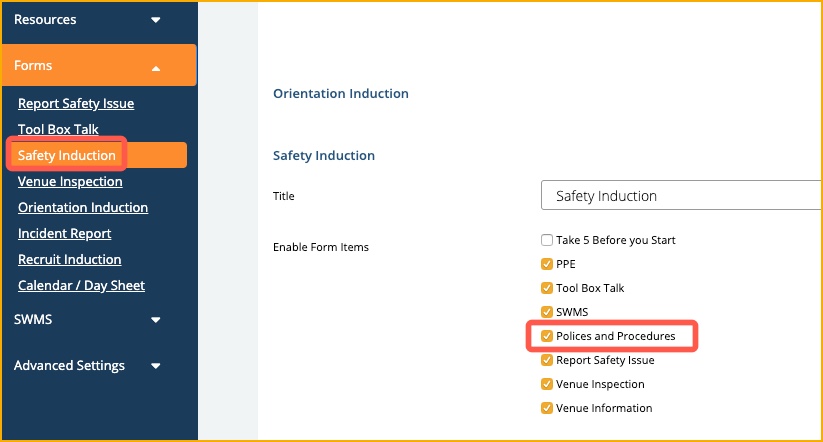
4.11.6 Resource in Forms
Resources can also be used in Forms. In the Safety Induction in Forms Settings, you can put a check on the box of Policies and Procedures.